Everyday sourdough sandwich loaf

Everyday sourdough sandwich loaf

Ingredients:

  • 100-130 grams well-fed sourdough starter
  • 325-350 grams water
  • 500 grams of flour (can you various ratios of bread flour to whole wheat to etc)
  • 15-20 grams oil (can use neutral oil (Avocado, vegetable) or could use olive oil)
  • 15-20 grams of honey
  • 10 grams fine sea salt

I’ve been making a weekly loaf for the past year or so. With this recipe, you definitely have some leeway on adjusting the types of flours along with some of the enrichments (oil and honey). It is also a fairly forgiving recipe I feel (or maybe I just do it regularly enough that I’ve grown accustomed to it). The above recipe makes 1 loaf (in a 8.5 inch x 4.5 inch loaf pan). This is also a no-knead recipe. The loaf can be made ahead of time and then stored to continue to ferment and develop in the fridge for 24-48 hours. Typically I will bake it ~24-36 hours after forming the loaf.

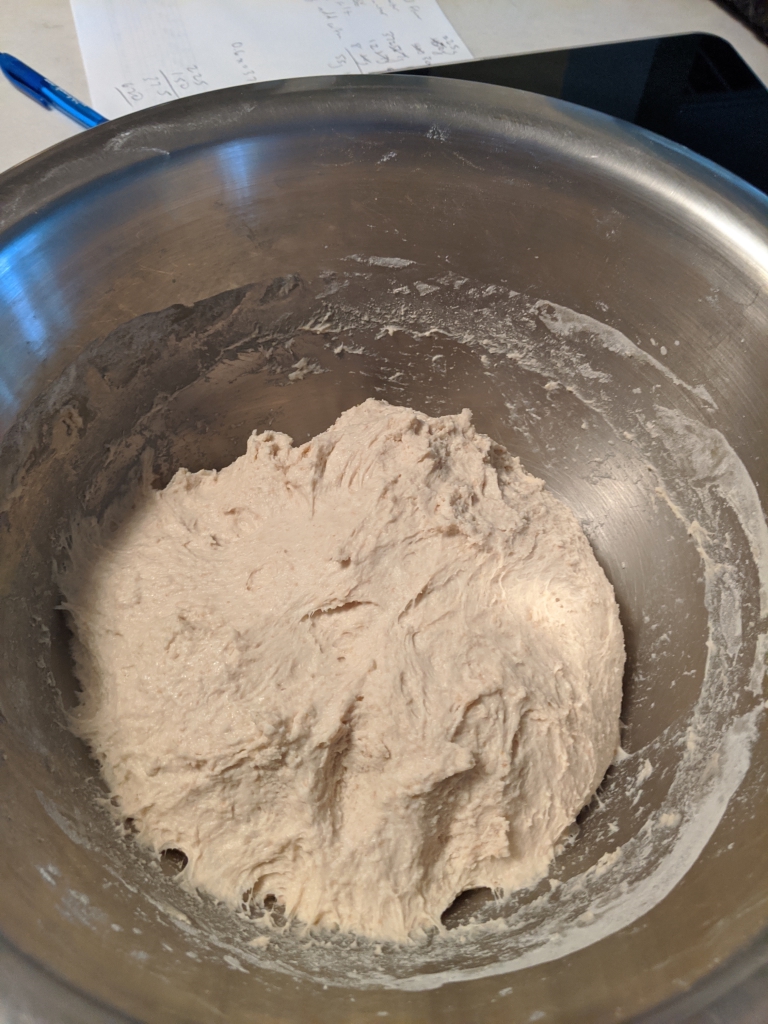
  1. Combine the water, well-fed starter, 500 grams of flour (my current combination is 350 grams bread flour, 50 grams of semolina flour and 100 grams of whole wheat flour), oil and honey in a mixing bowl. I use a spatula and stir and make sure everything is well incorporated together (about 2-4 minutes of mixing usually).
  2. Let sit (auto-lyse) for anywhere from 30-90 minutes covered.
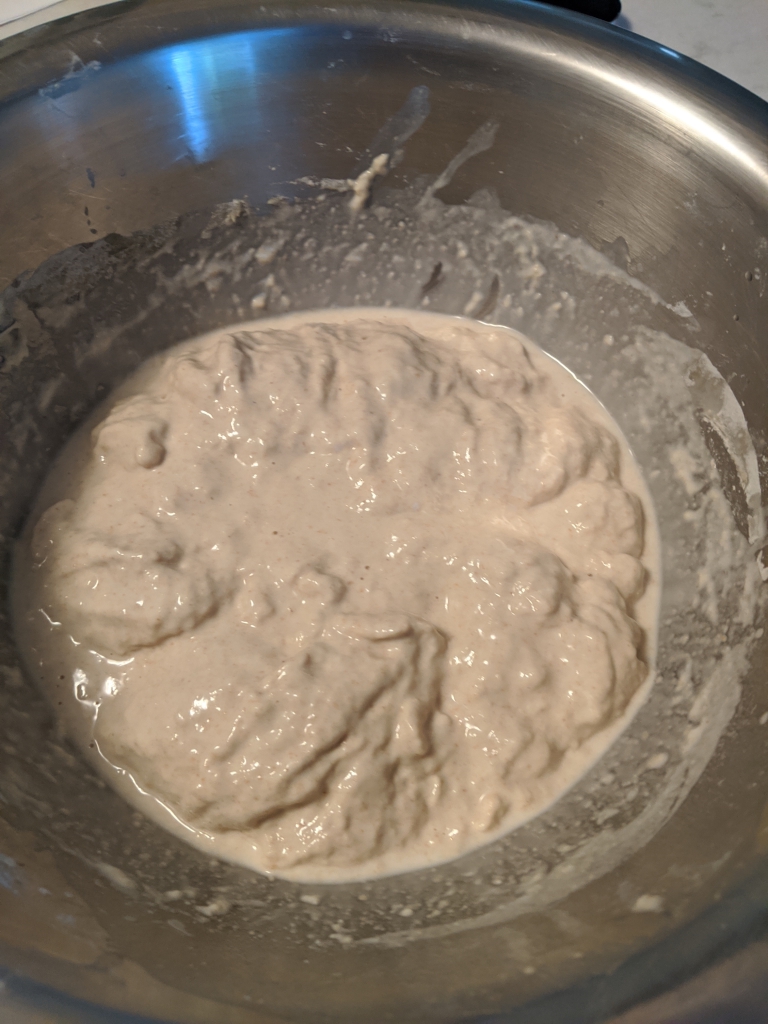
  3. Slowly incorporate the salt – I usually add a little bit at a time and using a wet hand knead the salt until well incorporated.
  4. Cover and let rest 45-60 minutes
  5. Perform a stretch and fold (using a moist hand, grab dough at 12 o’clock position and pull upwards toward ceiling. Without allowing the dough to rip, pull it down towards 6 o’clock. Turn bowl 1/4 counter-clockwise and repeat above and continue until back to original position. Can continue to do this to tighten dough (another full rotation). Optional would to flip dough over at end (should have smooth ball). Cover
  6. Wait another 45-60 minutes (dependent on room temp)
  7. Repeat stretch and fold an additional 3 times (total of 4). Sometimes the dough will look mature and ready after 3 stretch and folds and that is fine as well.
  8. Dump dough out on well floured surface. Using bench scraper, gather the dough (bringing each corner to center) and then flip dough to have a nice ball. Cover with tea towel and let sit for 20 minutes.
  9. Stretch and flatten dough out into a large rectangle. Bring the left side of the dough and fold to the center line along the vertical axis. Then fold from the right edge to the center overlapping – envelope fold. Then grasp dough closest to you and roll it away from you creating a cylinder. Tuck the ends of the dough underneath to create a smooth surface for each end.
  10. Using a bench scrapper lift the dough into a well oiled loaf pan (in my case a 8.5 inch x 4.5 inch loaf pan)
  11. Place this in a bag (can also add some oil to top of dough and cover with saran wrap) and let rise for ~1.5 hours (depending on temperature in kitchen).
  12. Place in refrigerator (~12-48 hours).
  13. Turn oven on to 400 F. Place pan with water in lower rack of oven
  14. Remove dough from fridge. Sprinkle flour on top of bread and smooth. Using sharp knife, score the bread.
  15. Bake for 20 minutes at 400F
  16. Remove the water container (be careful not to splash hot water onto glass of oven door as it may crack – I use a tea towel to cover the glass while removing the water container).
  17. Bake additional 30-35 minutes until golden brown (bread temp ~200 F). I usually just bake an additional 33 or 34 minutes as it seems to work for my oven.
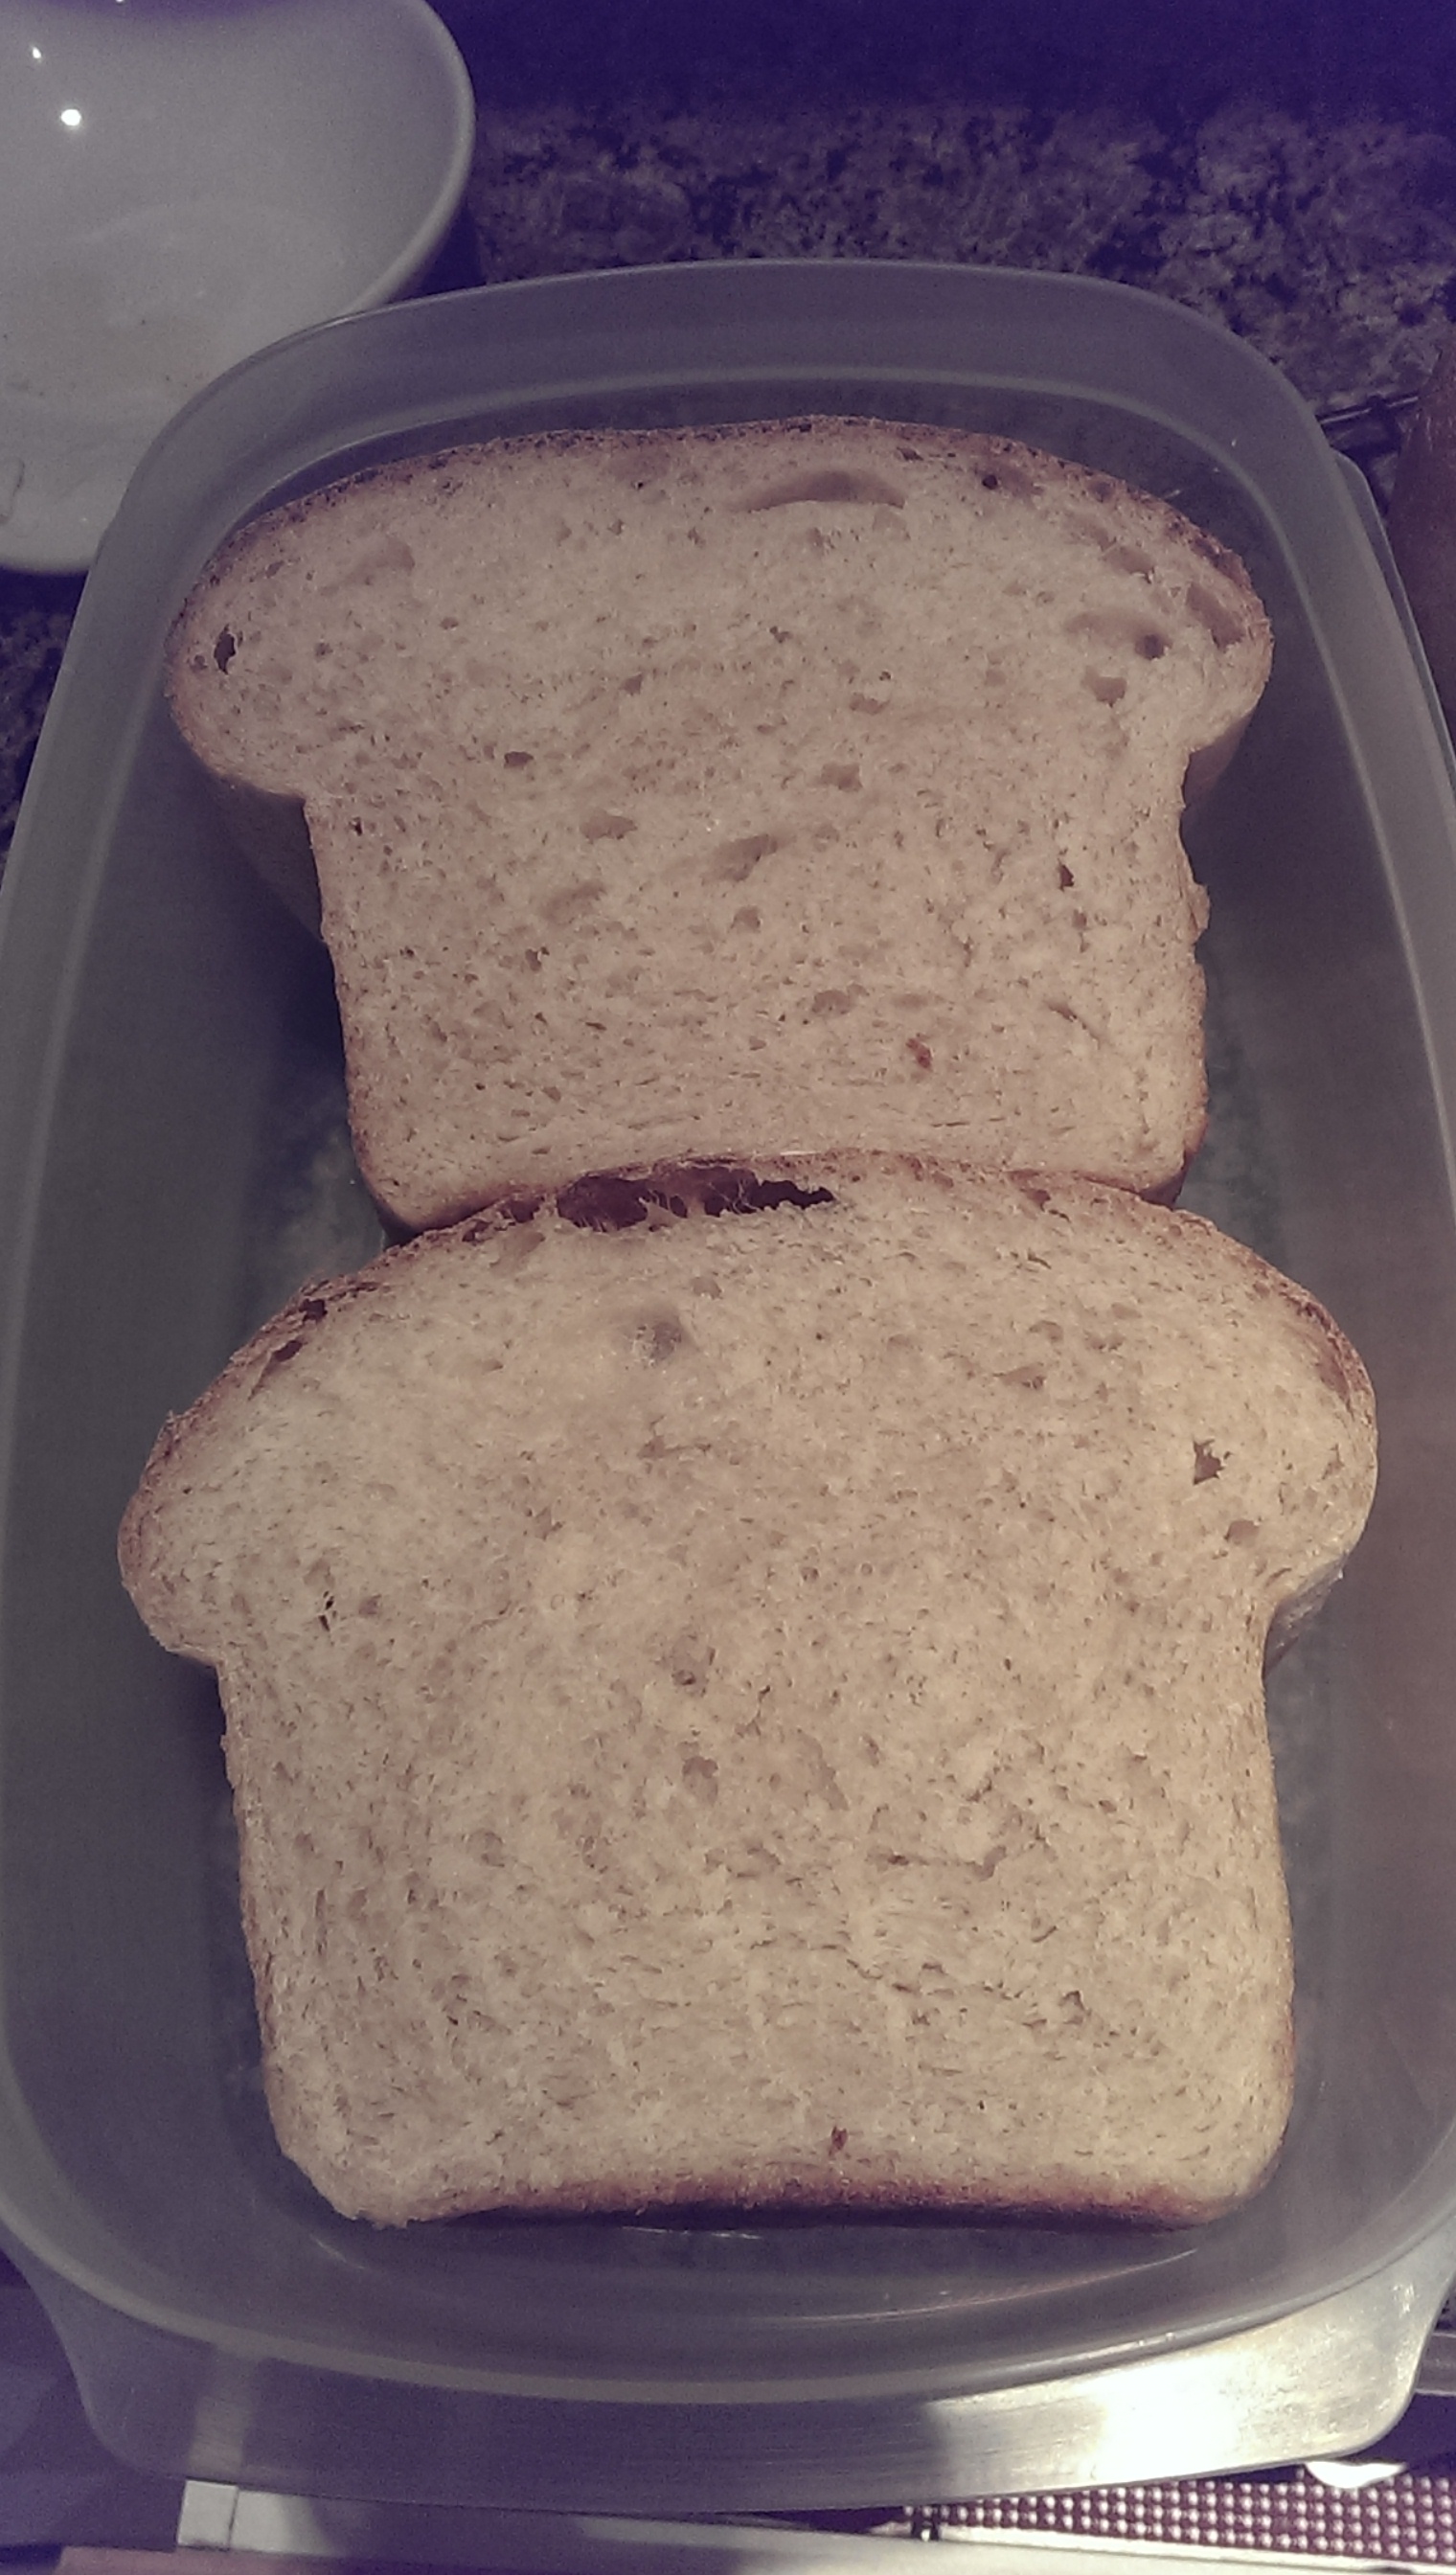
  18. Turn bread out on cooling rack and let cool fully before slicing.

Visual instructions:

Advertisement

Sourdough Ciabatta

Sourdough Ciabatta

Aside from regular sourdough bread, I had been kind of wondering what else to do with my starter.  Luckily one of my FB groups are full of cooks and someone shared a sourdough ciabatta recipe they liked.  I figured I’d give it go.  The original recipe is here:  https://breadtopia.com/sourdough-ciabatta/

I didn’t have the requisite 550g of starter ready but had 300g of starter so adjusted the recipe accordingly.  When I was transcribing from the internet to a piece of paper (yes I’m still old school and typically don’t just look at a screen for my recipes but actually write them down on paper), I accidentally wrote my 2 so it kinda looked like a 7.  So when I was weighing out the water, I accidentally did about 50% more than I had anticipated using.  I then had to do a bunch of math to try to even things out.  I’m not even going to try putting the actual recipe values on here (just go look at the original recipe).  I’ll just go through my process and how it came out.

IMG_20200523_143645
Sourdough on top of rest of mixture

IMG_20200523_150153
After initial mix before adding in the extra water (after about 20 minutes of kneading)

IMG_20200523_151059
Added the extra water and tried to incorporate

Continue reading “Sourdough Ciabatta”

Sourdough pizza dough

Sourdough pizza dough

This is a bit out-of-order.  After returning back from Portland a few weekends ago, I had July 4th off from work and decided to make some pizza for the holiday.  I also had to feed my sourdough starter so figured I’d make sourdough pizza dough with the discard.  I used the below recipe:

  • Sourdough starter – 80 g (~50% hydration)
  • AP flour – 350 g
  • Water – 230 g
  • Salt – 8 g
  • Yeast – 2 g

I mixed all the ingredients (above), let it sit for 40 minutes to auto-lyse and then kneaded it for about 15 minutes (slap and fold).  I put it in a large mixing bowl and let it bulk ferment for about 50 minutes.  It was fairly warm in the kitchen/house so I didn’t have to let it rise as long.  I then did 3 stretch and folds separated by 30 minutes.  After this I divided the dough into 2 (these ended up being larger balls than I typically work with in the past) and put them individual bowls to proof.

IMAG3056
Proofed

As can be seen above, the dough rose greatly.  Since I was making pizza, I wasn’t as concerned if it went slightly over since I was flattening the dough out anyway to make the pizza.  I topped the dough with some homemade tomato sauce (I just use canned San Marzano Whole tomatoes that I crush and heat with some basil and garlic), mozzarella, and mushrooms/prosciutto.

Overall I got some good rise in the crust and it did have a slight sourdough taste to it.

IMAG3060
Good rise

I may have to try incorporating more sourdough starter to see if I can’t get more of the sourdough taste to it.

-StewsCat

Sourdough boule – with homemade starter

Sourdough boule – with homemade starter

I don’t know if I’ll ever get around to posting about making my own sourdough starter but this week’s bake involved using that homemade starter.  Using starter from the fridge does require a bit of advanced preparation as you need to “wake” your starter up and get it up to snuff to bake with.  On Thursday I pulled my sourdough starter out of the fridge (it had been in there for about a week).  I split it in half, fed one half and let the yeast eat for awhile (i.e. get some bubbles going) and then replaced that back in the fridge.  The other half I removed half of the starter and then fed it with 1/4 cup water and just under 1/2 cup of flour.  Previously I had been feeding the starter based on weights but decided for this week’s bake I would switch to using volume because it is much quicker using a measuring cup instead of getting the scale out.  I continued feeding the starter around every 12 hours for the next 3 days until I had an active bubbly starter.

Sunday morning I fed the starter one more time then waited about 4 hours (I read that is when the starter is most active).  I  haven’t used the sourdough starter by itself as the only source of yeast so was interested to see how this would turn out.  My recipe was as follows:

  • Sourdough starter (199 g)
  • Bread flour (500 g)
  • Water (360 g)
  • Salt (10 g)

I deliberately kept this recipe simple as I wanted to see how much sourdough flavor I could get from the starter.  I mixed all of the above together into a wet mess, let it auto-lyse for 30 minutes and then did the slap and fold method for about 15 minutes.  This dough was placed in a clean bowl and allowed to bulk ferment for about 1-1.25 hours.  I was pleasantly surprised to see that the dough had increased by 1.5-2 x it original size.

I proceeded with 3 stretch and folds (envelope style) separated by around 30 minutes each.  I could feel the dough coming together nicely.  After the last stretch and fold, I bench rested the dough for 5 minutes, then shaped it creating a nicely tensioned surface.  I used a well floured towel in a collander and put the dough in there to proof for the final time.  Since I made pizza, the kitchen was warm and after about 40 minutes the dough had proofed to the proper amount.  Instead of using a pre-heated dutch oven I free baked the dough on my pizza stone (steel) using some parchment paper to do the transfer.  I misted the inside of the oven and baked the bread at 500 F for 10 minutes, then dropped it to 475 for another 10-15 minutes or so.  When I saw how much oven spring was present, I realized I hadn’t de-gassed the dough enough during my stretch and folds and forming.  Oops!  Oh well.

You can see the impossibly large air holes in the dough, which makes it hard to use as a sandwich.  The great thing about the bread was that it had that characteristic smell of a sourdough loaf.

Overall this bake was more to see how my sourdough starter would function.  I’m happy with the amount of yeast activity present in the starter and also that it does impart some flavor as well.  It’s quite amazing that this starter was created using just water and flour.  The natural bacteria and yeast from the flour and the environment create this living, breathing organism that can be used to bake bread.  Pretty neat!

Lessons for next time: de-gas the dough properly.

-StewsCat


Sourdough wheat sandwich bread

Quick bread update.  I decided to use more of my sourdough starter to make this week’s 50% whole wheat sandwich bread.  This week I essentially used the same recipe as last week’s but with the addition of the sourdough.

Recipe:

  • 80g sourdough starter (100% hydration)
  • 300g 100% whole wheat flour
  • 255g bread flour
  • 145g rice milk
  • 260g water
  • 18g salt
  • 35g honey
  • 1/4 c. vegetable oil
  • 5g yeast (cut down the yeast to see if the starter has some oomph to create rise)

I combined all the above ingredients into one giant slurry and let it auto-lyse for 30 minutes.  I am always amazed how the dough goes from a ragged mess to a cohesive and firm dough.

I did the slap & fold kneading for 15 minutes.  Each time I do this, I get better and better at sensing/feeling the dough coming together and becoming less sticky.  The first time I did this, I had no idea how long I was supposed to knead for and ended up doing the slap & fold for almost an hour.

After I finished the slap & folds, I put the dough in a clean bowl and let it bulk ferment for an hour.  As seen above, the dough really formed up very nicely.  Following bulk fermentation, I dumped the dough out on my lightly floured countertop and performed a stretch and fold (envelope style) and placed the dough back in the bowl for 20 minutes.  Once more I did a stretch and fold followed by the initial shaping.  This involved de-gassing the dough and creating a square shape.  I then folded the dough down from the top to the middle of the dough and pressed this down.  Subsequently I pulled the dough once more to me and pressed down to seal it (essentially creating a log shape).  I then bench rested the dough for 5 minutes and then re-shaped into loaf shape.  The dough was then placed in a well-greased (butter) 9″ x  5″ loaf pan.

I allowed the dough to proof for about 45 minutes (the kitchen was warm because I was also making pizza).  As with last week, the dough had risen really well.  I did the finger poke test and noted the dough was well proofed.

The bread went into a 425 F oven with water spraying.  I let it bake at this temperature for 10 minutes.  I dropped the oven to 375 F and baked the bread for another 25 minutes.  By this time, the top of the loaf was a nice dark brown color and the internal temp 187.7 F.  I read that enriched bread (which this is) is done between 185-190 F and you can let it go until 205 F if you want a really crunchy crust.  This time I decided to remove it a littler earlier to see what kind of difference it would make (last week’s was around 195 F).

After slicing, I noted that the bread was just slightly underdone.  If you look at the cross-sectional view of the crumb, you’ll notice at the bottom part of the bread, the crumb is a bit collapsed and not well-aerated like the rest of the bread.  Next time I’ll probably try to get it closer to 190 F internal temperature.

IMAG2933
Slightly underdone

This bread turned out good, still a little weaker than I’d like for a sandwich bread.  I wonder if I toasted it before making my sandwich if it would hold up a little better.  The wife said that it is softer than last week’s effort.

In other news, we were able to top our pizza with some homegrown arugula.  We decided to try some lettuces this year in our raised vegetable beds.  This was a first and out of the 4, the arugula is the only one that grew well.  There was a different lettuce that initially grew well then one day was all gone.  I am suspicious the local wild turkey came over and chomped it all away.

IMAG2924
Homegrown arugula

-StewsCat