I also decided to make some Parker House rolls for Thanksgiving and tried a new recipe. This recipe makes 24 rolls. I did a half batch and they turned out good. I liked that the combining of ingredients was simple and there weren’t a lot of different steps where you added one thing at a time.
Ingredients:
- 1/2 cup warm milk
- 1/2 cup warm water
- 1 package active dry yeast (~7 grams, I did like 4 grams for my half batch)
- 2 large eggs
- 3 Tbsp white sugar
- 1 1/2 tsp salt
- 3/4 cup butter, melted
- 4 1/2 cup AP flour
- Combine warm milk, water, yeast (~110-120F) – let sit for 10 minutes
- Add eggs, sugar, salt, 1/2 cup melted butter
- Whisk together
- Add AP flour and knead until comes together (hand kneaded about 5-6 minutes)
- Form into ball and place in lightly buttered bowl until double (~2 hours)
- Press flat, divide into 24 portions and roll into ball (I weighed the whole thing and then portioned by weight).
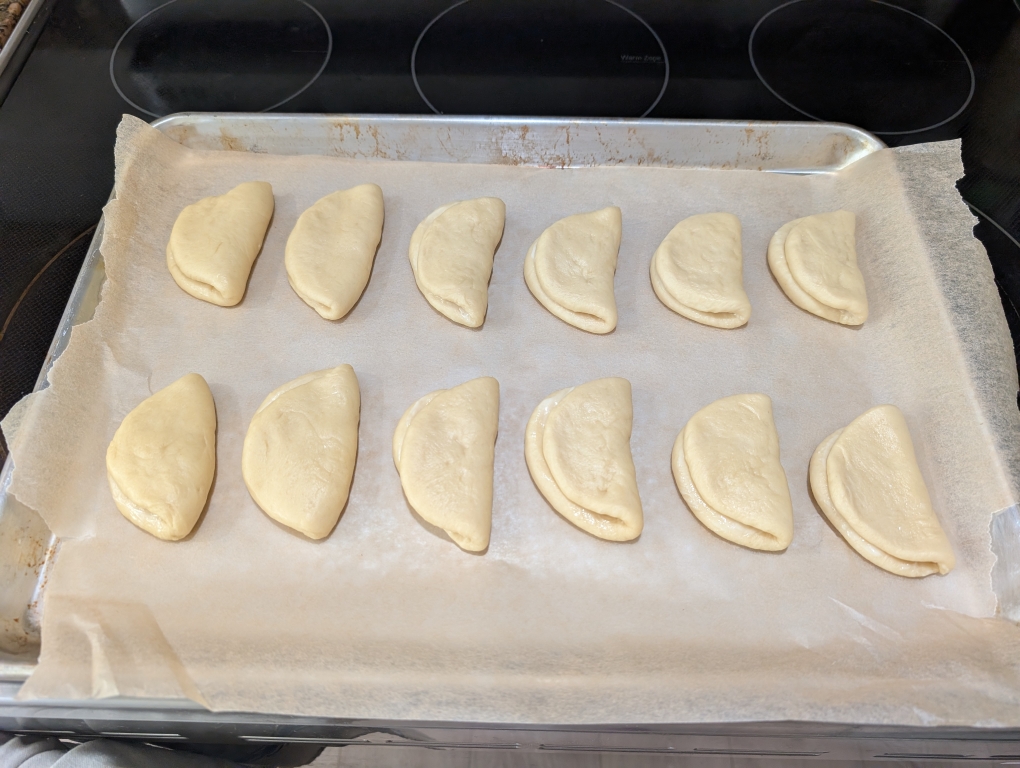
- Roll out into a 4-5 inch long oval and brush with melted butter, then fold in half
- Place on lined baking sheet
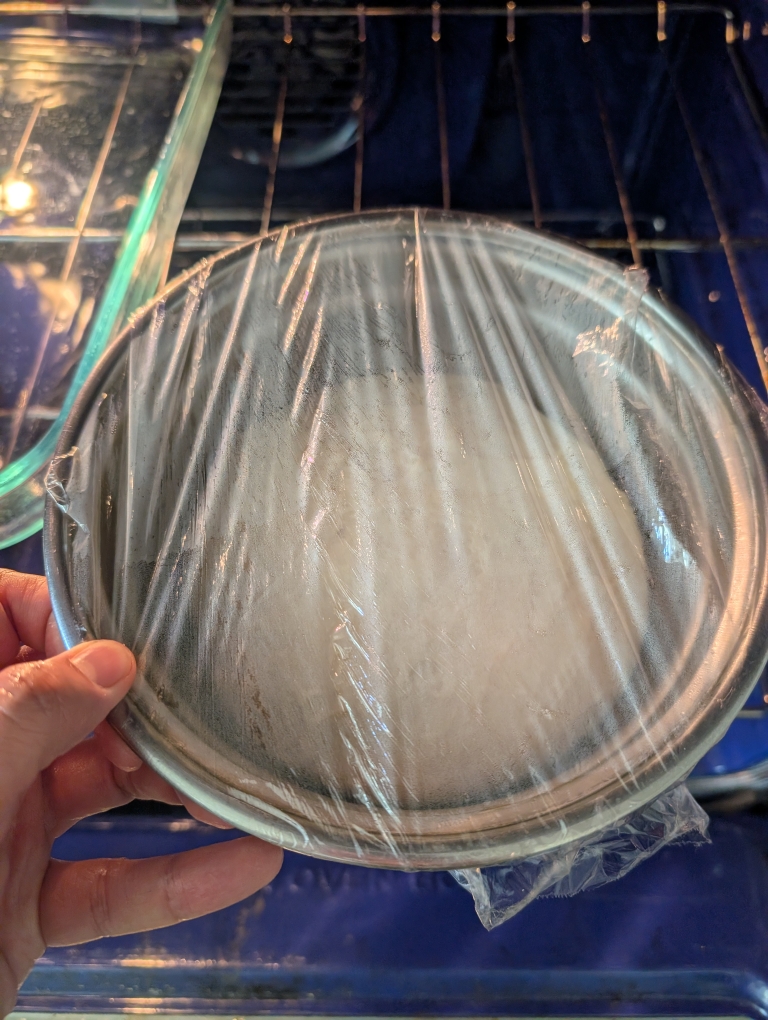
- Cover with towel (I did saran wrap) and let rise until almost doubled (~1 hour, mine rose in about 40 min)
- Bake at 350 F (20-25 minutes) until golden brown
- Brush with melted butter while still warm.


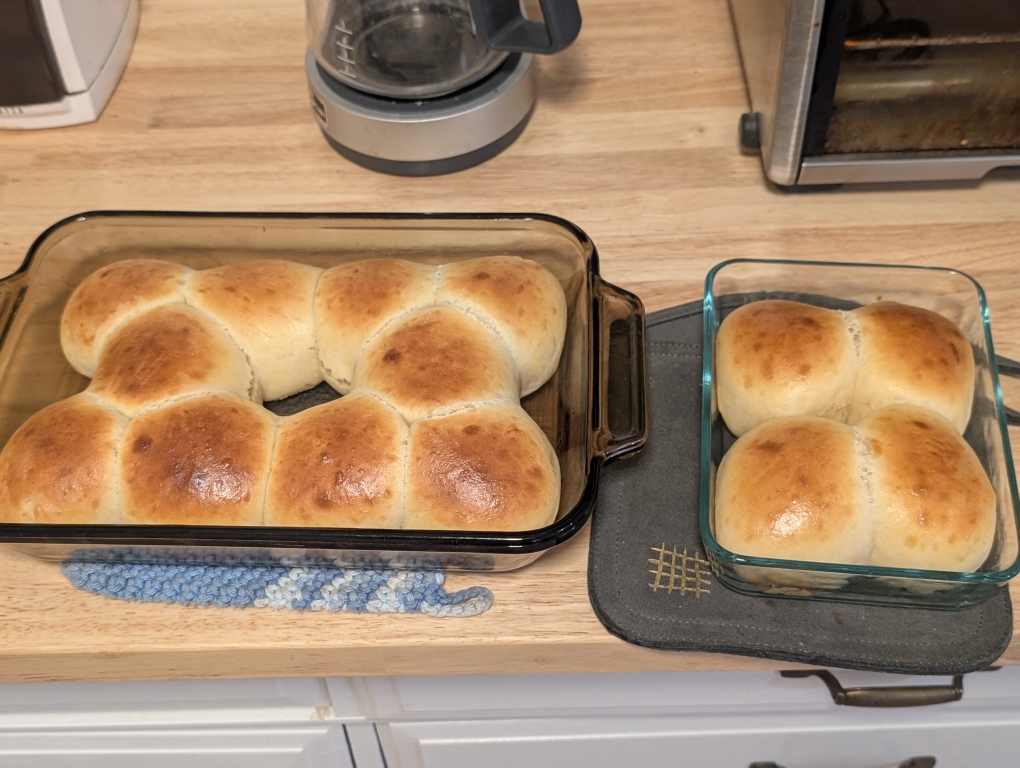
I would make this recipe again. These rolls were delicious and were gobbled up quickly at the family Thanksgiving dinner. The dough was easy to work with and not super sticky/wet.
-StewsCat