So I decided to try a new pizza dough recipe. This was made mostly out of necessity since I hadn’t made the dough the night ahead. I have been using the overnight slow no-knead method for years and it produces a night sour-like dough that D likes. I also haven’t used my new stand mixer for pizza dough and figured this would be a good time to try it out. I tweaked the original recipe a little. I had seen this recipe on one of my FB groups and it looked good – it’s a Martha Stewart recipe (https://www.marthastewart.com/332275/basic-pizza-dough).
Ingredients:
- 2 tsp active dry yeast
- 2 Tbsp sugar
- (eyeballed) 1/4 cup olive oil
- 2 tsp salt
- 4 cups AP flour
- 1.5 cups of warm water
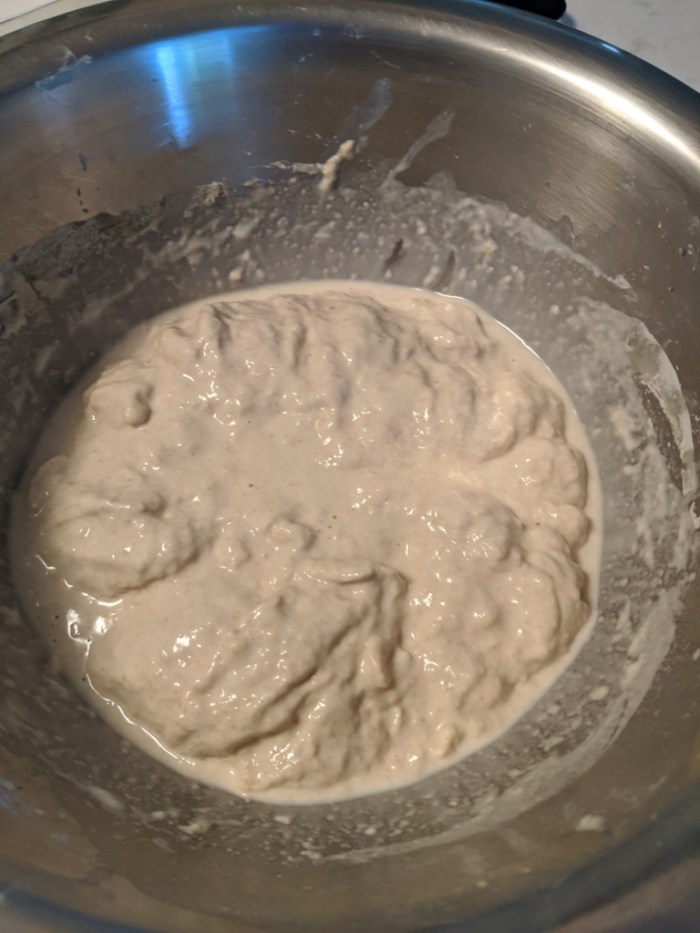
- In the bowl I added the warm water with the sugar and yeast and let it bloom for about 5 minutes.
- To the bowl I then added the AP flour, salt and olive oil.
- Using my stand mixer, I mixed the dough for ~10 minutes (on the low or #2 setting)
- This produced a cohesive smooth dough that I placed in an oiled bowl and let rise until doubled (~1.5-2 hours) – this was a very active dough that more than doubled
- I punched the dough down and then divided it into 4 equal pieces and formed 2 into balls for the pizza (I saved the other half to make bread another day).
- After about 2-3 hours I formed the pizza into a large disc for baking.


What I liked about this recipe is that it provided for a dough with good strength to it when working it. The one I had been making was a little more delicate and harder to stretch into a nice round shape like the above. Overall I thought it was a little light on salt and didn’t create the same depth of flavor as the overnight dough but it works if you have less time.
-StewsCat