Ever since moving down to southern CA in 2024, we haven’t been back up to the Sacramento area. We really missed the food and decided to make a trek up to our old stomping grounds (both Sacramento as well as the Napa Valley area, another favorite place to visit when we lived up there) in early 2026. After living in the Sac region for so long, we had some “go to” places that we wanted to hit up.
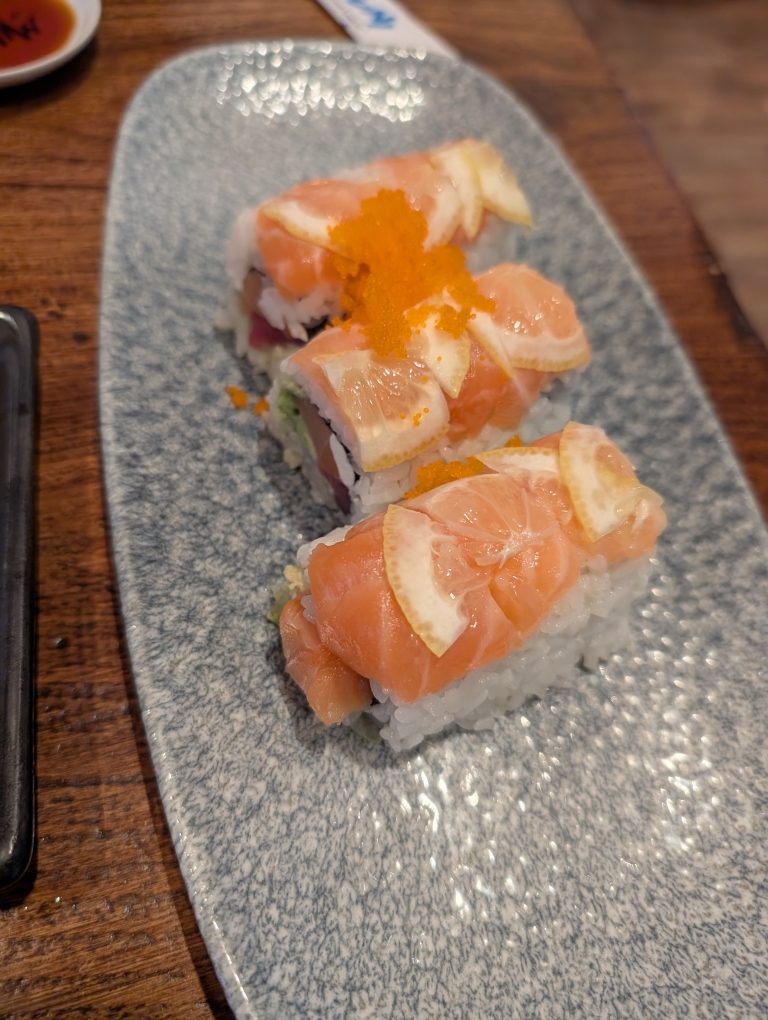
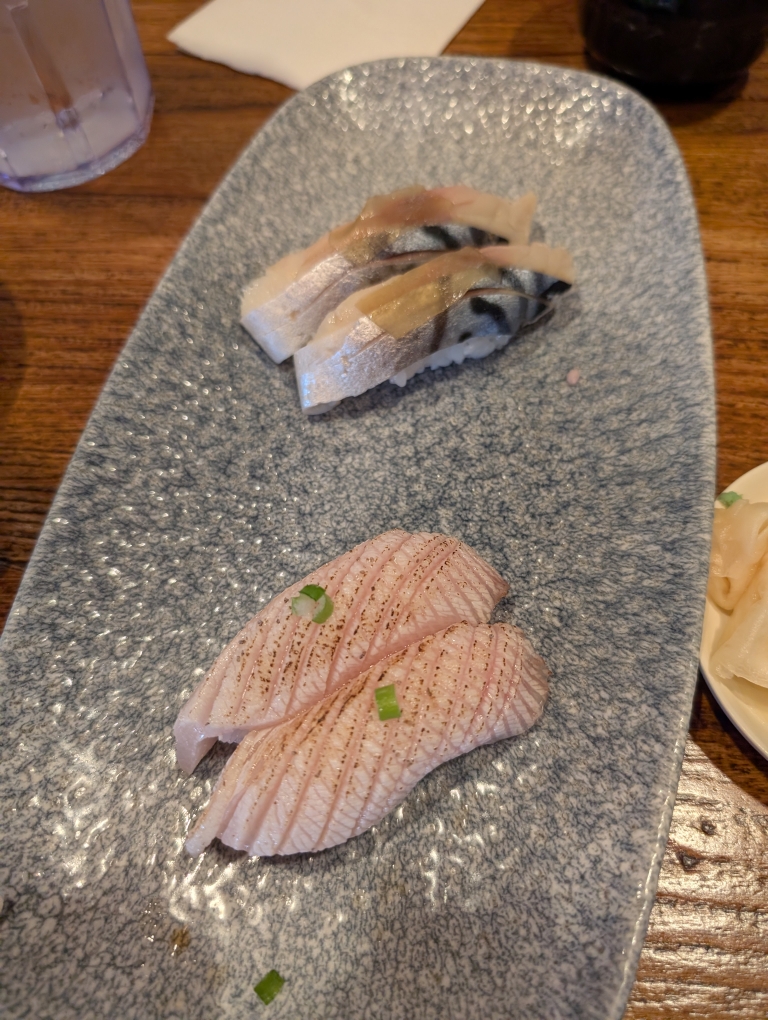
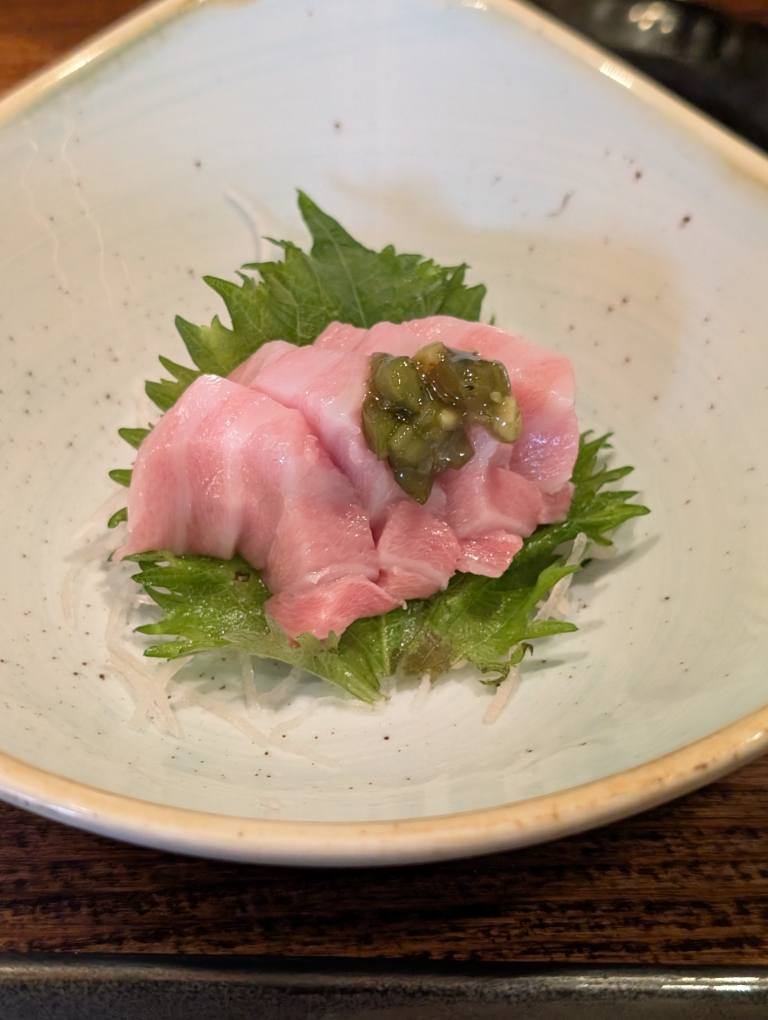
After landing at SMF and collecting our rental vehicle, we made our way over to Davis to have some lunch before the drive out to Sonoma. The first restaurant to check off our list was Mikuni Sushi. While it is now a chain with 10 locations, it is still quite good and relatively affordable sushi and other Japanese fare. Knowing that our dinner that night may be somewhat heavier, we ordered accordingly and had some sashimi, rolls and nigiri
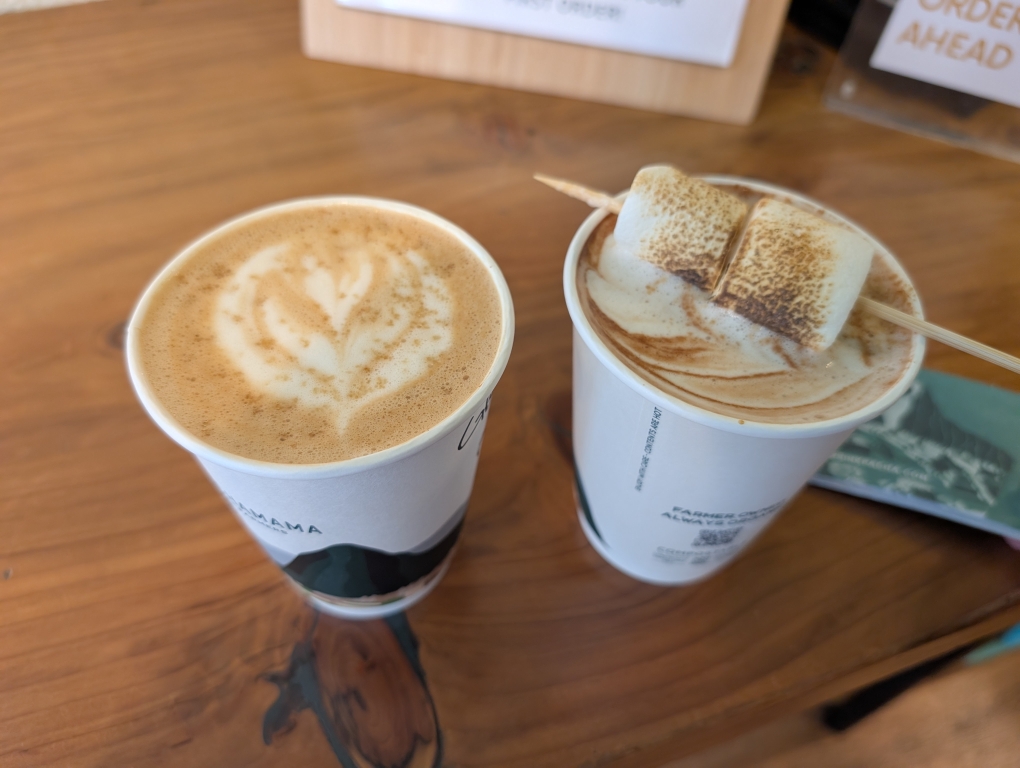
After lunch, we walked over to Pachamama to grab some caffeine for the slightly over an hour drive to Sonoma. They had some seasonal drinks and I had one that was like a “Fireside mocha,” which was quite tasty. Also the toasted marshmallow was a nice touch.
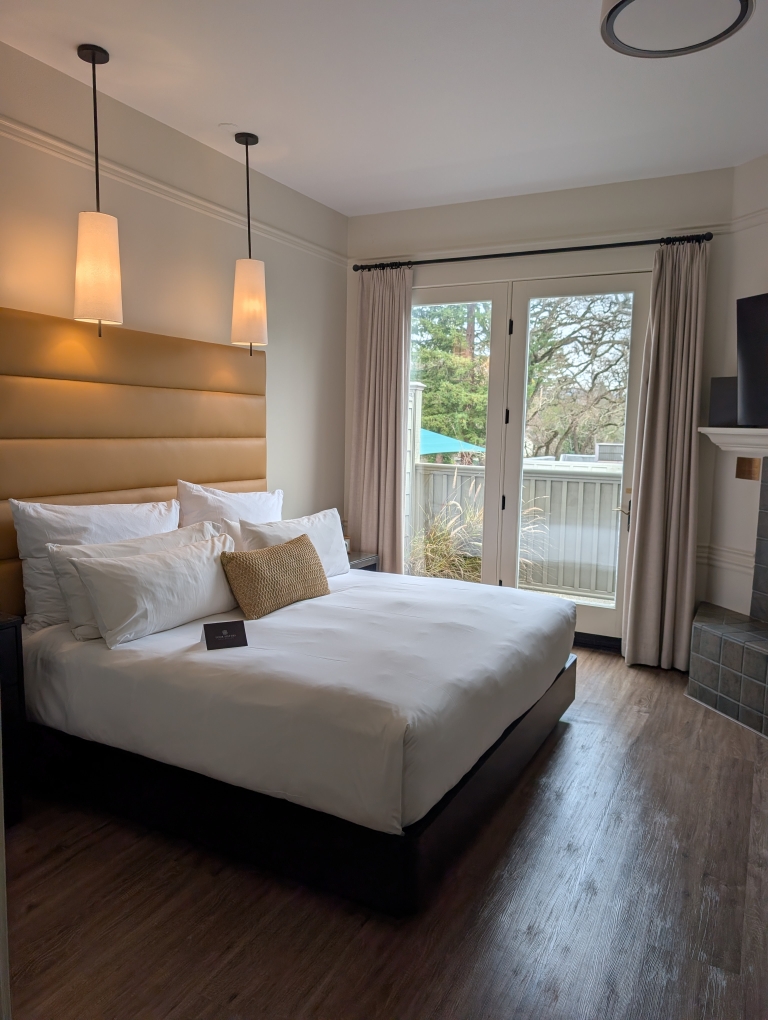
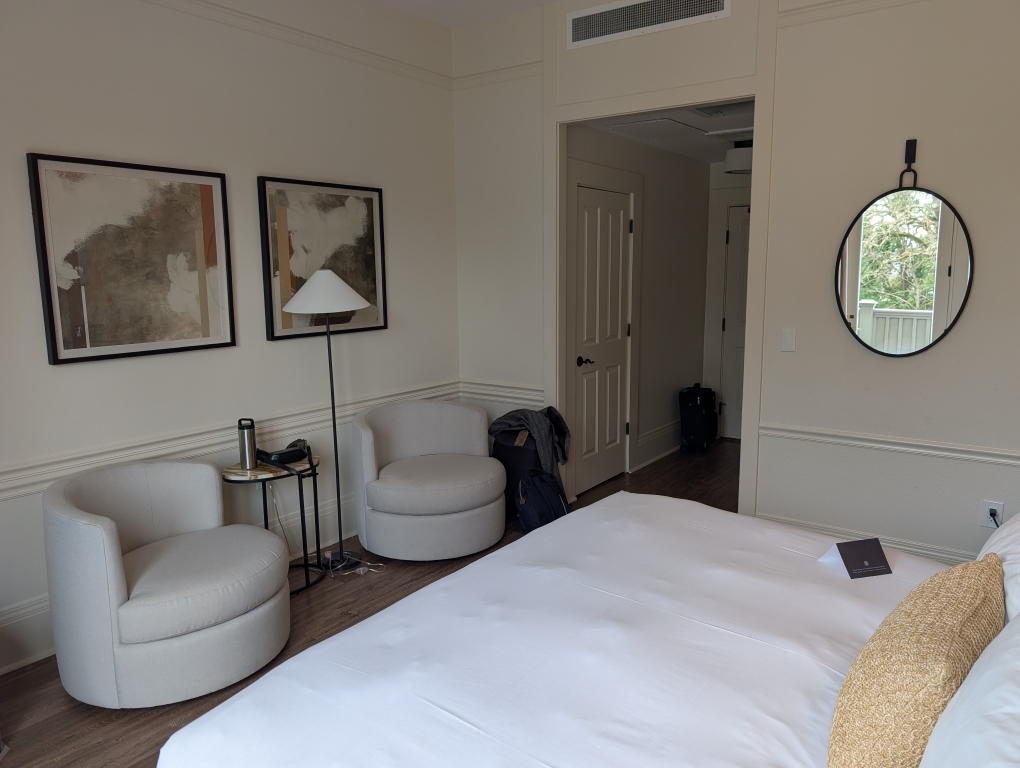
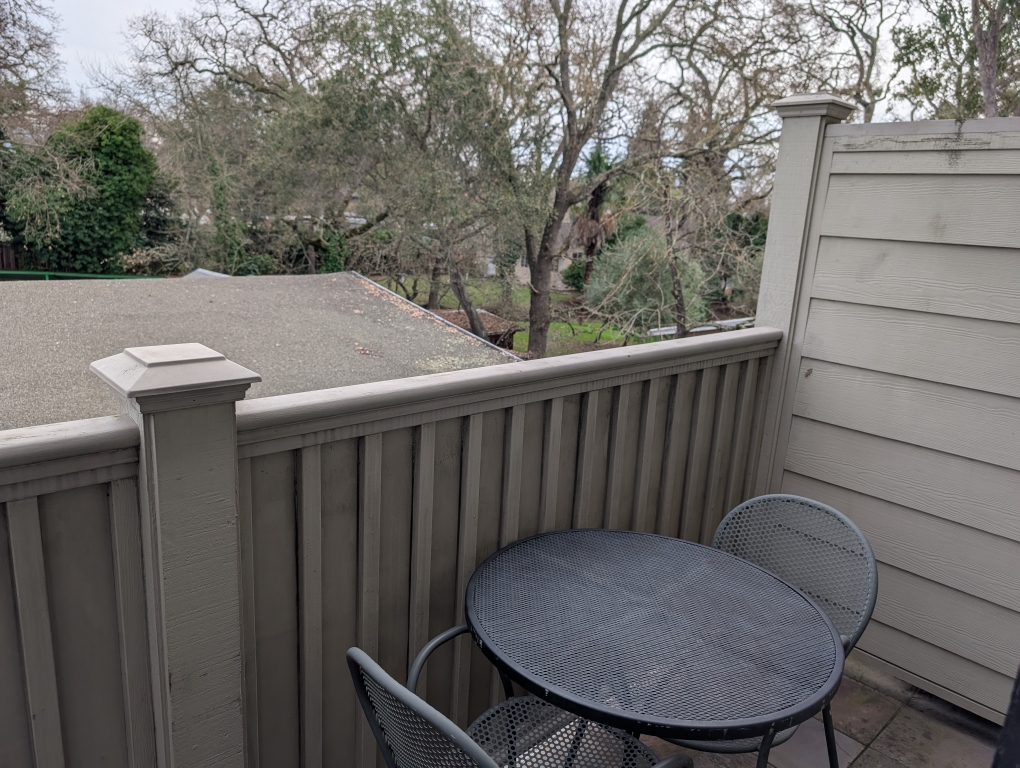
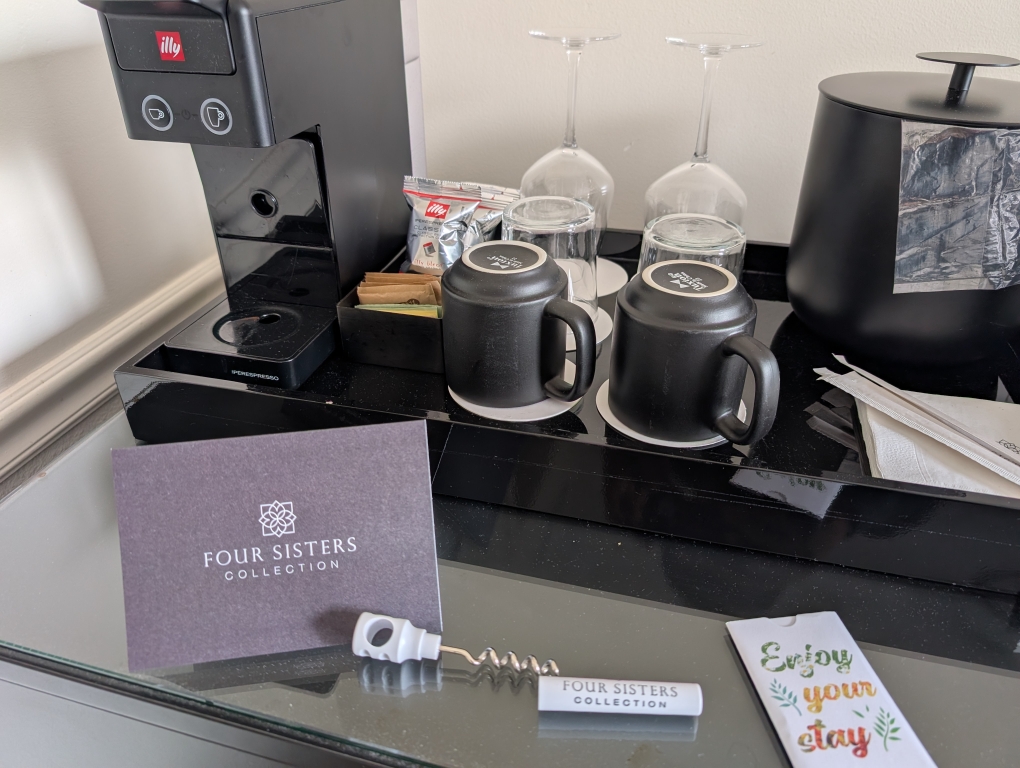
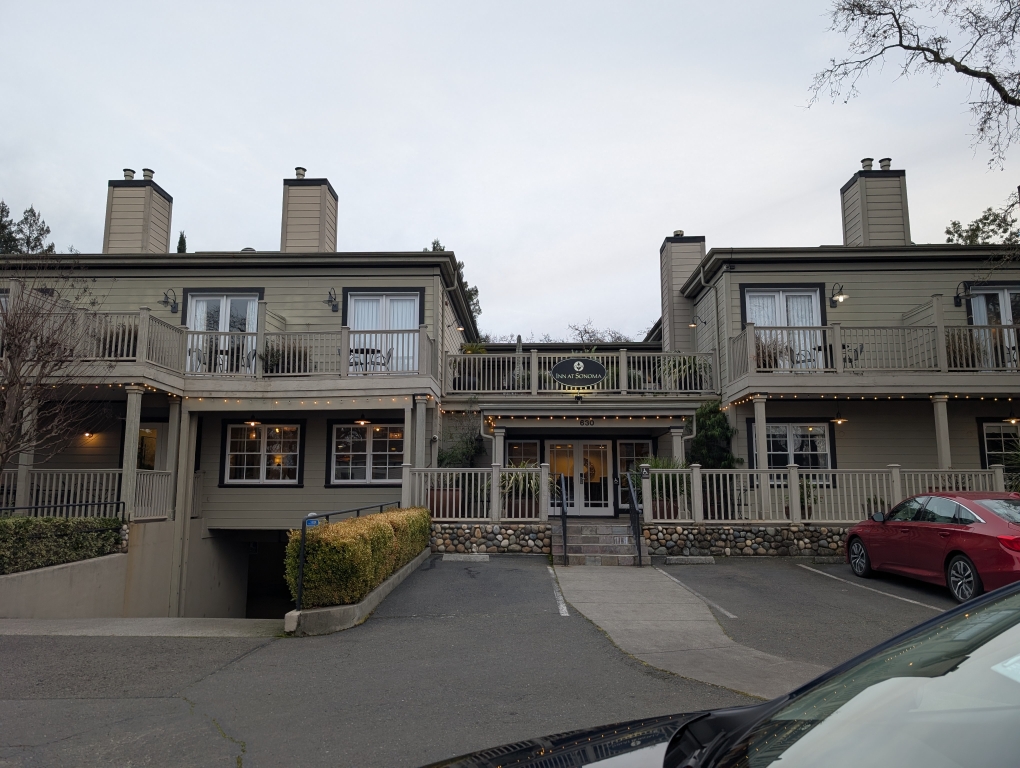
Our room at the boutique B&B in Sonoma (Inn at Sonoma) was ready early so by the time we arrived we could check in. I had stayed at one of their sister properties (funny enough the parent company is called Four Sisters) while working down in southern California. This place was just a few blocks from Sonoma Plaza.
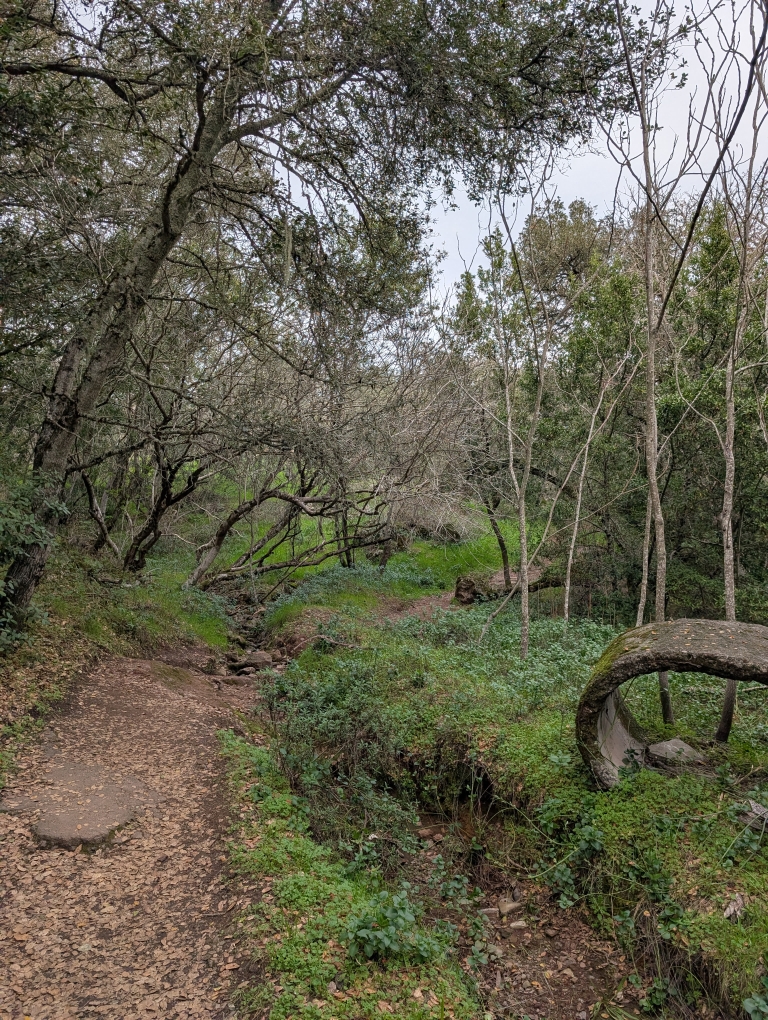
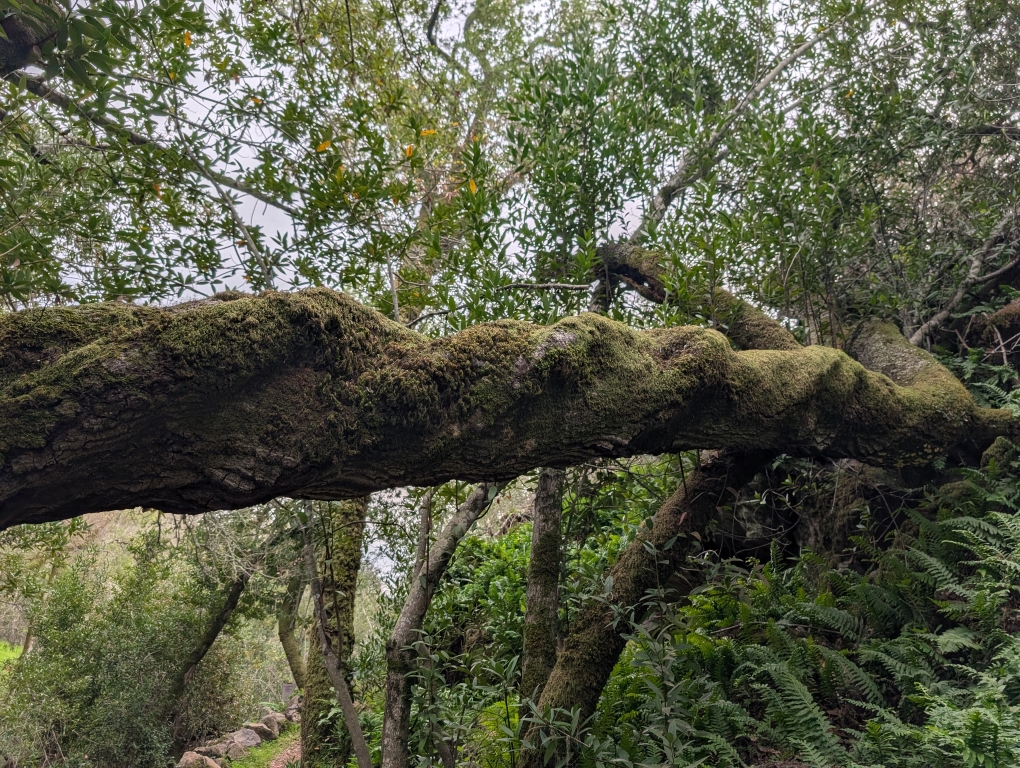
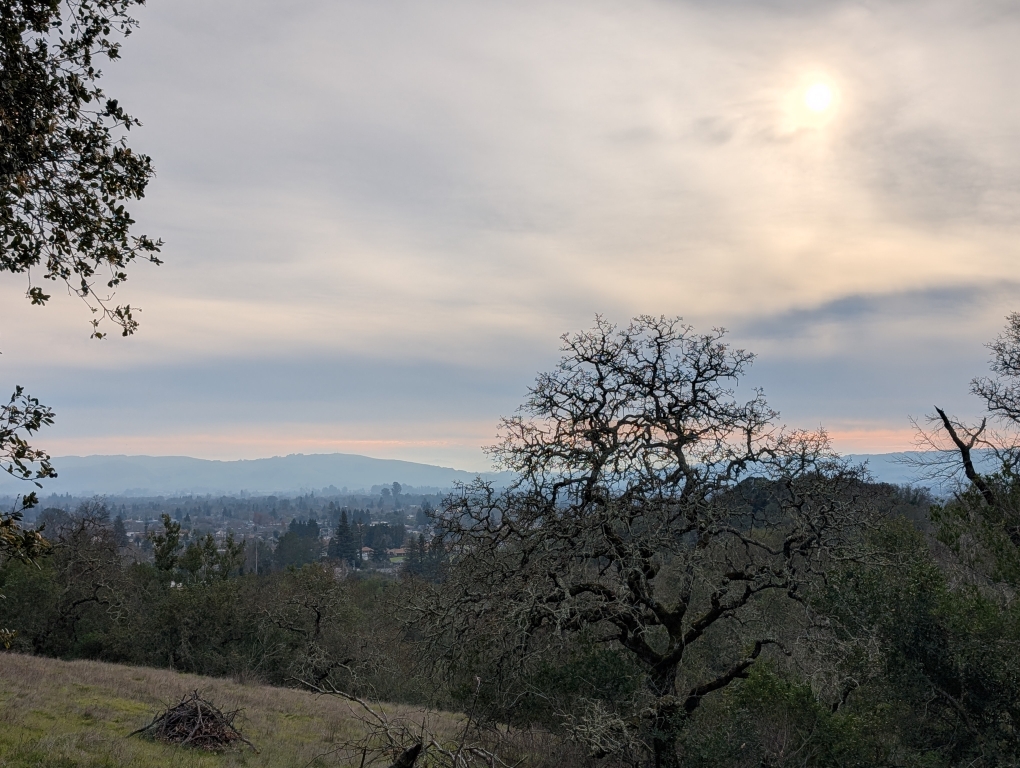
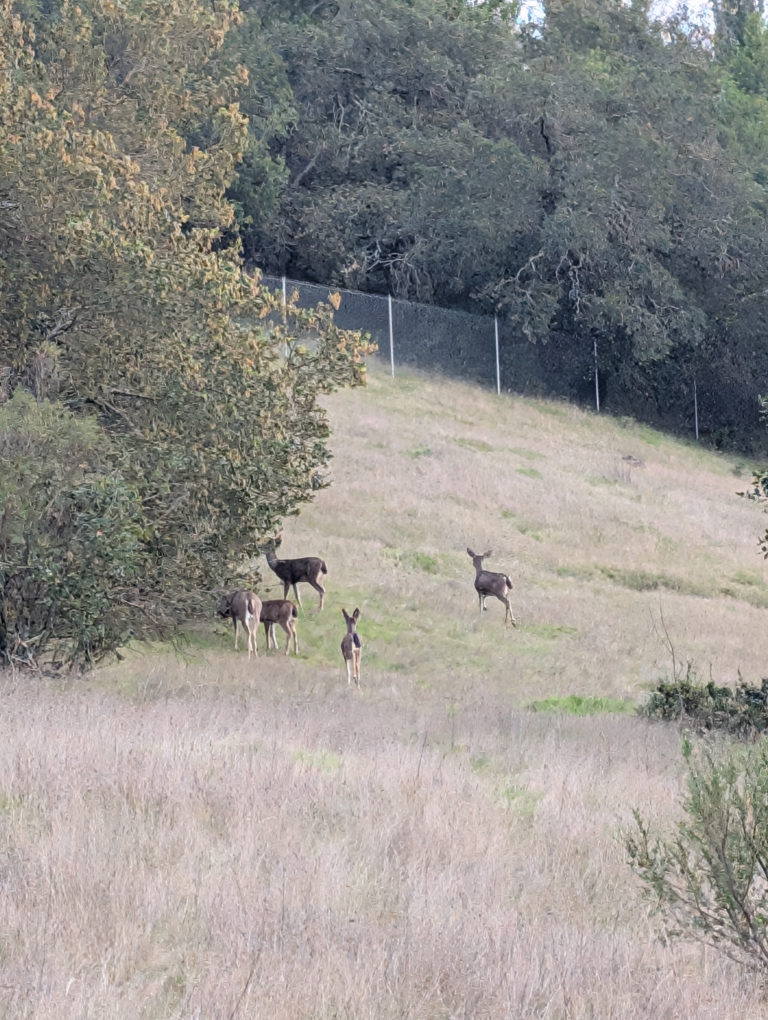
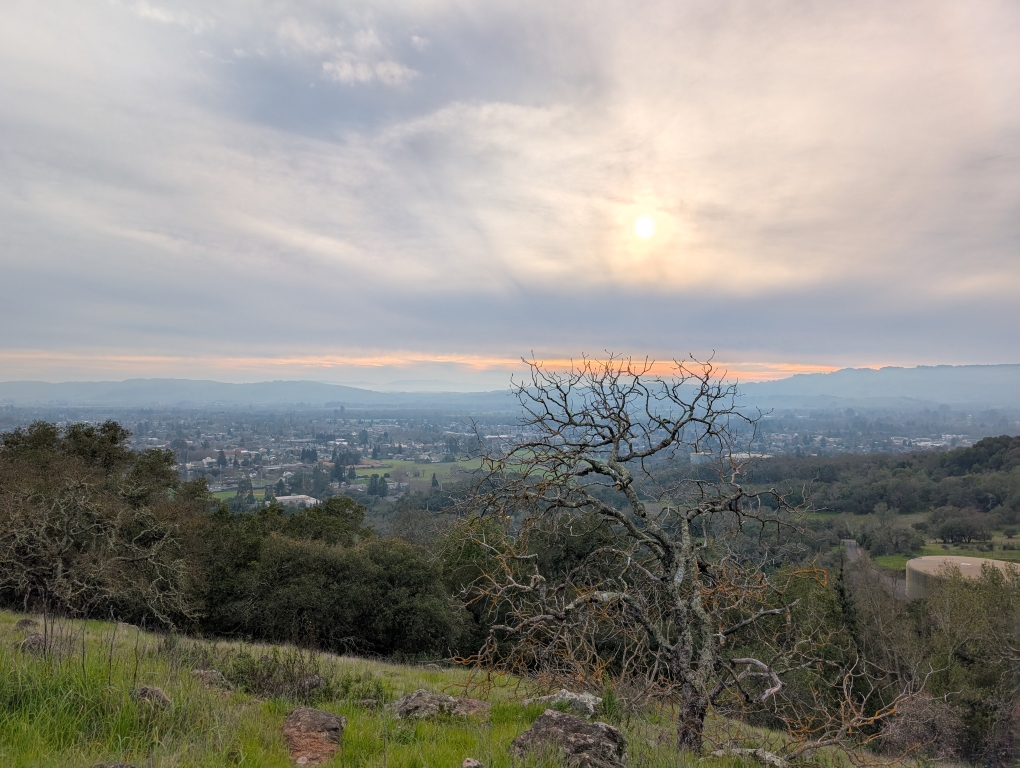
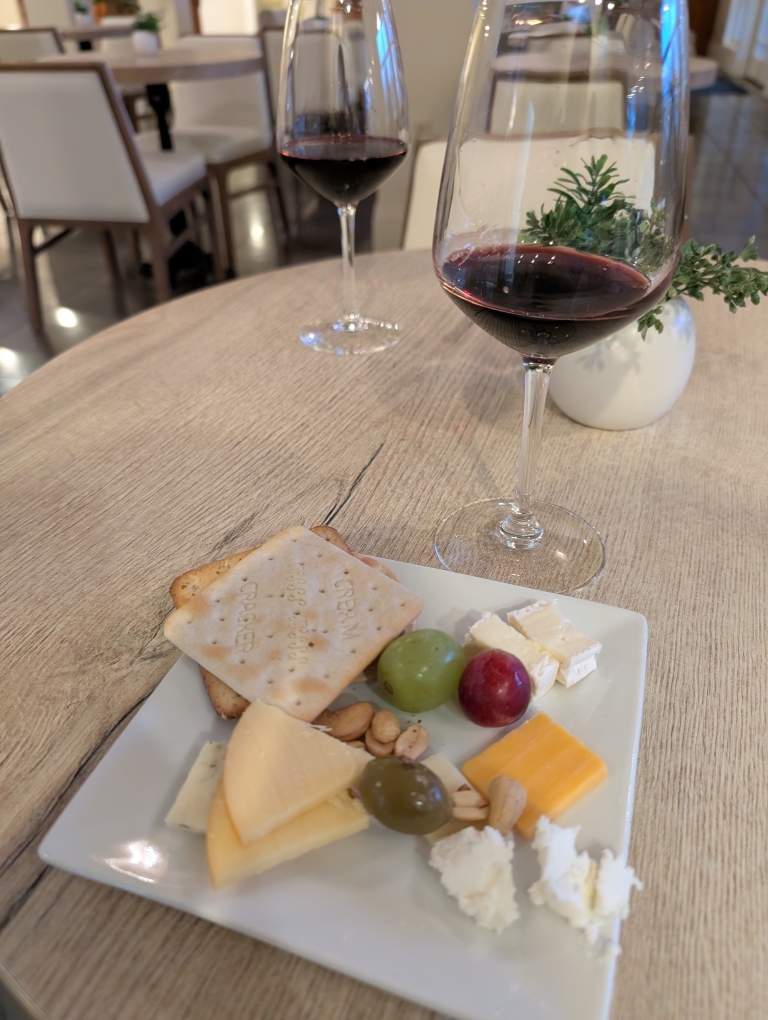
We had a little bit of time to kill before dinner and decided to do a little bit of a hike at the Sonoma Overlook Trail (I had discovered it when I was researching a bit of the area to see where I could run – fit in a run later in the trip). The trail had a slight incline and took about 40 minutes of casual meandering to get up to the top. At the top we spotted a family of deer that were grazing and of course keeping an eye on us. Before heading out to dinner, we partook in the B&B’s free wine and cheese hour
I also decided to make some Parker House rolls for Thanksgiving and tried a new recipe. This recipe makes 24 rolls. I did a half batch and they turned out good. I liked that the combining of ingredients was simple and there weren’t a lot of different steps where you added one thing at a time.
Ingredients:
1/2 cup warm milk
1/2 cup warm water
1 package active dry yeast (~7 grams, I did like 4 grams for my half batch)
2 large eggs
3 Tbsp white sugar
1 1/2 tsp salt
3/4 cup butter, melted
4 1/2 cup AP flour
Combine warm milk, water, yeast (~110-120F) – let sit for 10 minutes
Add eggs, sugar, salt, 1/2 cup melted butter
Whisk together
Add AP flour and knead until comes together (hand kneaded about 5-6 minutes)
Form into ball and place in lightly buttered bowl until double (~2 hours)
Press flat, divide into 24 portions and roll into ball (I weighed the whole thing and then portioned by weight).
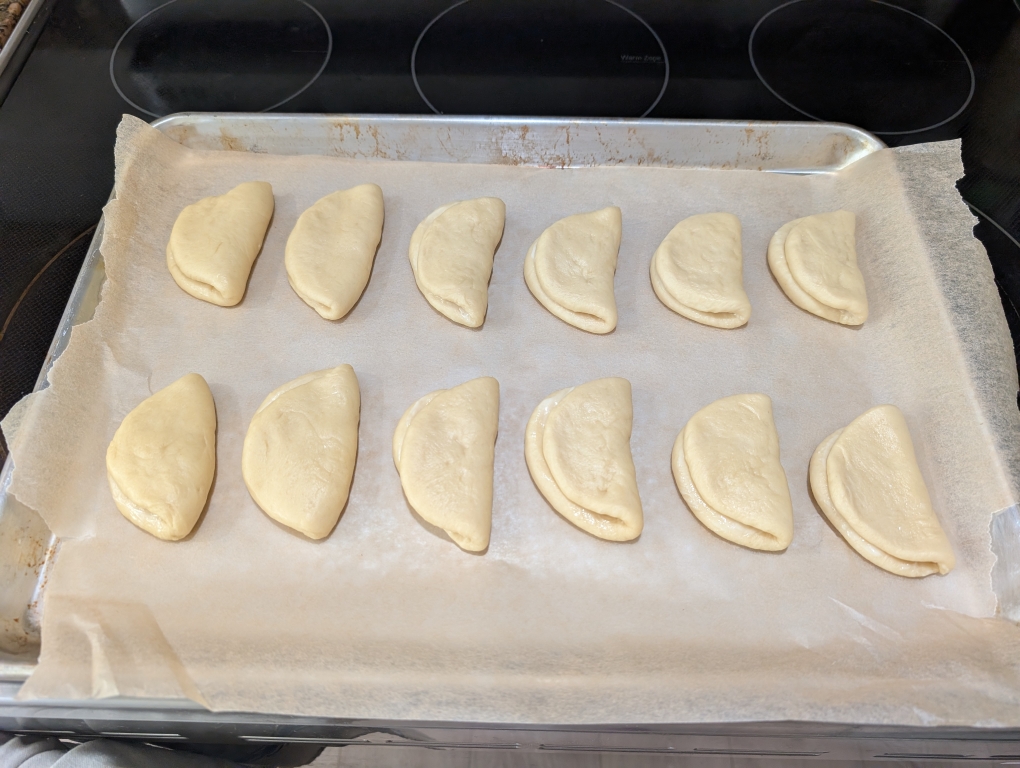
Roll out into a 4-5 inch long oval and brush with melted butter, then fold in half
Place on lined baking sheet
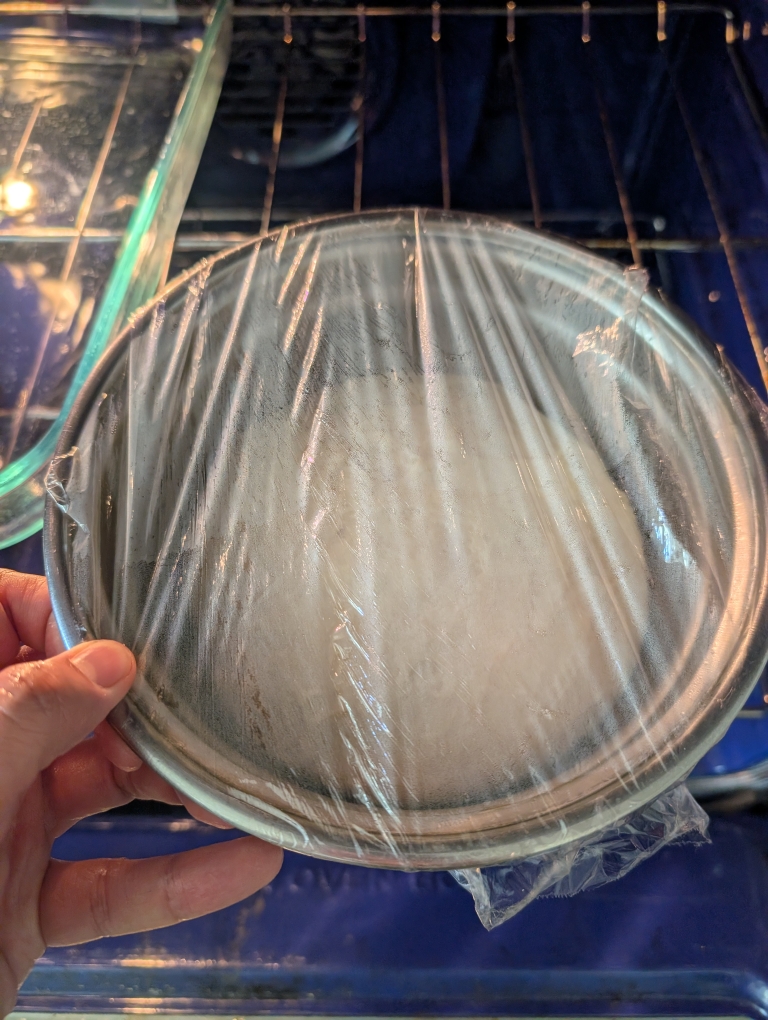
Cover with towel (I did saran wrap) and let rise until almost doubled (~1 hour, mine rose in about 40 min)
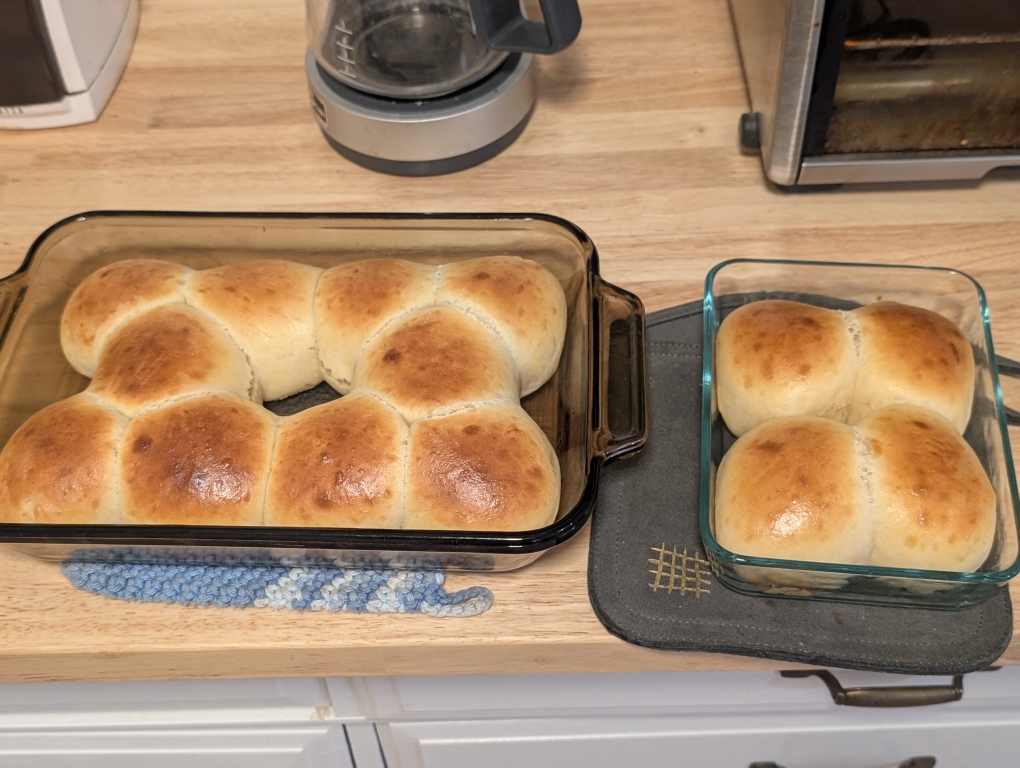
Bake at 350 F (20-25 minutes) until golden brown
Brush with melted butter while still warm.
I would make this recipe again. These rolls were delicious and were gobbled up quickly at the family Thanksgiving dinner. The dough was easy to work with and not super sticky/wet.
For Thanksgiving this year I elected to make some rolls for the family potluck. I had previously made some good dinner rolls but didn’t remember the recipe (and only just now found that I have it saved as a draft here, so I will eventually publish that as well). I decided to try making a dupe for the famous Hawaiian Rolls. There are many recipes that can be found online.
This recipe is from Mike’s bakery NYC. The following recipe makes 15 rolls
Ingredients:
530 grams All-purpose flour
1 1/2 tsp sea salt
14 grams instant yeast
180 grams pineapple juice
90 grams milk
85 grams honey
1 tsp white vinegar
1 large egg (~50 grams)
1 tsp vanilla
Egg Wash: 1 egg beaten with 1 Tbsp water
Combine flour (minus 30 grams), salt, yeast in mixing bowl
In a saucepan (low-medium heat), heat pineapple juice, milk, butter, honey, stirring – heat until 120-130 F
Add mixture to flour
Add egg, vinegar, vanilla and remaining 1/4 cup (30g) flour and combine.
Knead 8-10 minutes, cover, rest 15 minutes
Weigh dough, divide into 15 equal pieces and shape into balls
Place on lightly greased 9 x 13″ pan (leave room for it to expand)
Cover and let double (~60-75 minutes)
Preheat oven to 375 F with rack on lower-middle rack
Brush top with egg wash and bake 18-20 minutes or until golden brown on top.
I would make this recipe again. The rolls turned out good. I will say the dough was quite wet and sticky and I did end up adding in additional flour but overall just had to keep working it until it formed into a less sticky dough ball.
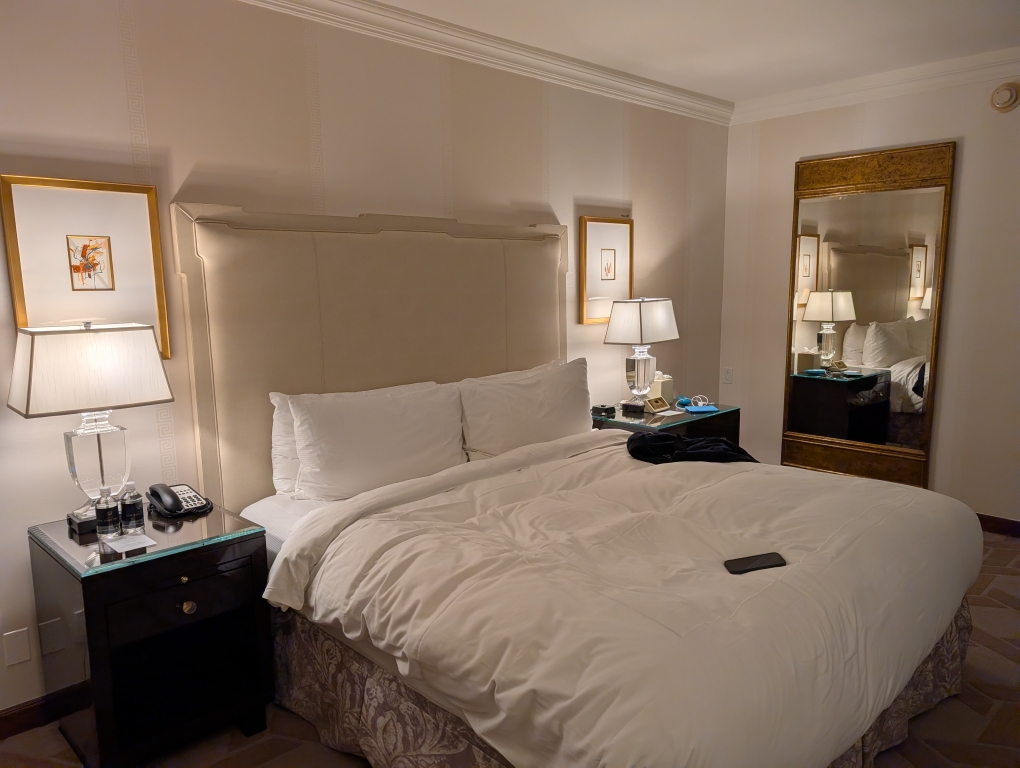
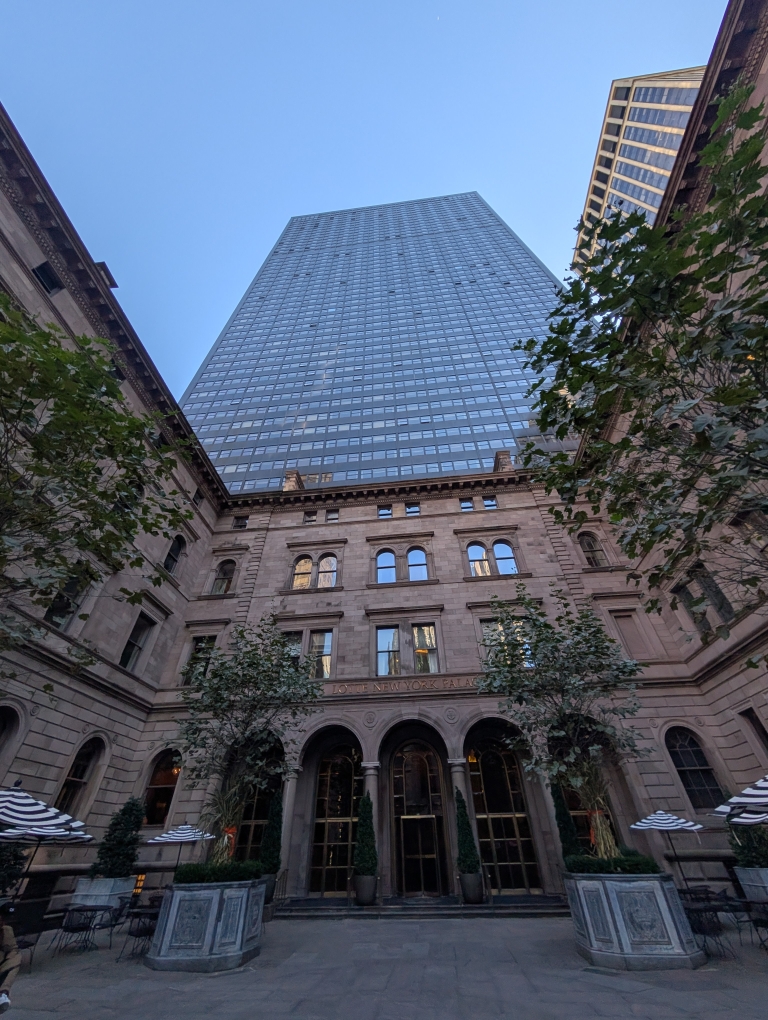
We made our (now 3rd) annual trip to the Big Apple recently. With the flight, I had access to some hotel deals and figured we’d go back old school and stay at The Palace. The Lotte New York Palace was the place we stayed the first time we went to NY together in 2016. At the time it was undergoing some construction. The location is also very convenient.
After landing a little bit earlier than scheduled, I definitely felt like there was more breathing room making our 10:30 pm dinner reservation (this was the ONLY reservation for this particular restaurant the entire 5 days that we were visiting). With traffic, we also decided to take the train (Skytrain and then subway) to get into the city which saved us at least 30 minutes compared to a taxi. After checking in and dropping our stuff, we caught another subway down to SoHo to Raoul’s.
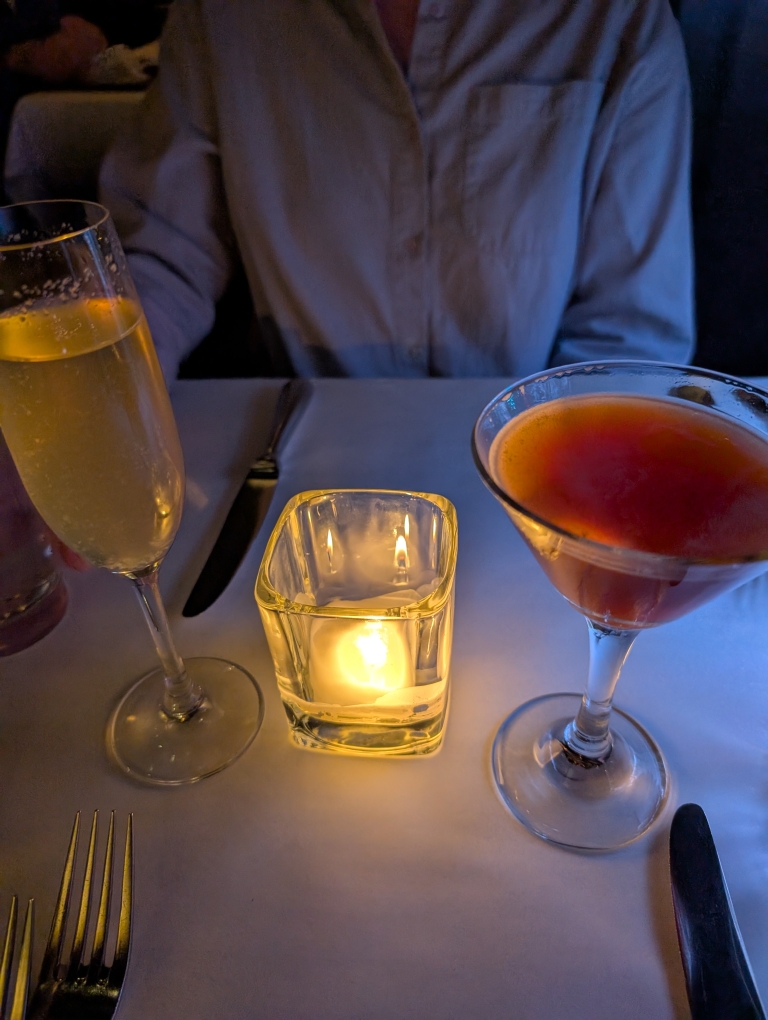
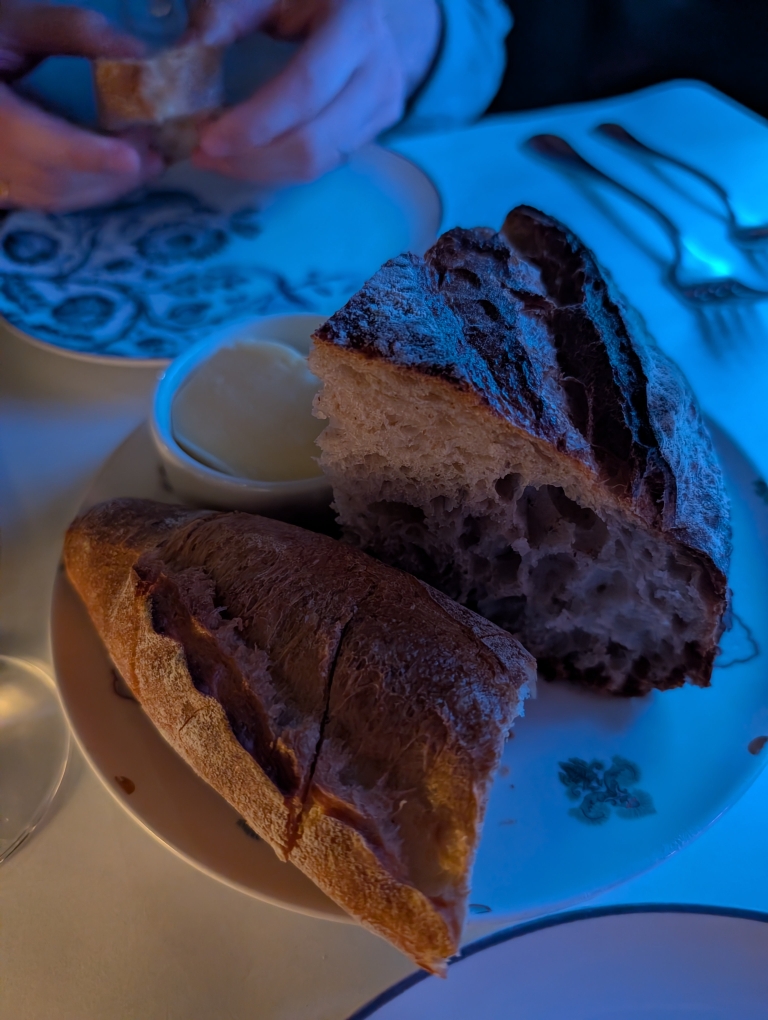
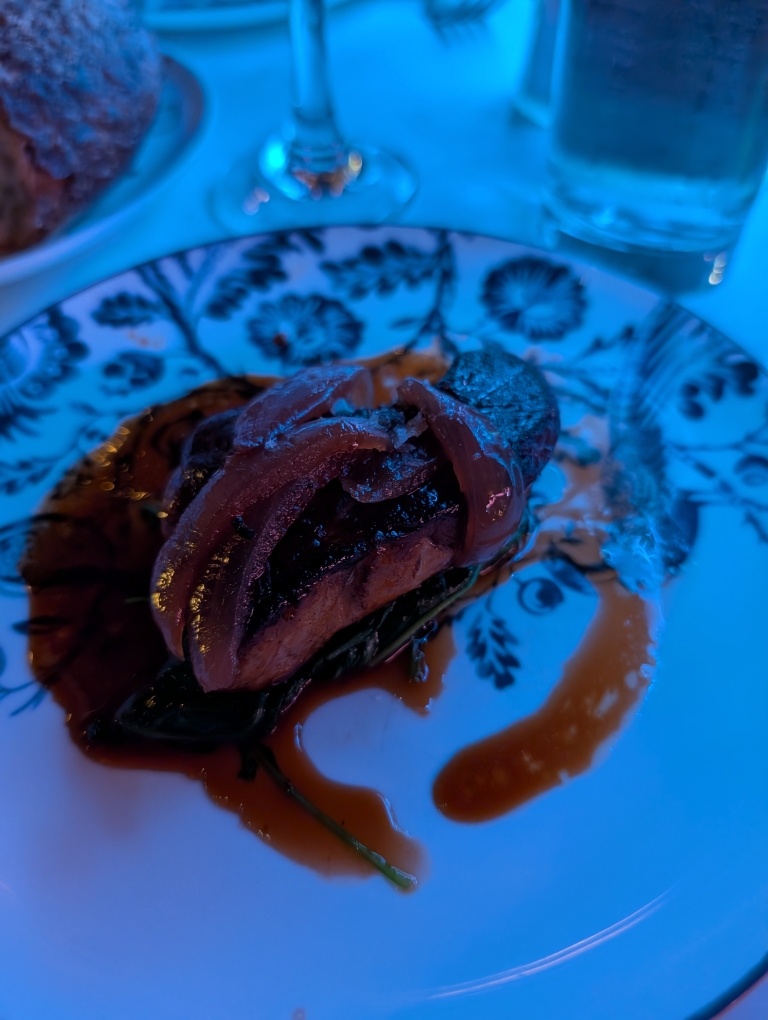
Even though it was a late Wednesday evening, the place was packed and the atmosphere loud. After a short wait, we were seated at our cozy table (right in the middle of the restaurant with patrons squeezing past and a random little fish tank. For dinner, I started with the seared foie gras and D had a endive and blue cheese salad. Known for their steak au poivre, we both elected to get that, which came with house made fries and a salad. Of course we also had to get a cocktail. One of the things the establishment is known for is a very large painting of a nude woman lying in repose – D had the view during our dinner.
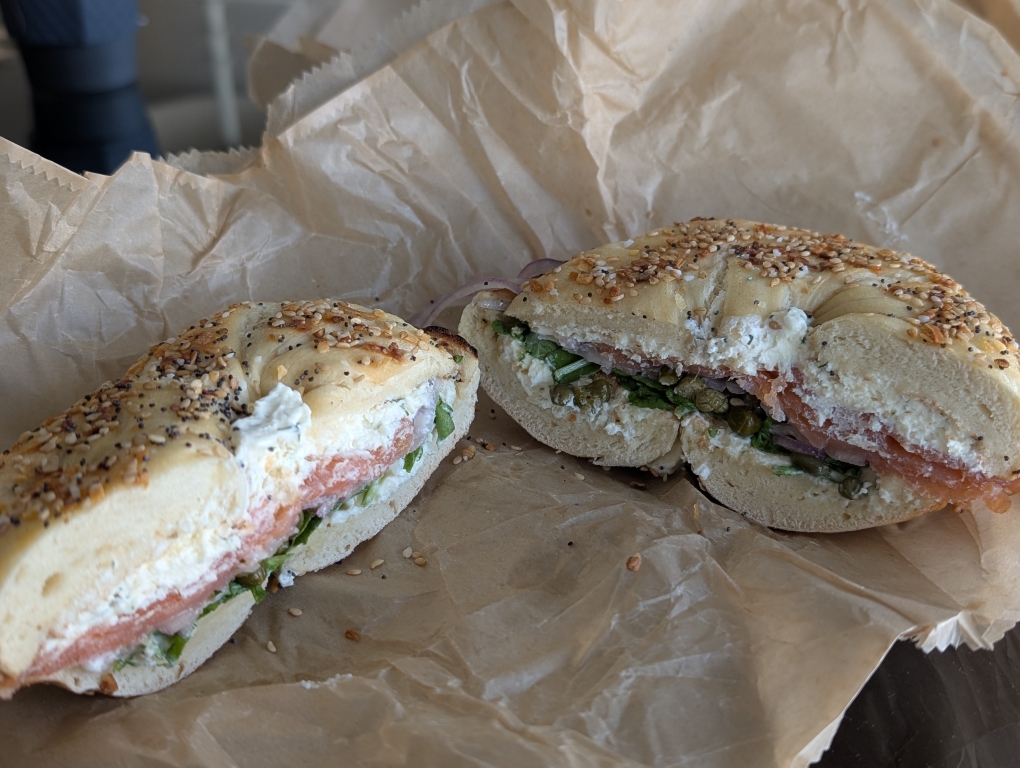
Day 2 started with me ordering some Liberty Bagel (lox bagel for me, cinnamon raisin for D) as well as some Black Fox coffee (both a convenient short walk from the hotel).
As we continue in our search for a place to settle, we took a trip back up to the Portland, OR region at the end of August into September. They were experiencing their own heat wave, which actually at least may give us an idea of what it is going to be like moving forward as the whole planet heats up. Their “heat wave” was in the mid to high 80s. While the temperatures were similar to soCal, it didn’t feel as warm, possibly with all the trees and greenery. We also decided to stay in an AirBnB this time instead of a hotel to get a better idea of what “living” there would be like.
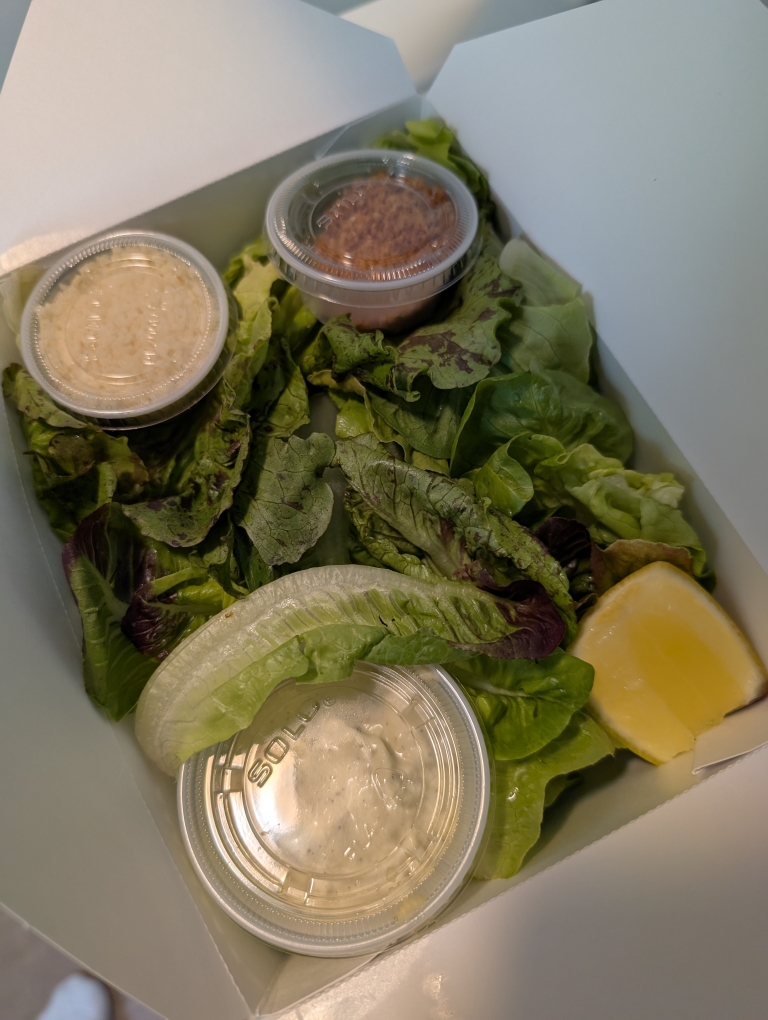
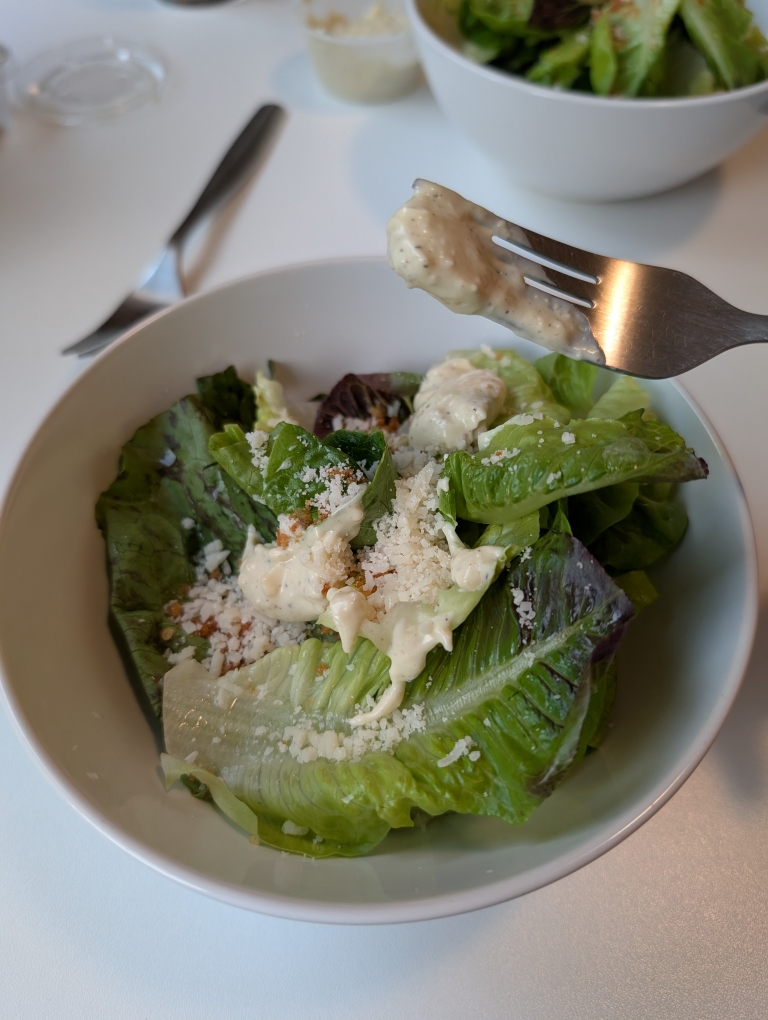
Our flight brought us in just before/around dinner time so after getting our rental car, we stopped at Lovely’s Fifty-Fifty to pick up some pizzas. Lovely’s has been a James Beard finalist and they also use the locally milled flours (we picked up some flour from the mill on our last visit). They were already very busy with wait times of like 1.5 hours (this was a Tuesday at around 5 pm) so we elected to get some to go orders and eat at the AirBnB. We chose two different pizzas along with a salad (semi-healthy)? We had the Fresh Mozz with Basil pizza and the House made fennel sausage with lacinto kale, sleeping beauty, and rosemary.
Overall both very good pizzas. After dinner we swung by one of the local specialty grocer chains (New Season’s market – think similar to Whole foods, sprout’s) to pick up some items for breakfast and some fruit as well.
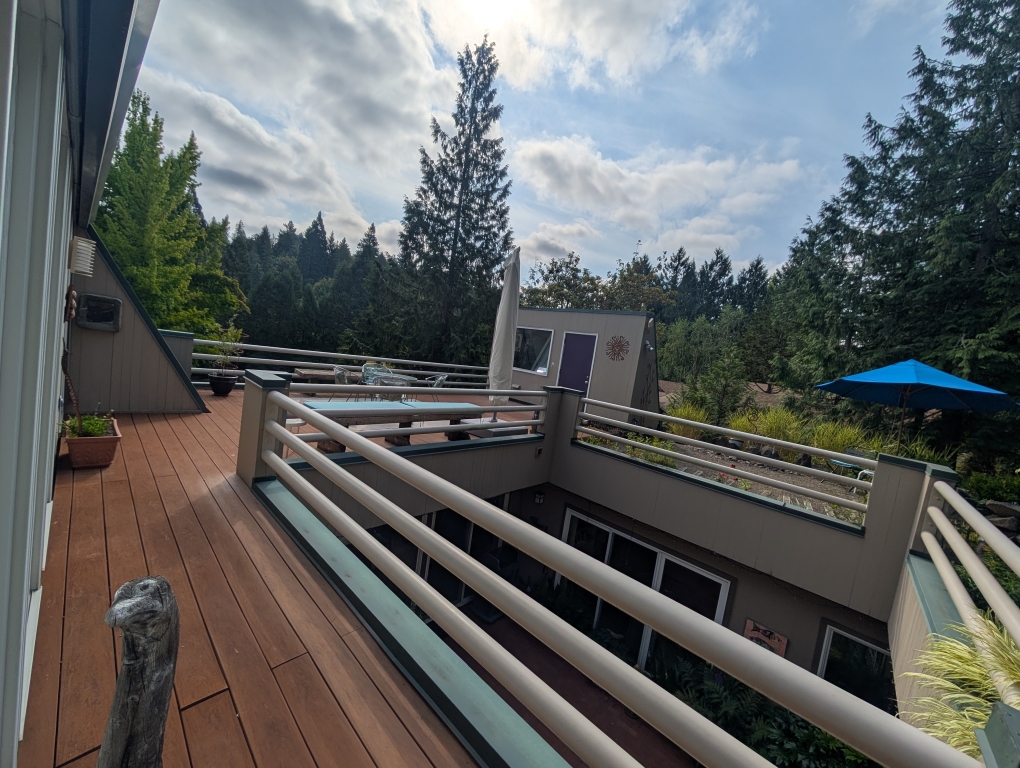
Our AirBnB location was off of Scholls Ferry Road just south of the 26 and east of the West Slope neighborhood. It reminded me of Palos Verdes estates some – very hilly, big nice houses, lots of trees. Honestly aside from the steep hills with no sidewalks/narrow streets, it would be a good place to live, though probably not the best place to be able to walk out of the house and go for a run.
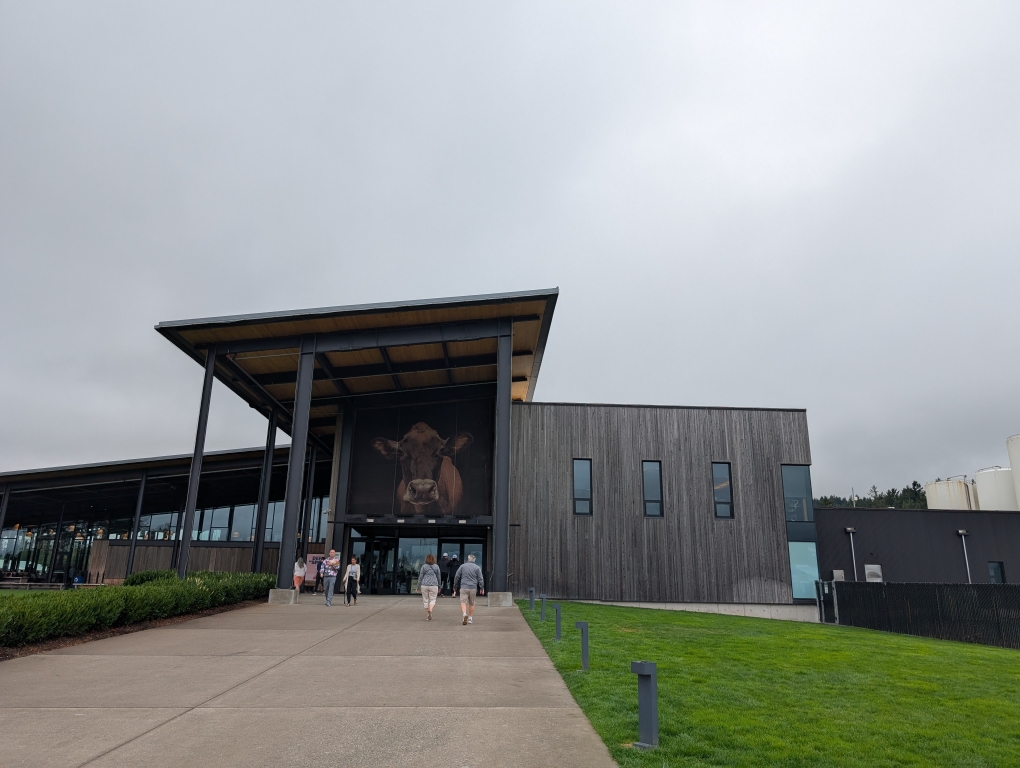
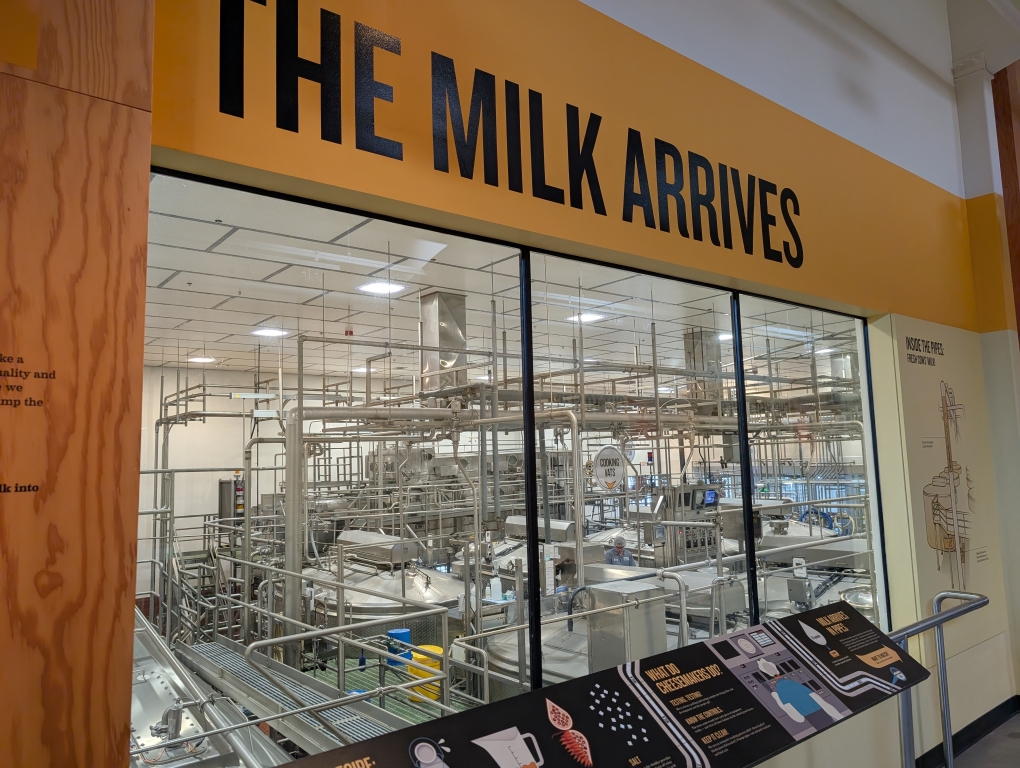
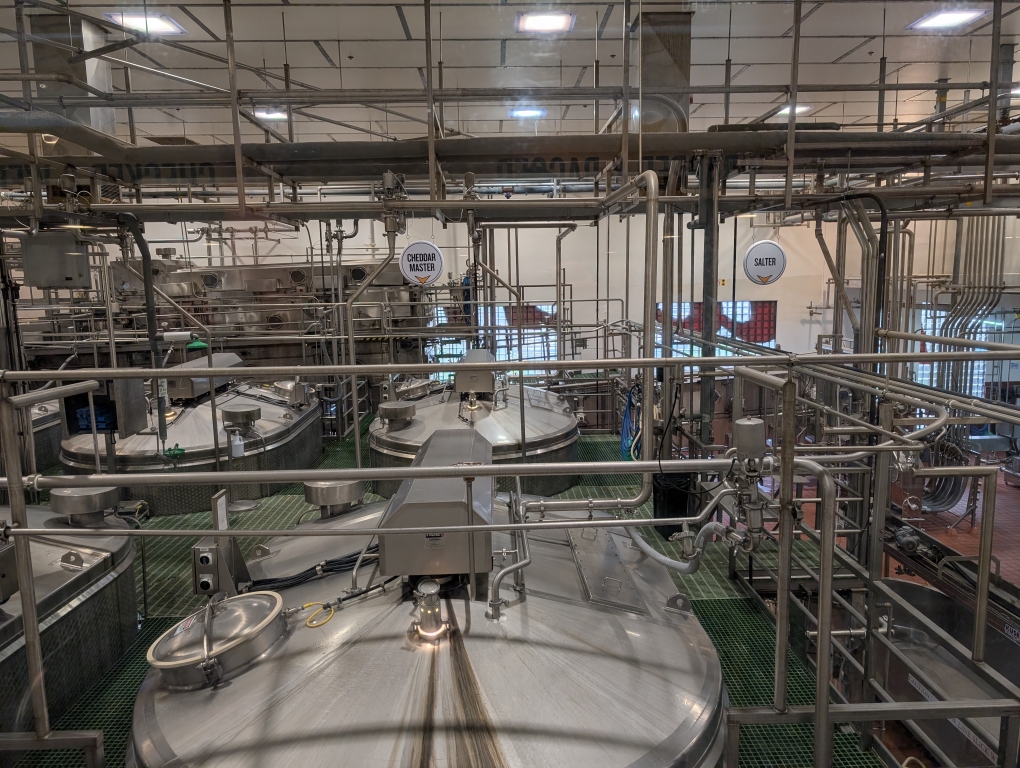
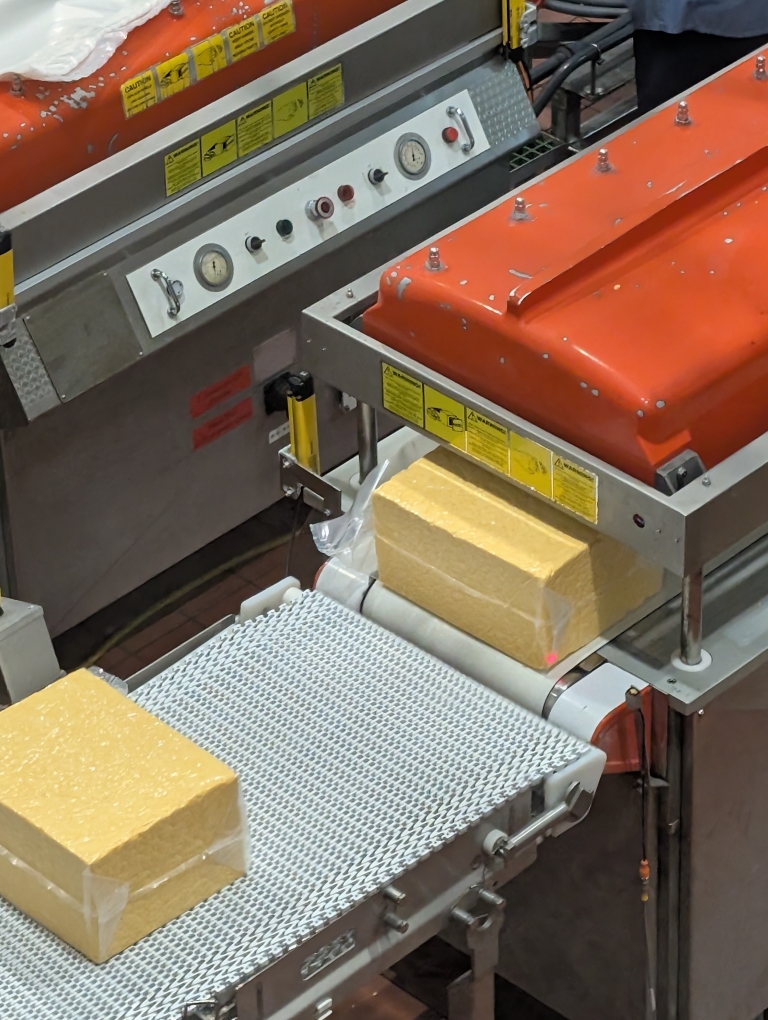
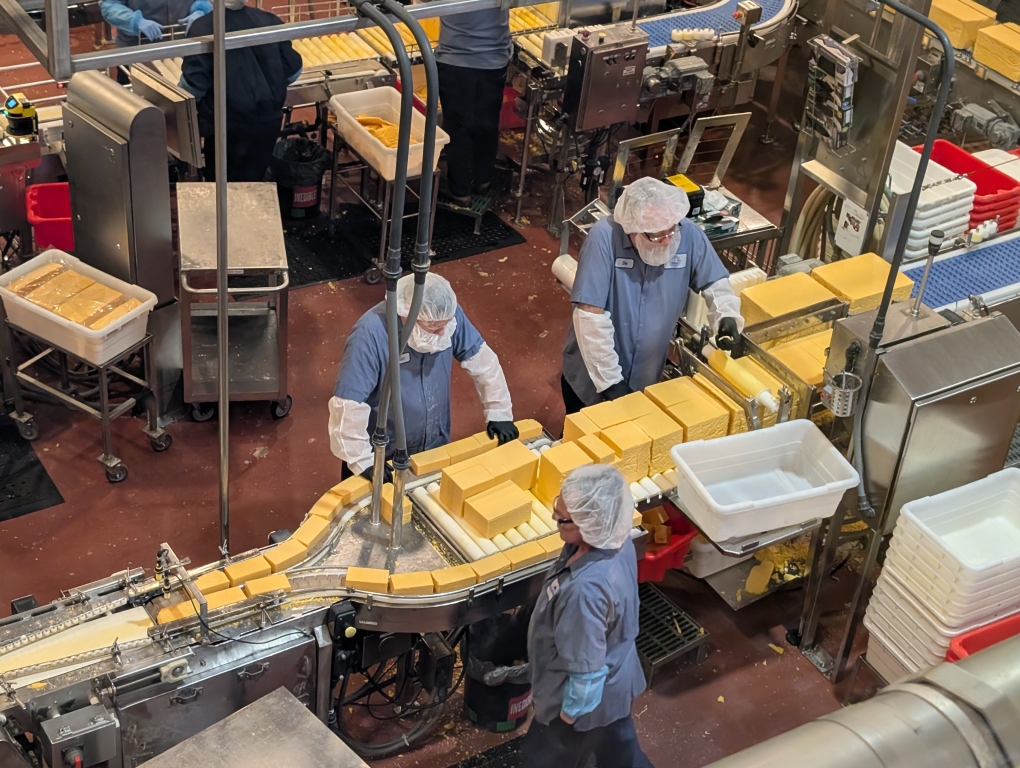
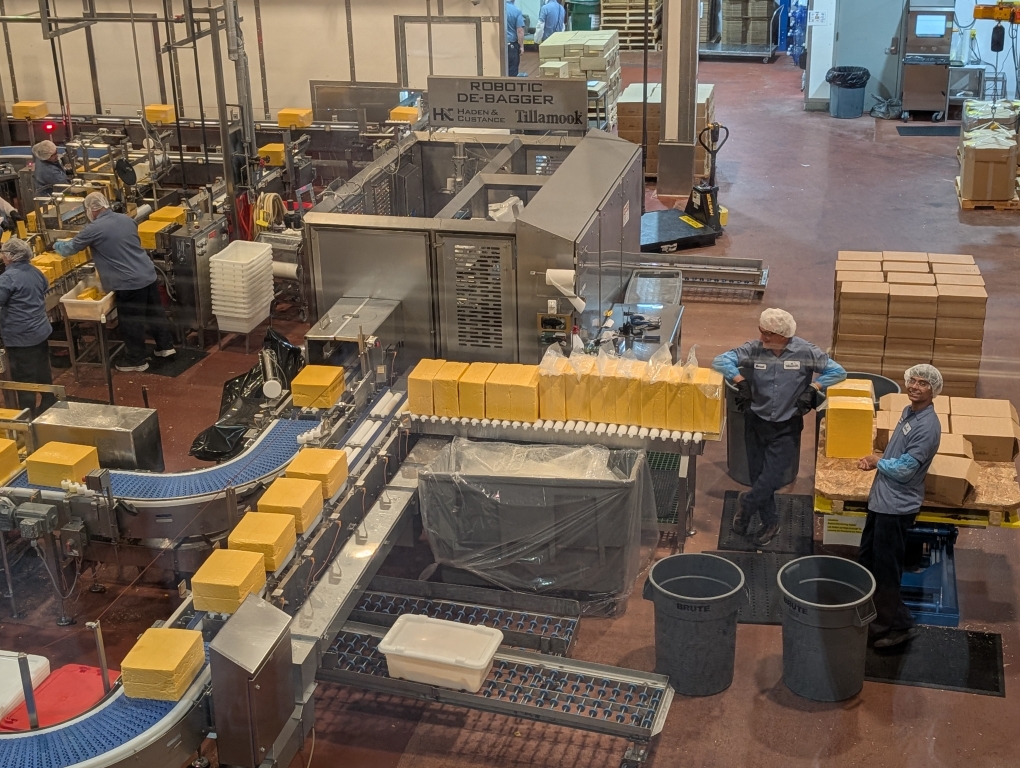
The following morning we decided to do something touristy because we were going to be there for 9 days and figured maybe it wouldn’t be as busy during a weekday (with Labor Day weekend upcoming). Both D and I love our cheese and even in southern CA we busy Tillamook. We hopped on the 26 heading towards the coast and then switched over to the 6 making our way through Tillamook State Forest and popping out at Tillamook right near the Pacific Ocean. Turns out that the school year hadn’t started yet and many people were doing one last trip before the start of the school year so it was fairly crowded at the Tillamook Creamery. You can do a self guided tour on the 2nd floor that overlooks the factory area and packaging. The first floor has a large gift shop area and also a counter order place to get food, ice cream.
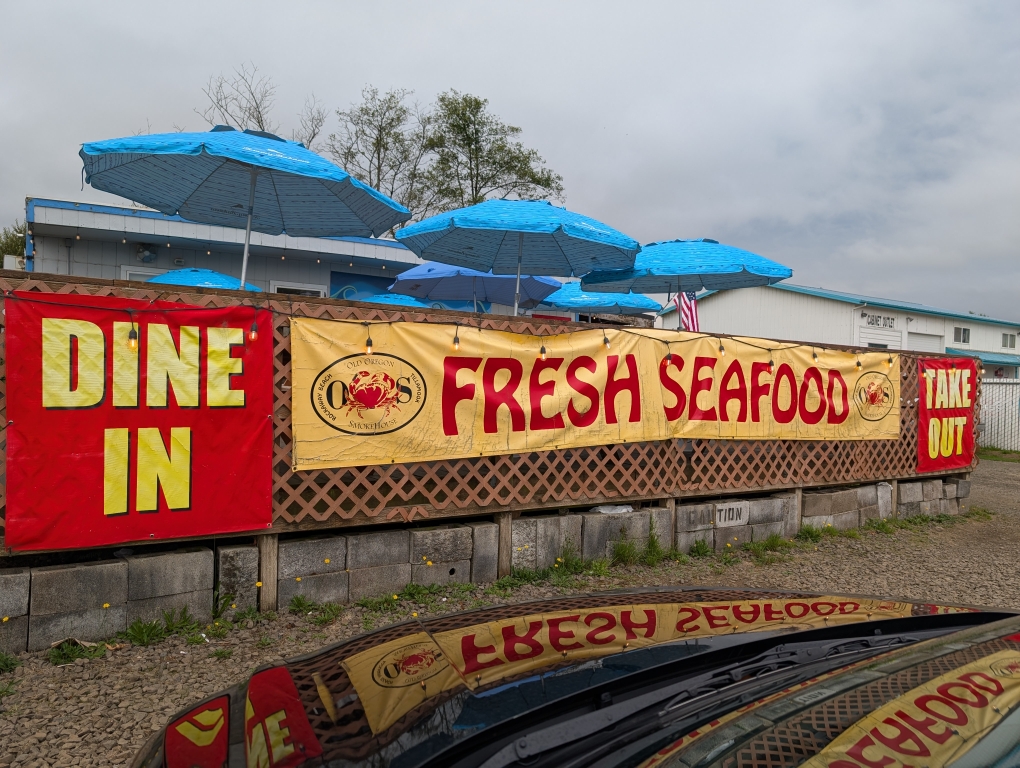
We decided not to get food here and drove down the road to the Blue Heron French Cheese Company. This was a much smaller operation and had more of a local market feel, with just a few blue cheese samples. D ordered a sandwich from here but I saw across from Tillamook was the Old Oregon Smokehouse and I wanted to get some smoked fish, seeing as we were so close to the ocean. I purchased some clam chowder and some smoked salmon and then went back to Blue Heron to eat with D.
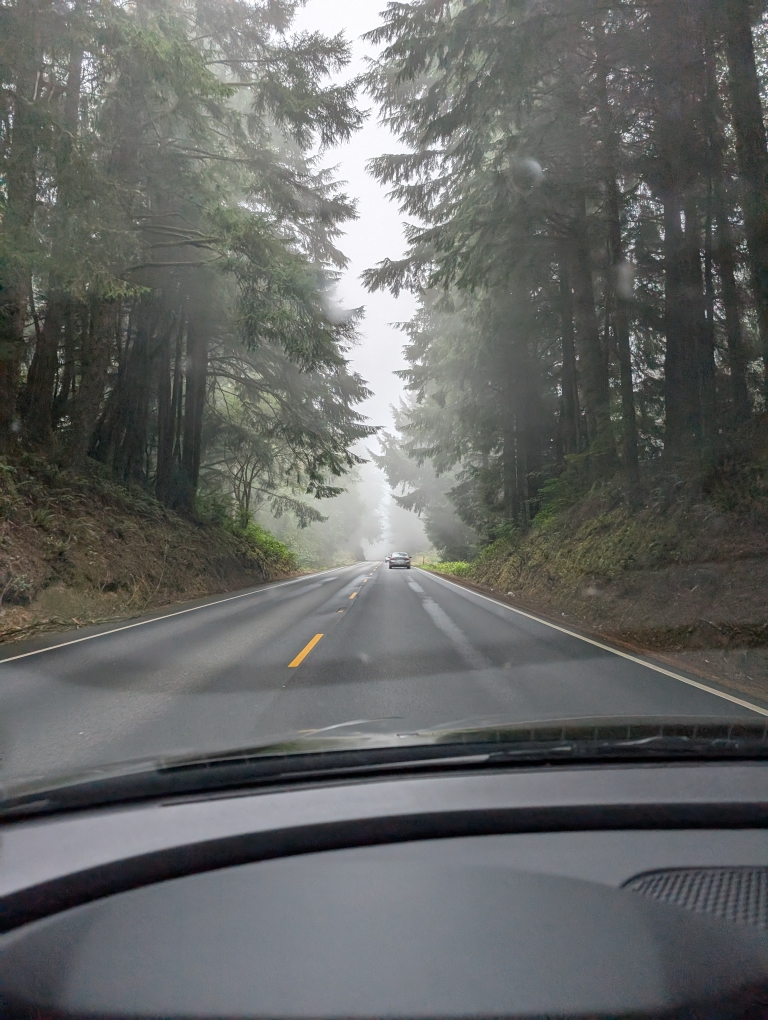
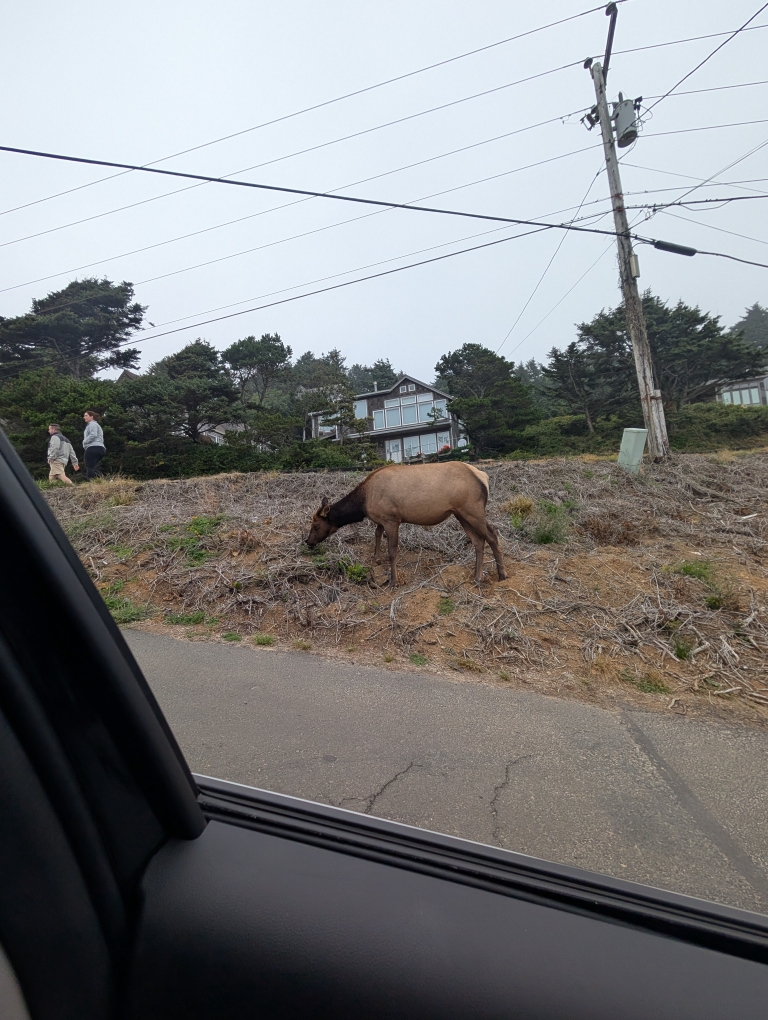
Previously (many many moons ago) I had driven up the Pacific coast with my family and do remember the Oregon coast being quite beautiful especially the beaches with large rock formations just off the beach in the water. D hadn’t seen them before so we headed north up the 101 past Bay City, Rockaway Beach and over to Cannon Beach. Unfortunately it was a very overcast foggy day so difficult to see the rock formations. We did walk around the downtown shops and drove back to see Haystack rock some. As I was making a turn onto a street, suddenly we were confronted by 3 large elk hanging on the side of the road. And then down a smaller street there were maybe a herd of 15-20 just laying down by people’s houses. D looked it up and I guess the Roosevelt elk like to hang out in this area.