This is something I started making (really this is only the 2nd time I’ve made it) out of necessity. Typically we buy bananas every week so I can take to work. Occasionally I’m just too busy at work and don’t end up eating all the bananas. When they start to get very ripe or over ripe, they’re not great to eat (the dog would beg to differ). The first time I did it I didn’t even think about documenting it. And then today when I wanted to make it again I had to google recipes. I had started documenting my baking/cooking here so I had one place to go back to for recipes so I figured I should document today’s endeavor. Banana bread is a lot easier to put together than making regular bread.
Ingredients
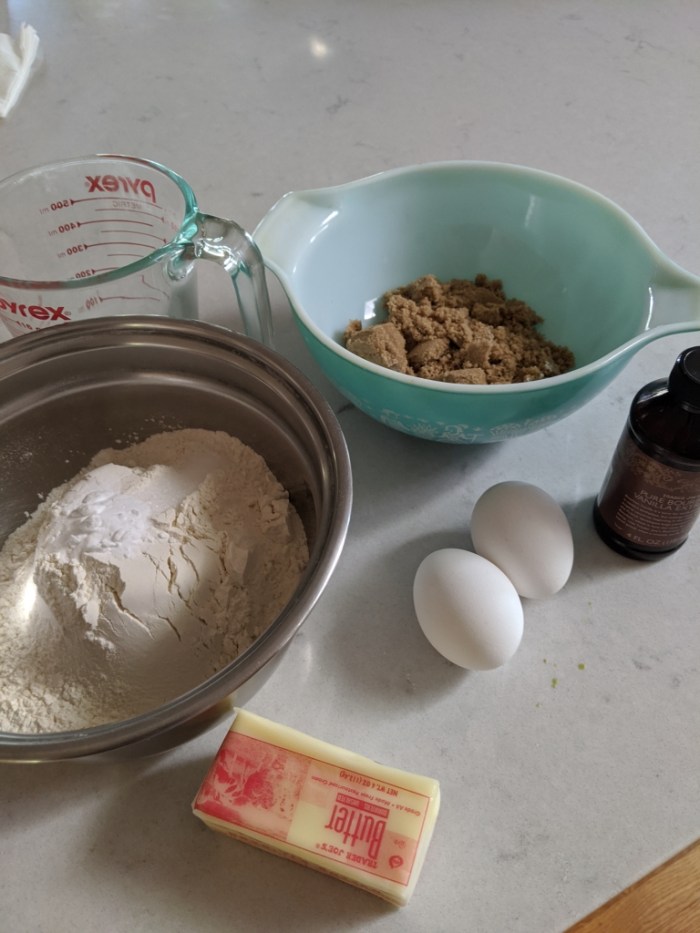
- 2 cups All Purpose flour
- 1 cup brown sugar
- 1/2 cup softened butter
- 1 tsp baking soda
- 1 tsp salt
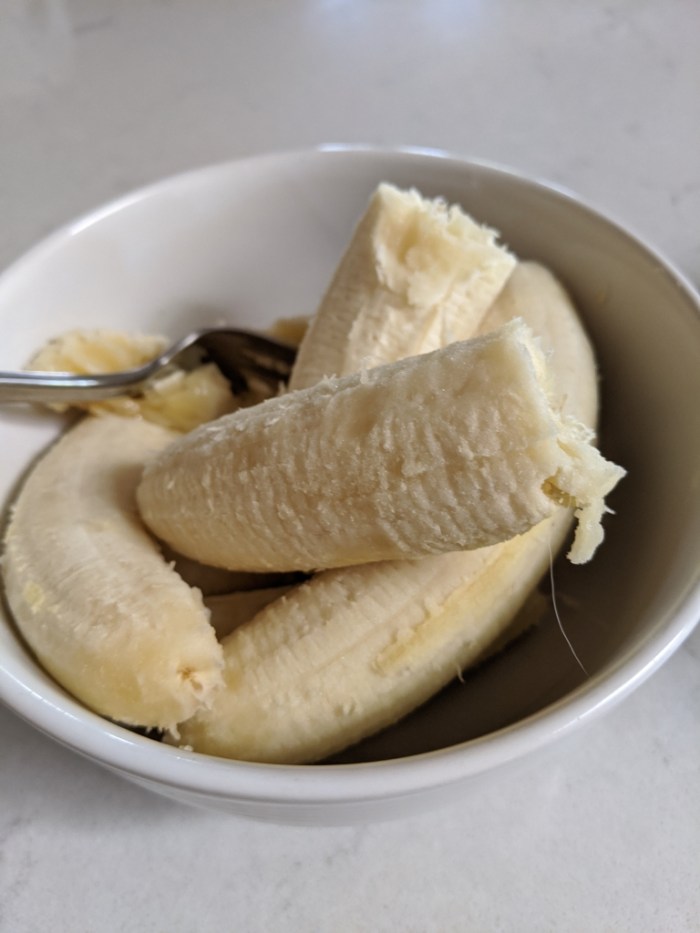
- 4 ripened bananas
- 1 tsp vanilla
- 2 large eggs
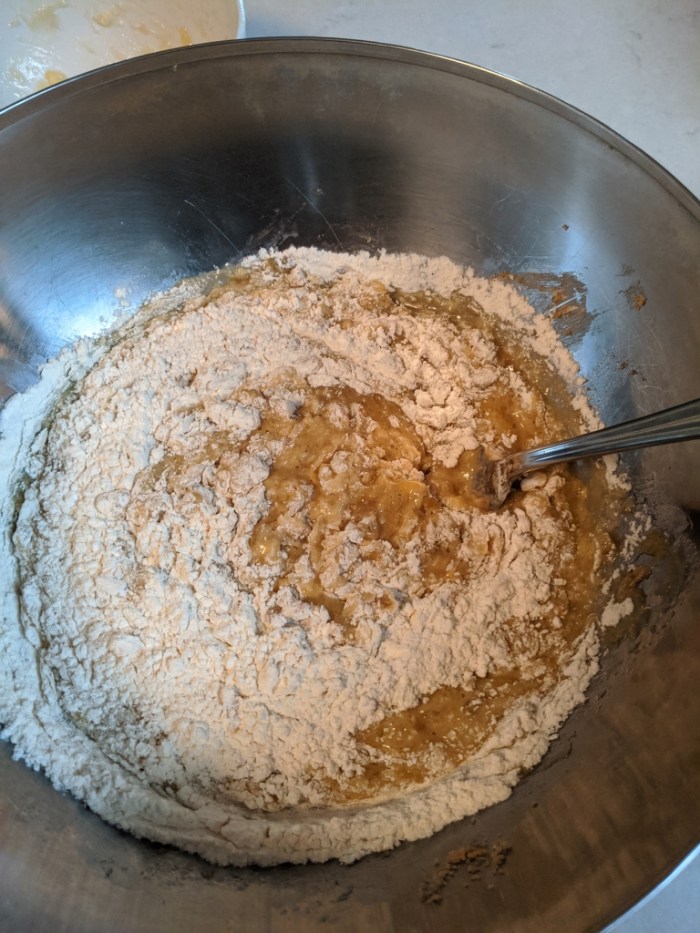
- Combine dry ingredients (flour, baking soda, salt) in one bowl.
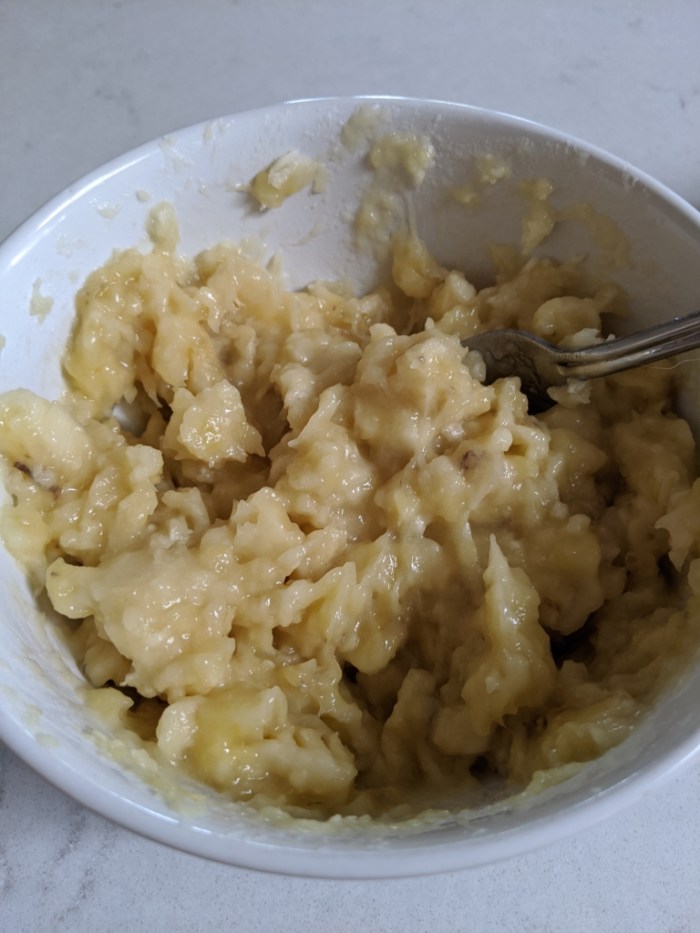
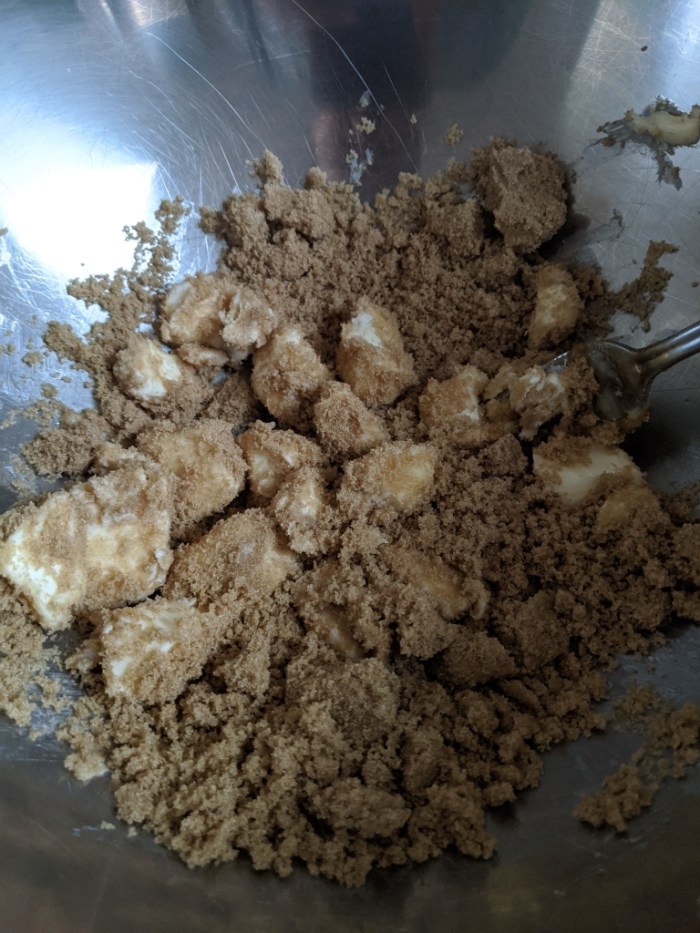
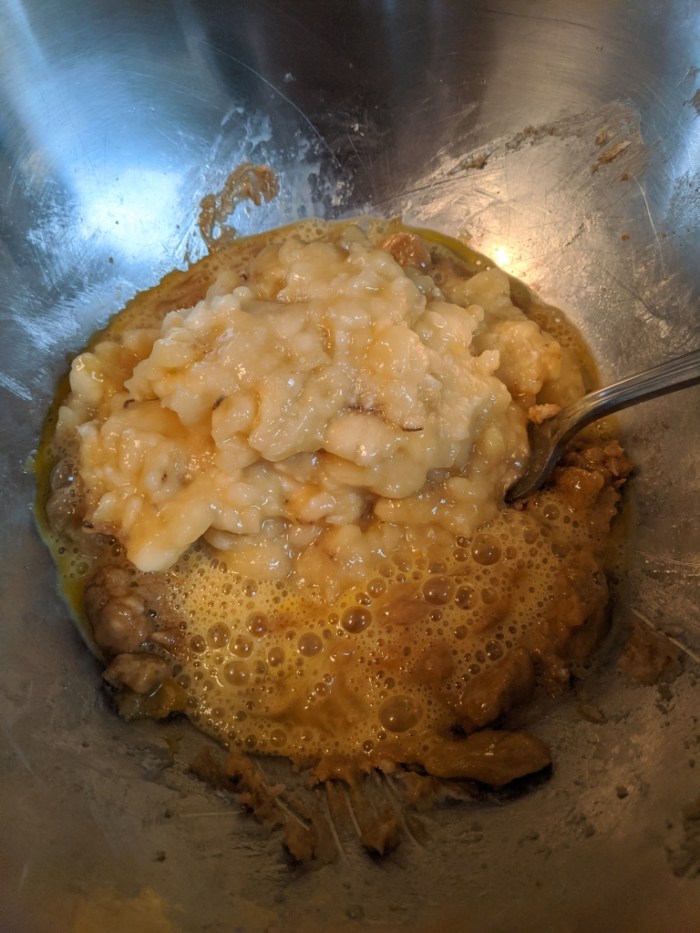
- Cream butter and brown sugar together. Then add in mashed bananas, vanilla, and eggs. Combine
- Most recipes say to add the wet ingredients slowly to the dry. (I used a larger bowl for the wet ingredients so I did the opposite and slowly added the dry to the wet).
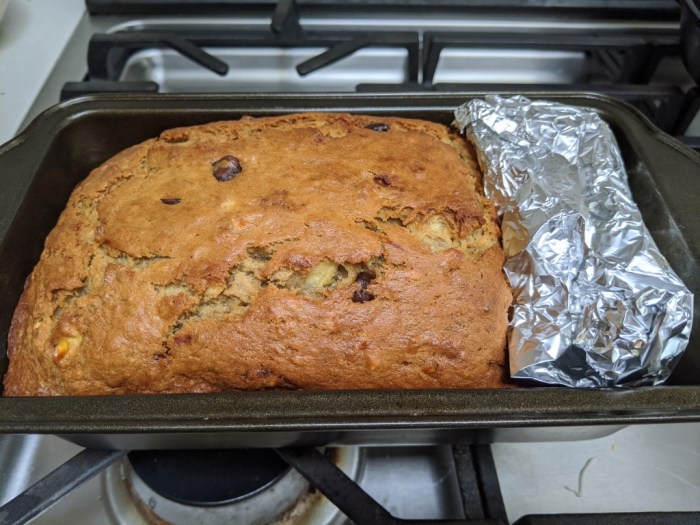
- Pre-heat oven to 350 F, butter a loaf pan (or can use parchment paper as well – we ran out so I didn’t use it and it has been hard to come by due to COVID-19).
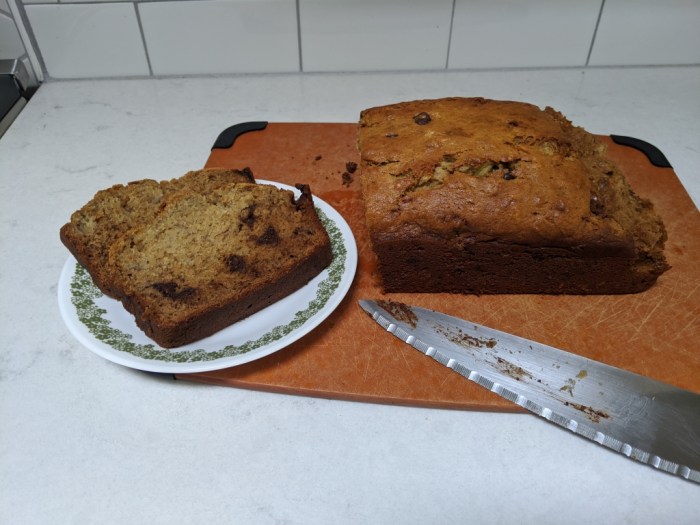
- Pour mixture into loaf pan and put in oven for 60-75 minutes (until toothpick inserted comes out clean).
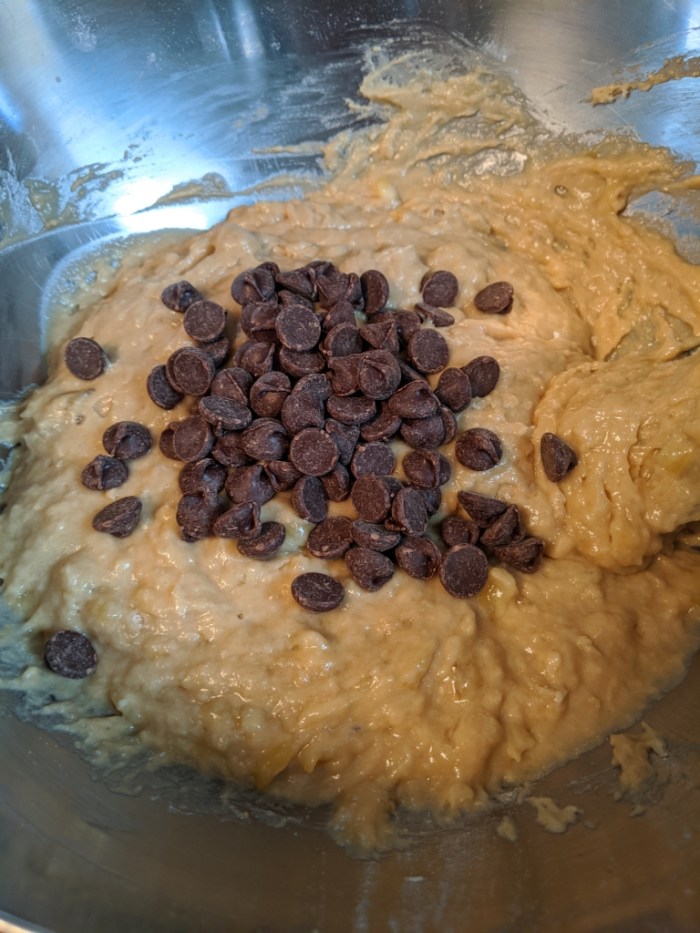
- (Optional) Add in 1/4-1/2 chocolate chips +/- walnuts (we didn’t have any and I don’t really care for it). Add to mixture after combining above.


-StewsCat
