I’ve been a big fan of the Saucony pretty much since I started seriously running in 2010. When I first started running outside (I had been running on a treadmill for a few years mostly just for fitness and exercise), I didn’t know anything about running shoes. Luckily for me the woman I was dating at the time was already a marathoner. I had a bit of a guide into the outdoor road running scene as well as road races.
Growing up I knew that I had very flat feet. This meant that unlike most people who have normal to high arches in their feet, mine are almost completely flat (foot arch picture). When I tried running in high school and college, I’d get really bad shin splints after about 10-20 minutes of jogging. I therefore thought I’d never really be able to do long distances and races (5K, 10K, etc). I’m always one to look for a good deal and so I never really invested a ton of money into the shoes that I purchased. Usually I’d try something on and if it was comfortable and a good price, then I’d get it. With my background playing tennis and basketball, those were the types of shoes I’d typically gravitate towards.
There was a running shoe store in East Lansing called Playmakers that I was introduced to and they suggested a shoe. To this day I can’t remember what it was. It wasn’t until I lived in San Diego and had a running gait analysis performed at Road Runner Sports did they recommend that I go with a Stability shoe and also use SuperFeet Blue insoles.
I had read somewhere that you need to let running shoes rest for at least 24 hours to allow to cushioning to come back so most people recommended a shoe rotation. I started out with I believe the Saucony Guide 3 and also a New Balance stability shoe (harder to remember NB shoes because their names are often a mixture of numbers and letters.
With the Guide, I liked the simplistic yet elegant design and look of the shoe. For me, however, the biggest positive of course was the support the shoes provided. While not the lightest of shoes, the Guide is a solid everyday trainer that I could use to log many many miles.
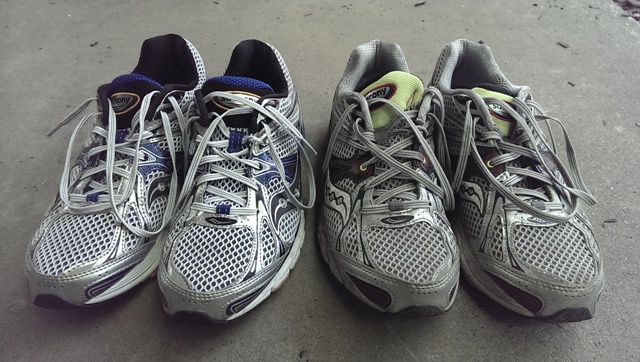
I’ve gone from the Guide 3 to the 5 and then the 6. In the interim I also tried the Saucony Omni 8 and the Paramount 3. I settled on using the Guide 6 for my last full marathon. However, I made the mistake of using two of the same shoes as my shoe rotation.
Both Guide 6s
I think by using exact same type of shoe to rotate between, my body was using the same muscles on every run. I know that when you change your shoe and shoe type, it alters the muscles that are used in running (although subtly) so you’re not overusing the same muscles over and over (especially with high mileage training).
I took a small break from Saucony and the Guide and started a 3 shoe rotation after I recovered from my injury for NVM 2015.
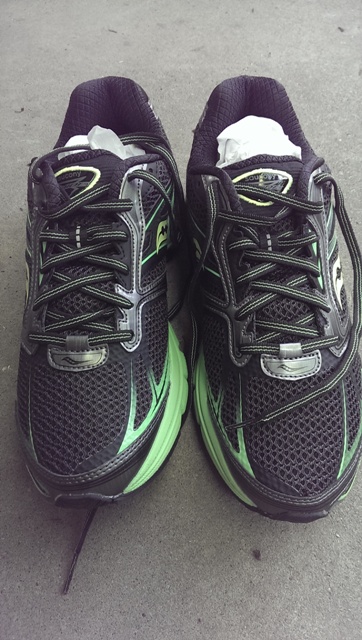
Once I retire my Asics from the current rotation, I will be jumping back into some Saucony’s (see below).
We were forecasted to have scattered thunderstorms yesterday for much of the day. I had a noon meeting so wanted to get my run done sometime in the morning. As I geared up and set out on my run, the sky was overcast but no rain or lightning in sight. I suspected that I might encounter some light rain but never suspected what was to follow. The first mile was windy but no rain in sight. As I started into mile 2 I could hear thunder somewhere (didn’t see any lightning) and then a few drops started coming down. I continued on my run as I figured since I was already wet I might as well try to finish up around 4 miles. I picked up the speed and kept on trucking and found myself in a harder downpour. I specifically wear a hat on my runs to help keep the sun out of my eyes but also when it rains. As I was coming up on 3.5 miles, I noticed these grape sized white opaque things hitting the ground. I realized it was hail! Luckily only a few ended up catching me on the skin and causing a slight stinging. As I finished up the last 1/4 mile the rain lightened and then completely stopped.
Surprisingly we are actually getting a weekend full of scattered thunderstorms and rain. I managed to make it out between the rains this morning for another 4, though much slower than yesterday’s run. I initially was going to do an inside workout such as a HIIT but lacked the motivation so threw on the running gear and headed out.
I need to start working on some more race recaps as well as some shoe reviews. A big part of why I started this blog was to help me remember what I have done (races), used (shoes, clothes, gear) so I can look back and make tweaks to my training and such.
I discovered this great web site: Weekend Bakery that has some wonderful recipes and tips. So I thought this week I’d try the above bread.
I started with a poolish:
380 g bread flour
304 g room temp water
3 g active dry yeast
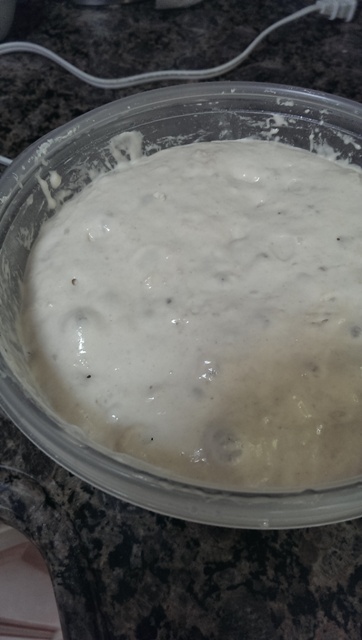
I let the poolish sit at room temperature for 1 hour and then transferred it to the refrigerator for ~13 hours. The poolish had more than doubled in size overnight.
Poolish after overnight in fridge
I added the poolish to:
380 g bread flour
266 g water (room temp)
12 g salt
1/4 tsp (~1.5 g) sea salt
I used the 1/4 tsp because my scale doesn’t measure half gram increments so I looked up a conversion. I know it isn’t exact but neither is baking. One thing I will need to slowly learn is how to make adjustments to the dough due to weather. The time of year, temperature, humidity all affect a recipe. I let the dough rest for 10 minutes covered.
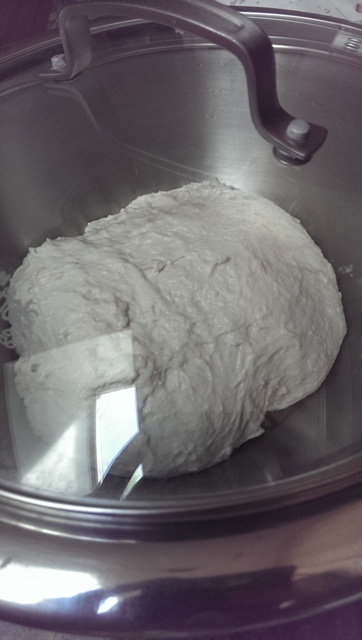
After 10 minute rest
I dumped the dough out onto a floured surface and performed a stretch and fold (envelope style – pulled and stretched dough from east side and folded it 1/3 of way over to west side, pulled from west to east, then north to south and south to north). I continued repeating this process for 2 minutes then put the dough into a lightly oiled bowl for 45 minutes.
I repeated the stretch and fold (2 times instead of for 2 minutes) and could tell the dough was really coming together already.
Coming together
The next 3 stretch and folds would be separated by 45 minutes with just one stretch and fold each time.
Puffed up and formed
Then I bench rested the dough for 10 minutes.
After bench rest
I divided the dough into 2 and shaped it (following the technique of folding the dough over, sealing the seams and then doing a tension pull). There were a large amounts of gas bubbles in the dough and I know that this isn’t good for bread so I ended up popping the large bubbles as best I could. Since I have not yet invested in bannetons, I lined some bowls with lint-free floured cloths. I decided to try 2 different methods of baking — with dutch oven and on a pizza stone. Since I couldn’t bake them side by side, I put one of the boules into a fridge. While I was doing all this bread prepping, I also had to replace a PVC line running to the raised vegetable gardens. This required me to take a few trips to home depot (since of course you can’t just go once). The problem was that I started the pre-heat later than i would have liked for the proper proofing. The oven was preheated at 455 F wtih the dutch oven. I lucked out and the proofing was just about right for the bread to go in. I don’t have a super sharp knife so when I went to score it, I messed up the top of the boule a little.
I baked the 1st boule for 10 minutes in the covered dutch oven, then removed the lid and baked for another 35 minutes (internal temp around 200 F at the end).
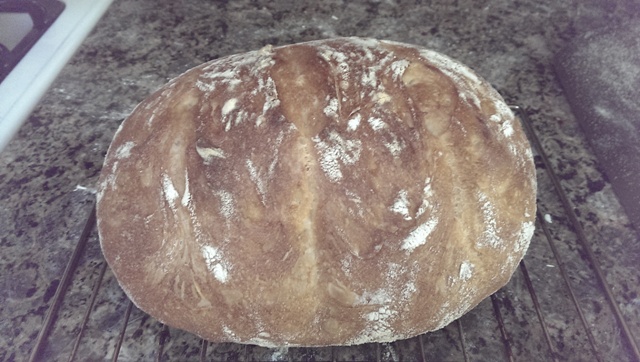
Cooked in dutch oven
About 15 minutes prior to the first boule finishing, I removed the other boule from the fridge. I placed this one on a semolina lined pizza peel and slid it onto my baking steel . I previously had used a pizza stone but it broke within the first few uses so I figured I’d try something a bit more hardier. And it has produced some wonderful pizzas on it. This second boule I baked at 455 F for 45 minutes.
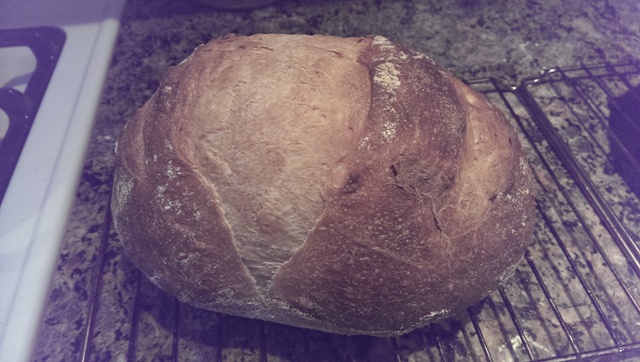
Cooked on pizza stone
The second boule had a much better oven spring compared to the first. The first boule kind of spread out more. The one other difference between the two is that I proofed the first boule with the seam side up and the second boule with the seam side down. So I’m not sure if the better oven spring was due to how I handled the boules or if it was the cooking methods – in a dutch oven or on a pizza stone.
2nd boule much taller than 1st
The wife said the crumb looked like professional bread. 🙂
Crumb of 1st boule
After cutting into the 2nd boule I realized why it was so tall. I didn’t de-gas it enough and the air holes were giant.
2nd boule crumb
Definitely need to make sure I de-gas and form it better.
So after my last less than stellar bread, I decided to go back to the Richard Bertinet formula and not try too many things at once (poolish, autolyse, new kneading/shaping/forming techniques). I did want to do an enriched bread though since I know it can last longer before going stale. Since we haven’t been buying bread for a long time now (I’ve been making tortillas for wraps the last 1.5 years), I figured I could try to make a white sandwich type bread for the week.
I went back to a formula that worked except I substituted some whole milk for water.
Recipe:
500 g bread flour
350 warm (110 F) whole milk
10 g sea salt
3 g active dry yeast
I mixed all the ingredients and let it autolyse for 30 minutes. I pulled the dough out of my metal bowl and realized that the dough was a lot more firm/set than anticipated. I thought it would be much more sticky and wet. I read up and realized that when you use milk, the milk proteins require that you use more milk instead of water or add in some water in addition to the milk. Chemistry fail! Anyway, I still kneaded the dough (though didn’t have to use the slap and fold method) for about 30 minutes and set it back in the bowl.
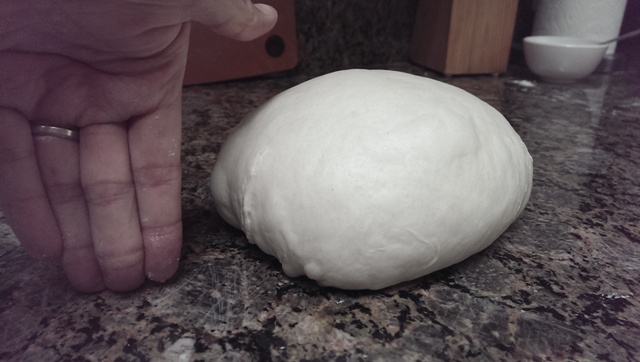
Before bulk ferment
I then let the dough bulk ferment for about 1 hour and 10 minutes at room temperature
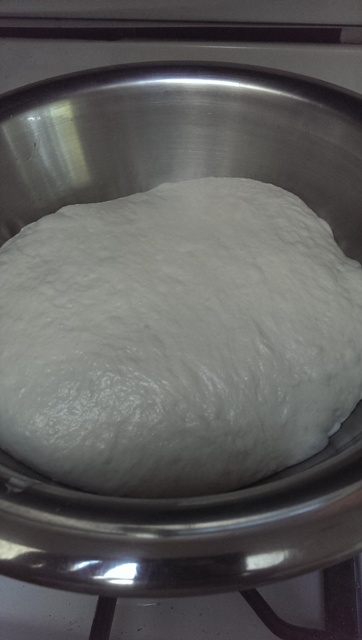
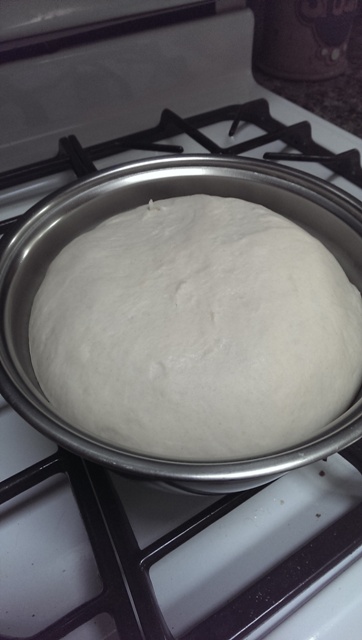
After bulk ferment (doubled in size)
I removed the dough onto a lightly floured surface and then did an envelope fold. I shaped the dough into a log and placed it into the bread pan to proof.
After folding (3rds) and then shaping
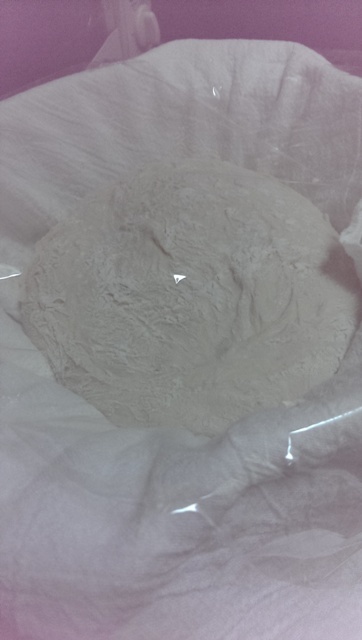
In bread pan prior to proof
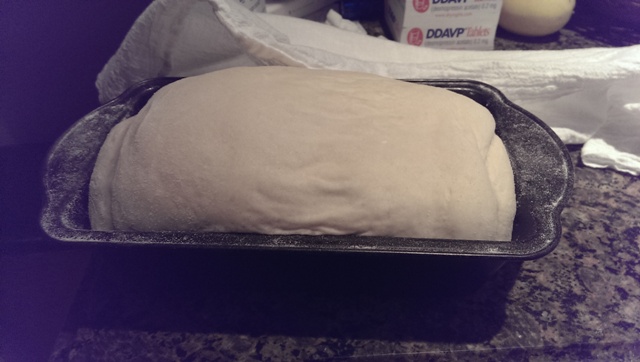
I lightly dusted the top of the bread as well as a light lint-free towel and draped it over the bread pan. I admit I was a bit distracted as the wife and I were watching a movie while the bread proofed. I checked on it regularly, though I accidentally let the bread over-proof and it collapsed on half of it.
After proofing – overproofed the right side of the loaf
I pre-heated the oven at 375 F (since bread with milk should be baked at lower temps than when just with water) and baked the bread at 375 F for 10 minutes, then dropped the temperature to 350 F for another 30 minutes (internal bread temp was around 200).
Collapsed right side of bread from overproofing
Overall the bread came out decently though it was drier than I would have liked. This makes sense given that I had less moisture in the bread than I wanted. Overall it worked as a decent sandwich bread for the work week. This time the wife approved and has been eating the bread.
The crumb was tighter but this is great for sandwich bread.
This week’s bread baking session did not go as planned and resulted in a not so great product. I’ll still eat it because that’s just me but the wife already has given it a big thumbs down.
I started things off by creating a poolish or preferment. Essentially you mix a small amount of water, flour and yeast and let that sit overnight. This is then added into the final mixture the next day. A preferment is used to create more complex flavors in the final bread product.
I have been looking at various techniques for folding dough as well as for the final shaping process. What I’ve been having a tough time with is getting that nice shaped loaf at the end. Sure the bread tastes good, but I’d like it to also look the part. So I’ve been doing more online research (reading as well as watching various videos). I found what I thought might be a good template (here). I did take away some good information from the video.
I think it all went wrong right from the start. I had written down my recipe/measurements. Though on the fly I decided to change it and along the way my math went a bit haywire. I remembered to subtract the amount of flour in the poolish (100g) from the total (500g), but forgot to subtract the water (100g) from the poolish from the total water (350g). Therefore I ended up with close to 100% hydration bread (500g flour – 450 g water).
I also added in a 30 minute autolyse to this recipe, which was new compared to the last one. Autolyse is supposed to allow the flour to absorb the water better and actually start the gluten formation process with no kneading.
After the autolyse, I realized that I had a very very wet dough. As I started my slap and fold, I realized my mistake and thought I’d be able to correct it by adding in the additional flour needed to create a ~70% hydration dough. I also had forgotten to add the salt so that was added in as well. After adding in additional flour (~150 g) and salt (10g), I tried to incorporate it into the wet dough and march on. Much of the new added flour didn’t actually incorporate into the dough and I ended up removing it from the surface. The result was a decently stick dough but one I could continue to work. Another change from last time was that I only did the slap and fold method about 20 minutes. My previous attempt resulted in me doing the Bertinet slap and fold method for about 60 minutes. After watching some more videos on various slap and fold techniques, I did my slap/fold kneading technique until I felt I had a fairly cohesive dough that would release from the counter with my dough scraper (looking back I realize that maybe I didn’t do this part long enough).
This is also where I added in the new techniques from the above video. I put a small amount of flour on the counter, and did the stretch and fold method (pulling and folding in third, then doing the opposite way – like an envelope). I bench rested it for 10 minutes covered in plastic wrap and repeated the stretch and fold method 3 additional times. Each time, the dough did seem slightly more formed and cohesive though in the back of my mind I knew it wasn’t what it should be.
Looks okay though you can see the extra gas pockets
At this point there was no turning back so I soldiered on.
After the last stretch and fold, I lightly floured the dough and placed it in a large metal bowl to bulk ferment (rise). This is supposed to be done until it is 1.5 times its original size (the video says this can be 2 hours). I think I messed this part up as well because I let it rise past 1.5 times and it probably was as much as 2-2.5 times its original size. The dough also appeared to have some large gas bubbles and was not as solid as I expected it to be.
Nevertheless, onwards we marched. I dumped the dough out on a lightly floured surface and did one more stretch/fold. Then I tried the tension pull, which did help form a nice smooth surface on the top of the dough. I placed the dough ball into a flour-sack towel lined bowl (having previously dusted the flour-sack towel with flour to prevent sticking) to proof. The new video said to proof for anywhere from ~2-4 hours or 1.5 times size. I knew it wouldn’t take that long so I checked it at 1 hour and then 1.5 hours. It was hard to say if it had grown 1.5 times. It was definitely overly gassy (large gas pockets all on the surface). It hadn’t taken that “firm” texture that I expect after a proof.
At this point I had no other choice but to see what would happen. I pre-heated by enameled dutch oven in a 500F oven. Carefully, I removed the dutch oven and placed the bread into the dutch oven and tried to score it. As I tried scoring it with my knife, half of the dough ball deflated. I gave up, tossed the lid on the put it back into the oven. After 10 minutes I removed the lid and dropped the temperature to 475 and baked for another 30 minutes.
Decent shape but flat
Awkward shape
The end product didn’t come out as I wanted. The oven spring was not as dramatic as I was hoping, but I knew that would probably be the case given the deflation upon putting the bread in the oven.
I let the bread cool as the wife and I headed out for dinner and drinks with a friend who was in town. As a late night snack I wanted to cut into the bread to see what I had produced. I didn’t think the taste was too bad but the wife said that she wasn’t going to eat anymore than she had (a small bite).
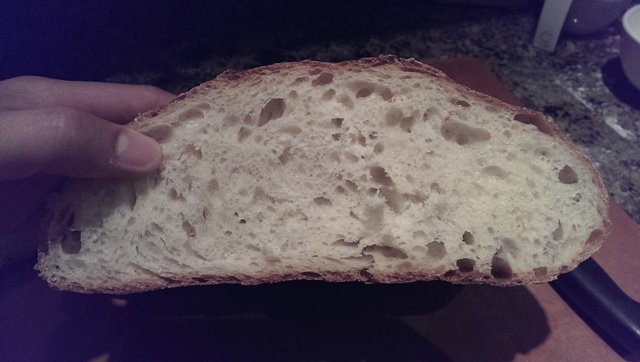
Okay crumb structure
The overall crumb structure wasn’t too bad. There wasn’t as much taste and I wonder if it was because I switched from regular salt to a sea salt and maybe it hadn’t mixed properly (with my mishap of adding the salt in much later than I should have and not incorporating it properly).
Summary of mistakes: improper measurements and trying to salvage by tossing in more flour and salt after the initial dough had autolysed, possibly putting in way too much yeast and letting it bulk rise/proof for too long. Mental corrections noted.
Onto the next one: enriched white bread with milk instead of water.