For the 4th of July I decided to try my hand at bagels. A few years ago the local bagel shop shut down and we haven’t had a good place nearby to get bagels, often settling for some not that great ones from the grocery store. So I finally said “just do it man.” After some online research on different recipes and methods, I settled on something that I could accomplish in one morning. In the end the whole process from start to finish took about 3 hours.
Ingredients
- 2 tsp active dry yeast
- 1 1/2 (1.5) Tbsp cane sugar
- 1 1/4 cup warm water +/- 1/4 cup
- 2 1/2 cup bread flour
- 1 cup whole wheat flour (original recipe called for 3.5 cups bread flour but I substituted some whole wheat)
- 1 1/2 tsp salt
I started by adding the sugar and yeast to 1/2 cup of warm water and letting it sit for 5 minutes untouched. Then I mixed it up to incorporate it all together. This formed a collagenous mass (I had never before actually mixed up the yeast after letting it sit in water).
Next I mixed up the flour and salt. I created a well in the middle and added the yeast/sugar/water mixture and then added the 1 1/4 cup of warm water. The +/- 1/4 cup of water is dependent on your locale (temperature, humidity, etc). I ended up adding in an extra 1/4 cup of water but realized this was too wet so incorporated some flour back into it. This was a relatively dry dough and much easier to knead compared to my bread doughs. It’s really hard to say exactly how you know if it is too dry or wet but I’ve been working for dough long enough (really it’s not even that long) that I had a sense of how moist/tacky I needed the dough.

I then proceeded to knead the dough mixture for 10 minutes. In a lightly oiled (I used olive oil) bowl, I coated the dough ball and covered the bowl with a towel.
The dough was proofed in my oven (proof setting) for 1 hour.

The dough had actually proofed more than twice its original size, I punched it down and covered with a towel and let sit for an additional 10 minutes.
I then divided the dough up into 8 pieces. The recipe I followed said they used a scale to be precise but I just kind of eyeballed it (the end product showed that I had different size bagels so if you want uniform, you may need to weigh it).

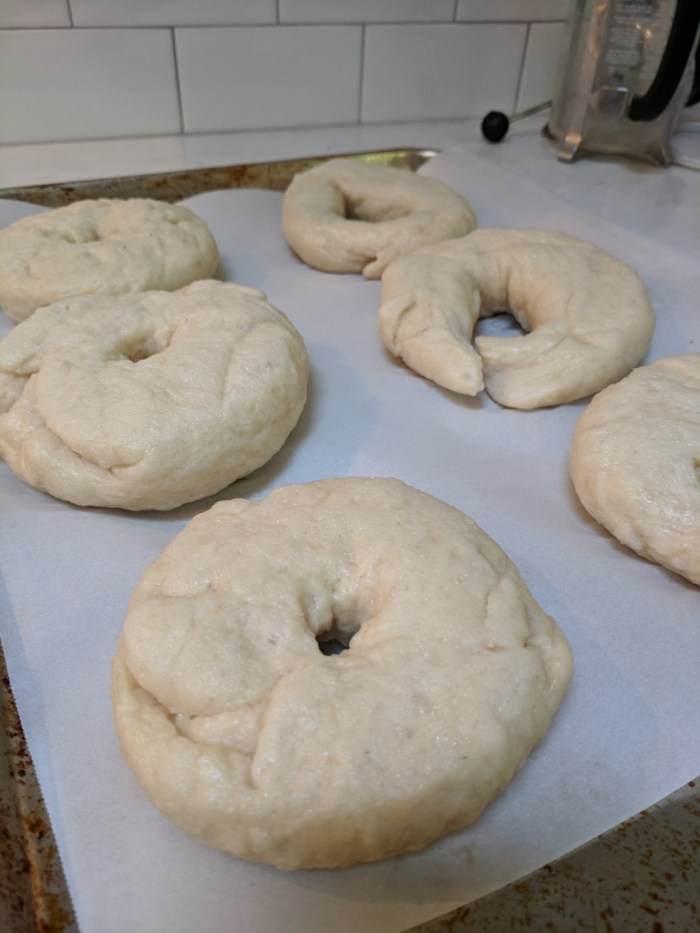
Now there are 2 different methods I have seen for shaping bagels. The OG way I see from the NYC people who make bagels involve taking your dough piece and rolling it out into a long log. Then you pinch the ends together forming a ring and then rub the pinched ends together on the counter to seal them together. I had some issues with this in that I don’t think I connected them well enough because I had a couple of bagels that slightly unfurled during the boiling process.


The other method involves rolling the dough into a ball. I did the cup and pull method on the counter to tighten up the dough as well as putting the ball on the counter, holding your palm over the dough and rolling it to get a nice sphere. Once you have the dough ball, you take your thumb and press down in the middle of the dough and then starting stretching out creating a hole and making a ring (donut or bagel shaped).


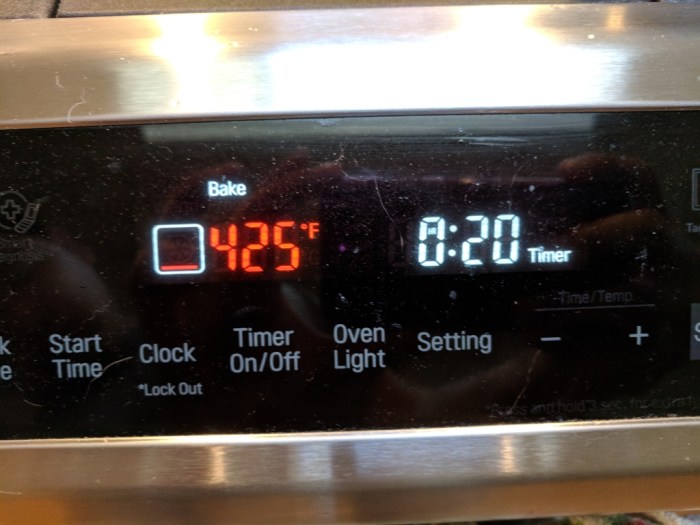
The shaped bagel dough rings were then placed on a lightly oiled baking sheet and covered with a damp towel for 10 minutes. During this time, I preheated my oven to 425 F and started boiling water in a large pot.

Once I had a nice simmer, each bagel was gently lowered into the water using a slotted spoon. I boiled the bagels on each side for 1-2 minutes (the longer the boil, supposedly the more like NYC bagels they are).


I took the bagels out of the water and placed on a cooling rack. This is when you can do an egg wash and add toppings.
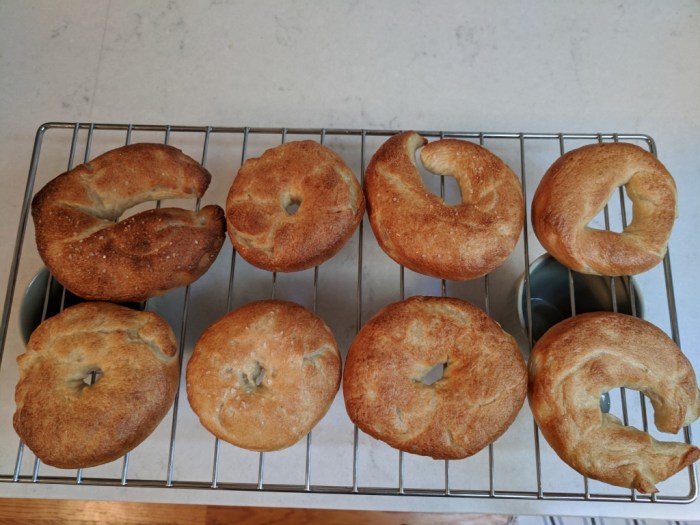
I then placed the bagels on a parchment lined baking sheet and baked it in the oven for 20 minutes (+2 minutes).
You can see that these bagels had a decent brown coloration almost as if they had already been toasted.

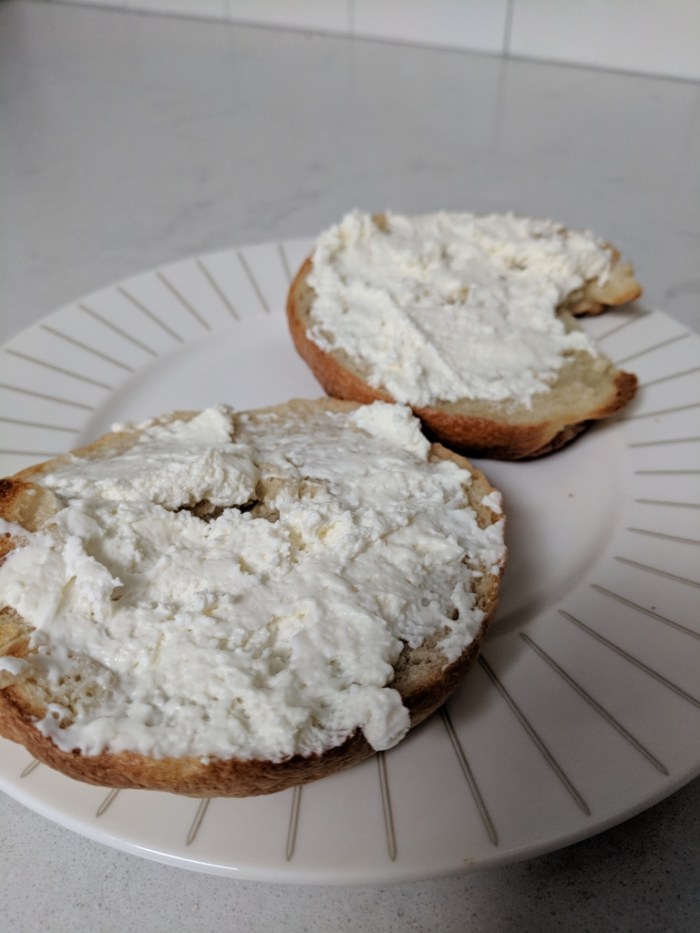
The bagels definitely had a nice crispy outside and soft chewy interior. I tried the bagel fresh out of the oven with just some butter and it was already very tasty. After cooling, I then tried it toasted with cream cheese.

Overall I am pleased with how they turned out. The next step is potentially trying to make some bagels that may be more healthy than just plain bagels as well as considering either different toppings or flavors (we often buy cinnamon raisin bagels from the store). I know that I’ll never be able to make true New York Bagels but I’d like to try to be able to make decent bagels. We’re supposed to be getting a real deli in the area so will have to check them out when they open to see how their bagels and lox are.
-StewsCat

