Barkley Marathons Movie

Global Running Day was on June 1st.  I really wanted to get in at least a mile that day but after a 12 hour work day and the temperature still being over 85 at 8 pm, I elected to not run.  I went out the next day and managed 5 in the heat.  This hot weather business is already annoying me and we’re not even in real summer yet.

—-

I watched the documentary movie of the Barkley Marathon on Netflix yesterday.  While I have no intentions of becoming an ultrarunner let alone an adventure racer (as the participants of this race I would consider more adventure racers than ultrarunners), I can appreciate the perseverance, dedication, and pure grit that these athletes require to attempt a course such as this.  I don’t know if anyone else actually enjoys watching ultra-sports, but I have a strange fascination with watching athletes push their bodies to the limit, so I enjoy watching (living vicariously?) events such as Kona Ironman, Spartan races, and the ilk.

I had briefly heard of this race though didn’t know much about it except it was renowned as one of the toughest races on the planet.  So this documentary was very intriguing to me.   The founder (Lazarus) is such a great character and seems like a fun person to be friends with.  He has a great philosophy when it comes to the race, it is a way for people to be able to challenge themselves both mentally and physically and see what their limit is.  I mean, a race where the first finisher didn’t occur until 10 years into the race is something special indeed.  I could never attempt something so crazy due to my weird GI issues. I  wouldn’t last for many hours out in the middle of no where.  I am so amazed by what the human body can be put through.  So much of the race seemed so mental.  I do enjoy watching and learning about what people can do though.  It was an entertaining movie and I recommend it to anyone that is an endurance athlete.  It did make me wonder about doing some shorter trail races such as half marathons and such.

—-

One thing I’ve found difficult to balance with my newfound hobby of baking is the timing of baking and running.  Most of the times, the plan is to baking in the morning (usually after creating a poolish overnight).  However, this then interferes with running, which is also normally a morning activity especially here in hot Sacramento.   I’ve had to get a little creative in terms of when I do my runs as well as the distance that I plan on doing.  The nice thing with baking is that there is a fair amount of down time while you wait for the dough to ferment or proof.  This can last anywhere from 1-2 hours and that usually is enough to get most runs in (I could probably do up to 10 miles and still be able to fit it in there).  I think part of what I need to do is get some more concrete time tables down for the bread making process (I play it by ear a lot and that doesn’t always work well with baking).  But I don’t think I’ll stop either so I’ll just have to work it out.  I will have to see what happens when I need to start doing longer runs (that last up to 3-4 hours), guess I could plan to bake on the days of shorter runs.

I attempted a sourdough starter last week and it seemed alive the first 48-72 hours, but somewhere after that it just smelled funky and no longer was doubling in size, so it must have died.  I am starting anew and will see if I can get something going that will live.

-StewsCat

100% Whole wheat bread

Since I’m starting to feel more comfortable with bread making, I decided I should try my hand at making something that is a little healthier.  We had switched from buying bread to me making tortillas for wraps for our lunches (less dense, less calories).  Somewhere along the way I started to get interested in making bread and I want to try to keep this new hobby as healthy as possible.  I most definitely will not stop making other white breads and such, just thought I should try to do some healthy breads.

Poolish

  • 100% Whole wheat bread – 240 g
  • Water – 240 g
  • Instant yeast – 2 g

Remaining formula

  • 100% Whole wheat bread – 480 g
  • Water – 480 g
  • Olive oil – 50 g
  • Honey – 75 g
  • Instant yeast – 3 g
  • Salt – 3 tsp

I must have done something wrong with my conversions because this created an almost 100% hydration dough.  And it all just went downhill from there.

The poolish came out fine as above.  However, I then mixed up the poolish and the above remaining ingredients.  As I was doing this, I was thinking to myself that this hydration was a bit high.  I let the dough do its normal rest and then did the stretch and fold method for 3 minutes, then let it rest.  I repeated the stretch and fold method at 25 minute intervals but the dough just did not seem to be coming together, it remained a very moist and weak structure.

I finally gave up on it developing any sort of strength and form.  I elected to throw it into my breadpan and see what would happen.  As expected, it didn’t turn out great.  There was no good proofing and oven spring and it came out as an inedible brick.

The above happened on Saturday.  I worked Sunday and so to make myself feel better I whipped up a quick white bread boule (I did add a little whole wheat flour into it).

This bread had the following formula:

Poolish

  • 170 g bread flour
  • 170 g water
  • 1/4 tsp (2g) instant yeast

Remaining mixture

  • 100 g bread flour + 30 g whole wheat flour
  • 180 g water
  • 10 g salt
  • 3 g instant yeast

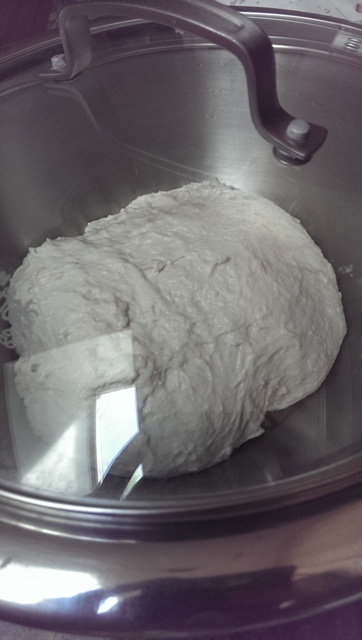
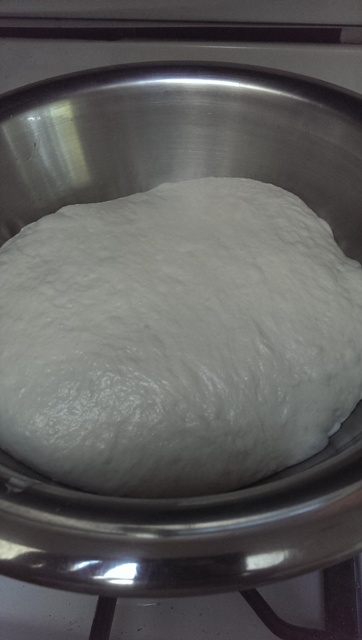
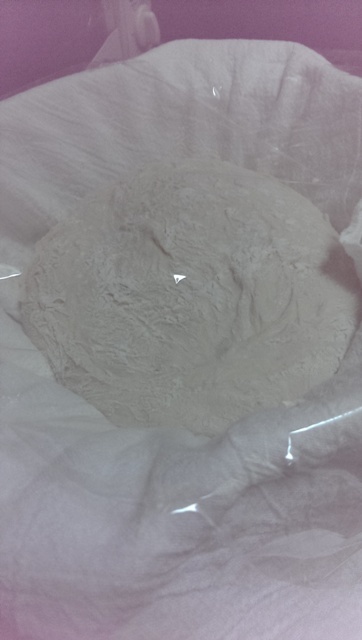
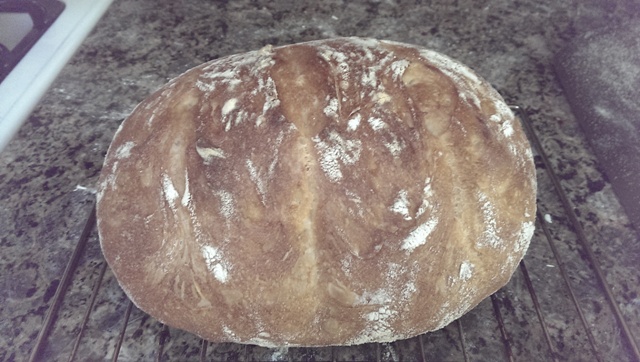
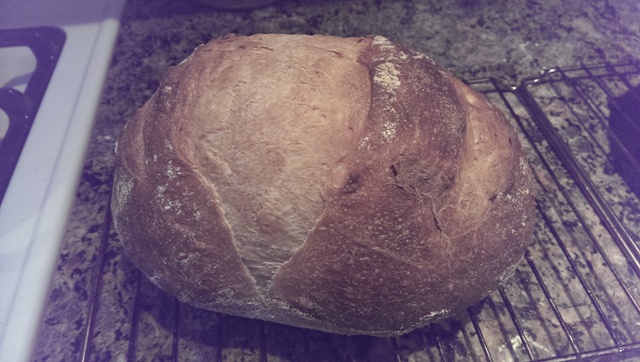
I mixed the poolish (overnight in fridge) with the remaining mixture and then let it sit for 30 minutes to allow some autlyse (let the flour absorb all the water).  I then followed the Richard Bertinet slap and fold.  I feel like I’m getting a better hold of this kneading method as the dough started to form up and come together after only about 10-12 minutes of kneading.  I formed it into a ball and then let it bulk ferment for about 1.5 hours.  It’s been warm here and the bread probably didn’t need to ferment that long but I also needed to fit my long run in so I let it go a little longer.  I did 2 stretch and folds with 10 minutes between them.  By now the dough had developed good gluten and structure.  I was able to form the dough into a nice boule and did the drag method on the counter to create a nicely tensioned top portion of dough.  I then placed it into a well floured cloth in a bowl to let it proof.  After about 1 hour of proofing, I tossed it into my pre-heated dutch oven (450 F) and covered it.  I let it cook for 20 minutes covered then removed the lid and turned the heat to 425 F and let it go another 20 minutes.  By then it had a nice brown crust and I checked its internal temp (~195F).

IMAG2844
Looks good!

Overall I’m happy that I seem to have the basics down.  Now I just need to work some more on the whole wheat stuff.  I think that tweaking the hydration level will probably allow me to create a better product next time.  I should have paid attention that I was creating an essentially 100% hydration dough.

For dinner I also did pizza and I’m getting better at developing pizza dough that isn’t too loose.  I think one problem I’ve been having in the past is that I let the dough go way past what it should (over-proofing).  Before I had just been blindly following someone’s recommendation on the Jim Lahey No-knead but now I actually am listening more to the dough.

-StewsCat

No knead brioche

No knead brioche

Thought I’d try another recipe from the Weekend Bakery.  This time it is their no knead brioche.

Ingredients:

  • 250 g AP flour
  • 100 g butter, melted
  • 70 g water, room temperature
  • 2 eggs (~110 g) – surprisingly I weighed my eggs and they were each 55 g (makes me wonder if they weigh eggs to separate em out into the various sizes they sell in the supermarket)
  • 50 g honey (recipe said runny honey, I just used the honey I squeezed outta my container)
  • 5 g salt
  • 3 g yeast (my scale is a bit finicky so I may have somewhere between 3-4 g in my recipe)

I started by mixing together the eggs, honey, water, salt, and melted butter.  Whisked it for about 30-60 seconds.  Then I added the yeast+flour mixture and mixed it until it was homogenous.

IMAG2731
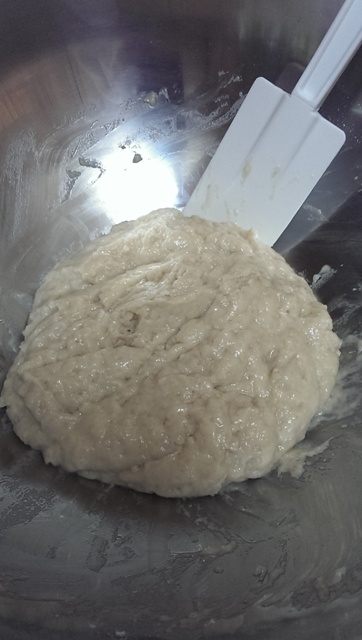
Mixture prior to resting

Then I let it sit for 2 hours.

I did a stretch and fold 3-4 times.  The dough was fairly well together so I placed the entire thing in a bowl, covered it with plastic wrap, and put it in the fridge for about 48 hours. Now you have the option of dividing the dough into 6 balls to create 1 loaf, or you can do petite brioches.  Since I didn’t have time to let a full loaf proof for 2-3 hours, I decided to make 6 small petite brioches.  So I divided the dough into 6 pieces and formed them into balls.  These were placed in my muffin tin that I greased with butter.

IMAG2748
Prior to proofing

To let it proof, I just tossed the whole tray into my microwave (so I wouldn’t have to fuss with putting something to cover them and possibly getting them to stick).  The site I was basing the recipe off of said to let them proof for 30 minutes.  I found that it took about 50 minutes to proof to my liking.

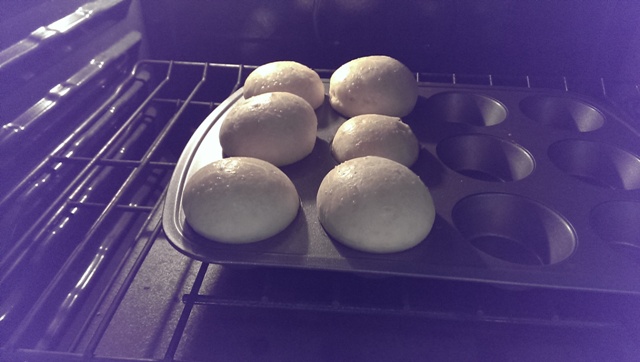
IMAG2751
After proofing

I had pre-heated my oven to 375F.  I baked it for 7 minutes at this temperature

IMAG2752
Great oven spring!

Then I dropped the temperature to 320F and kept on going (the site said 8 minutes but they weren’t golden brown at that time so I kept them in).  I probably baked it for a total of about 30-45 minutes.

IMAG2754
Lightly golden brown

I glazed the top with some melted butter and set them on a cooling rack.

They came out delicious.  Good structure on inside, very buttery.  Wife approved.

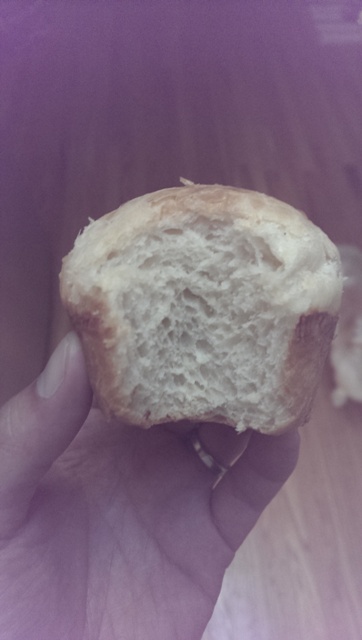
IMAG2757
Good crumb structure

YUM!!

-StewsCat
 

My version of a Baguette Boule

I discovered this great web site: Weekend Bakery that has some wonderful recipes and tips.  So I thought this week I’d try the above bread.

I started with a poolish:

  • 380 g bread flour
  • 304 g room temp water
  • 3 g active dry yeast

I let the poolish sit at room temperature for 1 hour and then transferred it to the refrigerator for ~13 hours.  The poolish had more than doubled in size overnight.

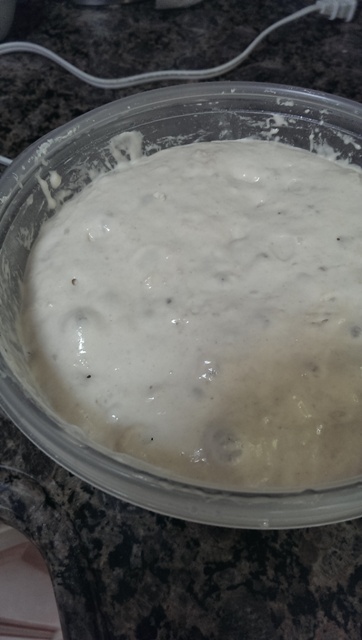
IMAG2666
Poolish after overnight in fridge

I added the poolish to:

  • 380 g bread flour
  • 266 g water (room temp)
  • 12 g salt
  • 1/4 tsp (~1.5 g) sea salt

I used the 1/4 tsp because my scale doesn’t measure half gram increments so I looked up a conversion.  I know it isn’t exact but neither is baking.  One thing I will need to slowly learn is how to make adjustments to the dough due to weather.  The time of year, temperature, humidity all affect a recipe.  I let the dough rest for 10 minutes covered.

I dumped the dough out onto a floured surface and performed a stretch and fold (envelope style – pulled and stretched dough from east side and folded it 1/3 of way over to west side, pulled from west to east, then north to south and south to north).  I continued repeating this process for 2 minutes then put the dough into a lightly oiled bowl for 45 minutes.

IMAG2669

I repeated the stretch and fold (2 times instead of for 2 minutes) and could tell the dough was really coming together already.

IMAG2670
Coming together

The next 3 stretch and folds would be separated by 45 minutes with just one stretch and fold each time.

IMAG2671
Puffed up and formed

Then I bench rested the dough for 10 minutes.

IMAG2672
After bench rest

I divided the dough into 2 and shaped it (following the technique of folding the dough over, sealing the seams and then doing a tension pull).  There were a large amounts of gas bubbles in the dough and I know that this isn’t good for bread so I ended up popping the large bubbles as best I could.  Since I have not yet invested in bannetons, I lined some bowls with lint-free floured cloths.  I decided to try 2 different methods of baking — with dutch oven and on a pizza stone.  Since I couldn’t bake them side by side, I put one of the boules into a fridge.  While I was doing all this bread prepping, I also had to replace a PVC line running to the raised vegetable gardens.  This required me to take a few trips to home depot (since of course you can’t just go once).  The problem was that I started the pre-heat later than i would have liked for the proper proofing.  The oven was preheated at 455 F wtih the dutch oven.  I lucked out and the proofing was just about right for the bread to go in.  I don’t have a super sharp knife so when I went to score it, I messed up the top of the boule a little.

IMAG2674

I baked the 1st boule for 10 minutes in the covered dutch oven, then removed the lid and baked for another 35 minutes (internal temp around 200 F at the end).

IMAG2675
Cooked in dutch oven

About 15 minutes prior to the first boule finishing, I removed the other boule from the fridge.  I placed this one on a semolina lined pizza peel and slid it onto my baking steel .  I previously had used a pizza stone but it broke within the first few uses so I figured I’d try something a bit more hardier.  And it has produced some wonderful pizzas on it.  This second boule I baked at 455 F for 45 minutes.

IMAG2679
Cooked on pizza stone

The second boule had a much better oven spring compared to the first.  The first boule kind of spread out more.  The one other difference between the two is that I proofed the first boule with the seam side up and the second boule with the seam side down.  So I’m not sure if the better oven spring was due to how I handled the boules or if it was the cooking methods – in a dutch oven or on a pizza stone.

IMAG2682
2nd boule much taller than 1st

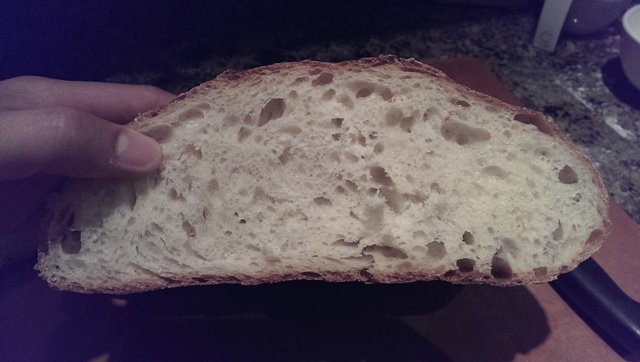
The wife said the crumb looked like professional bread. 🙂

IMAG2684
Crumb of 1st boule

After cutting into the 2nd boule I realized why it was so tall.  I didn’t de-gas it enough and the air holes were giant.

IMAG2685
2nd boule crumb

Definitely need to make sure I de-gas and form it better.

Now to figure out what to do with all this bread!

-StewsCat


Enriched white bread

So after my last less than stellar bread, I decided to go back to the Richard Bertinet formula and not try too many things at once (poolish, autolyse, new kneading/shaping/forming techniques).  I did want to do an enriched bread though since I know it can last longer before going stale.  Since we haven’t been buying bread for a long time now (I’ve been making tortillas for wraps the last 1.5 years), I figured I could try to make a white sandwich type bread for the week.

I went back to a formula that worked except I substituted some whole milk for water.

Recipe:

  • 500 g bread flour
  • 350 warm (110 F) whole milk
  • 10 g sea salt
  • 3 g active dry yeast

I mixed all the ingredients and let it autolyse for 30 minutes.  I pulled the dough out of my metal bowl and realized that the dough was a lot more firm/set than anticipated.  I thought it would be much more sticky and wet.  I read up and realized that when you use milk, the milk proteins require that you use more milk instead of water or add in some water in addition to the milk.  Chemistry fail!  Anyway, I still kneaded the dough (though didn’t have to use the slap and fold method) for about 30 minutes and set it back in the bowl.

IMAG2645
Before bulk ferment

I then let the dough bulk ferment for about 1 hour and 10 minutes at room temperature

IMAG2646
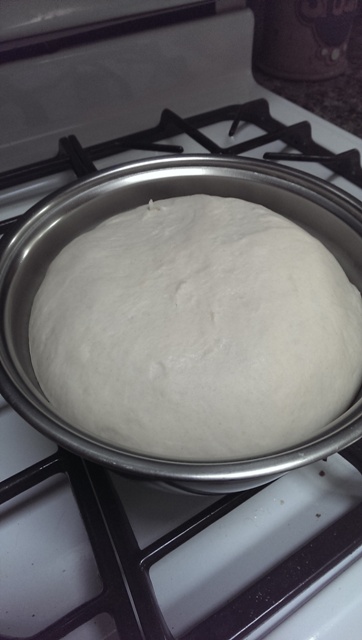
After bulk ferment (doubled in size)

I removed the dough onto a lightly floured surface and then did an envelope fold.  I shaped the dough into a log and placed it into the bread pan to proof.

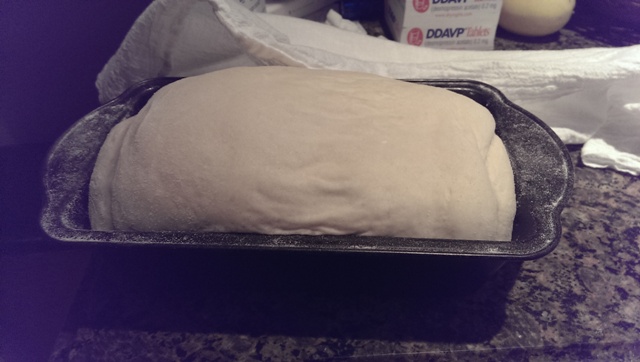
I lightly dusted the top of the bread as well as a light lint-free towel and draped it over the bread pan.  I admit I was a bit distracted as the wife and I were watching a movie while the bread proofed.  I checked on it regularly, though I accidentally let the bread over-proof and it collapsed on half of it.

IMAG2653
After proofing – overproofed the right side of the loaf

I pre-heated the oven at 375 F (since bread with milk should be baked at lower temps than when just with water) and baked the bread at 375 F for 10 minutes, then dropped the temperature to 350 F for another 30 minutes (internal bread temp was around 200).

Overall the bread came out decently though it was drier than I would have liked.  This makes sense given that I had less moisture in the bread than I wanted.  Overall it worked as a decent sandwich bread for the work week.  This time the wife approved and has been eating the bread.

The crumb was tighter but this is great for sandwich bread.

Next up is a baguette boule (found from Weekend Bakery)

-StewsCat