Over this last year when I first started getting into this baking business I was following the recipes based on their volume measurements (cups, Tbsp, tsps). As I’ve researched and learned more about bread making, I realized that you often need to rely more on weight measurements when putting the ingredients together.
I invested in the Ozeri Digital Kitchen Scale. This has helped me more accurately measure out ingredients.
This week I went for a basic white bread recipe and used the following recipe:
- Bread flour 100% (500 g)
- Water 66% (330 g)
- Salt 2% (10 g)
- Yeast 0.36% (1 g)
- Added more water, suspect ~70% hydration
I followed Richard Bertinet’s slapping and folding method (here) to work the dough after the initial mixing. I like this method because you don’t need to use additional flour when kneading the dough and getting it to come together. The engineer/math side of me says this makes sense because the recipe calls for a certain amount of flour. If you’re using additional flour when kneading, then this throws off the original recipe.
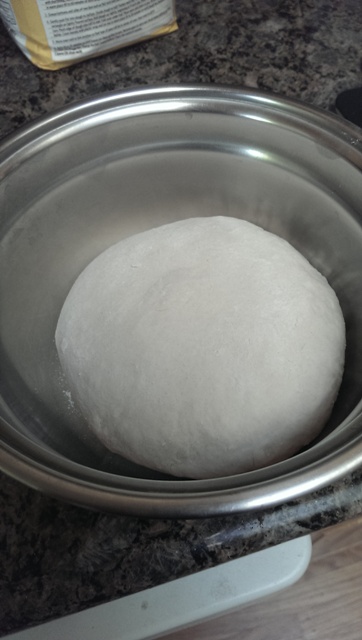
I wasn’t sure how long I was supposed to do the slap and fold method. In the video, Richard talks about continuing the slap and fold method until the dough is no longer sticky to the touch. I think that I went a little overboard on how long I did this for. I slapped and folded that dough for upwards of 45 minutes. But here is the result:
Then I let it rise for a little over an hour (the house was in the high 60s, so a little cool).
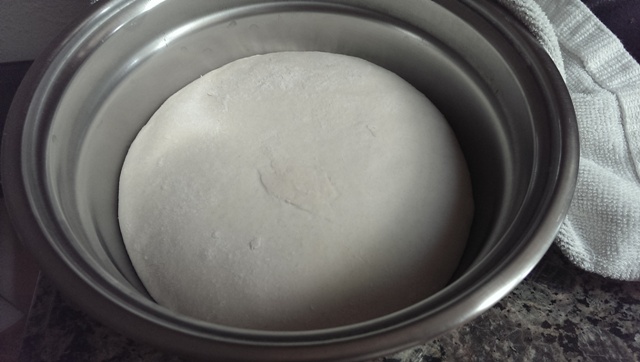
One thing I did for the first time, again after watching Richard’s video above is some simple folding and shaping prior to splitting the dough up into individual pieces.


My goal for this day was to make a loaf using a loaf pan and also possible a boule (round loaf). Now I wasn’t sure how much dough I needed to fit into the loaf pan that we have (9 x 5). I looked online and some people were recommending something like 800-1200g. My dough in total was maybe 700g. I ended up making a small boule and using about 500g for the loaf pan.


After letting it proof (I think I may not have proofed it long enough), the loaf pan was hardly filled.
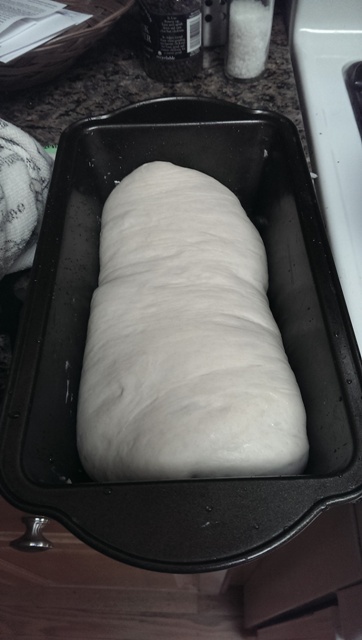
Next time I will have to use the proper amount of dough to fill the pan. I pre-heated this Lodge enameled cast-iron dutch oven in a 450 degree oven with the lid off. Pre-heating will help prevent sticking of the bread to the bottom (my mistake the first time using this dutch oven included letting it proof in the dutch oven).
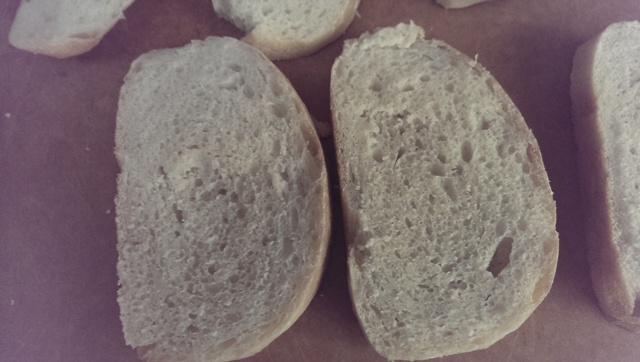
I cooked the bread at 450 F for 10 minutes, removed the lid and lowered the temperature ot 375 and cooked for another 20 minutes. I did check the bread with my digital thermometer and found it to be around 210 F, which indicates it is finished. I hope to one day be able to just visualize and feel the bread to know it is finished so I don’t have to put a hole in the bread with the thermometer. Finished product below:


I was overall happy with the taste of the bread and used the loaf as scarpetta for a chicken masala (sliced the bread and made garlic bread = replacement for garlic naan). The crumb was a little tight but worked out for the slices that we made from them.
All in all I was happy with this. Next up – rustic artisan bread (or that’s the plan at least)
-StewsCat
