I used to work and live in the San Diego region for a year about 15 years ago. A former colleague of mine let me know she was retiring and moving away and so we decided to head down for a few days to see her and just enjoy San Diego. Unfortunately we have been on the mend from our first bout with COVID so weren’t 100%. At least I was no longer shedding so I felt okay still visiting. After moving back to southern CA last year, it’s a relatively short drive down to SD. We left on a Sunday morning making the drive that much easier without any traffic. Our AirBnB wouldn’t be ready to check in until the afternoon so we headed straight for Pacific Beach (PB) to get some lunch.
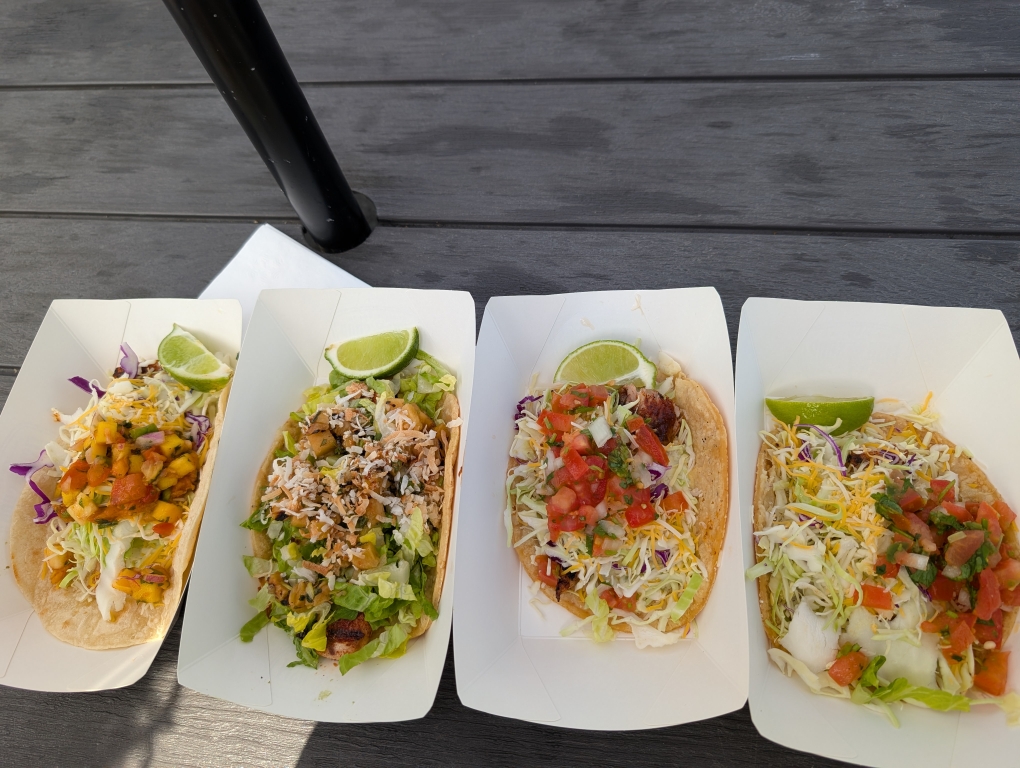
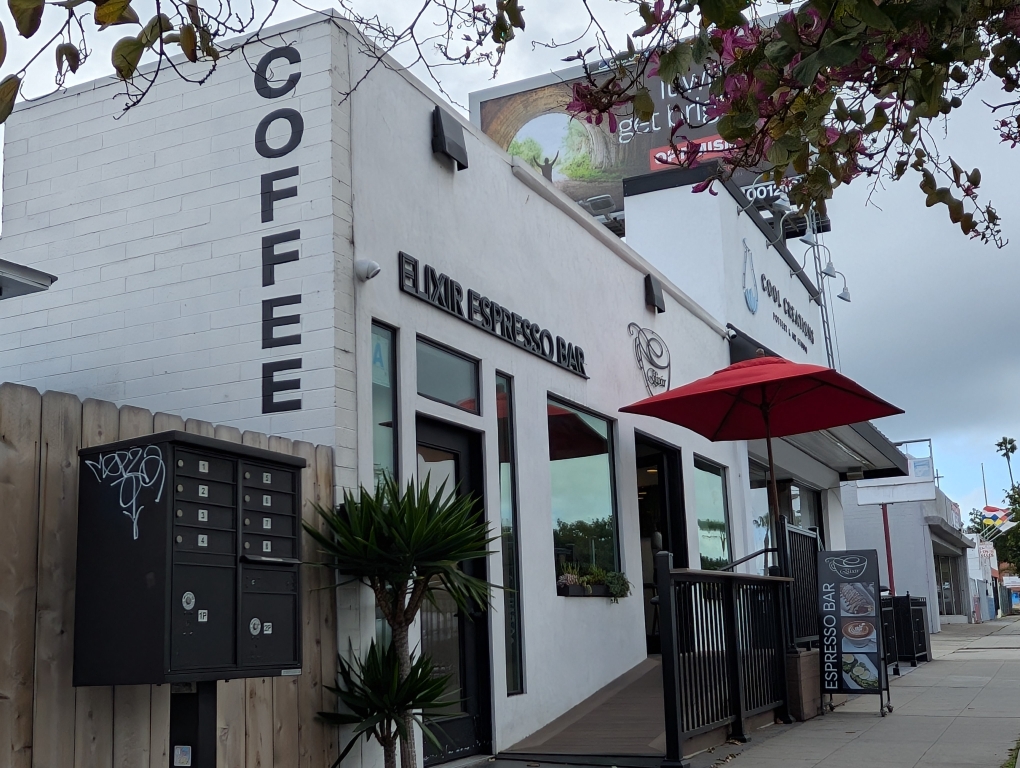
We haven’t been down to the area in probably 10 years now so I had done some research on food places. We settled on the Pacific Beach Fish Shop. This place is unique in that you choose the fish and then the means of getting it into your mouth (taco, salad, sandwich, plate). D had two of their pre-made recipe tacos: TKO Taco (Mahi Mahi) & Pineapple Express taco (Mahi Mahi) while I had their fresh catches of the day: Halibut taco & Rockfish taco. Overall I think they were tasty though one of D’s fish was kinda dry and there wasn’t any sauce on that one. We grabbed some coffee two doors down at Elixir Espresso Bar.


We then made our way over to the actual beach in Pacific Beach (we tend to go towards Law Street Beach). It had rained very briefly while we were getting coffee but cleared up by the time we made our way to the beach, though it was still quite windy so we didn’t stay too long.