I also decided to make some Parker House rolls for Thanksgiving and tried a new recipe. This recipe makes 24 rolls. I did a half batch and they turned out good. I liked that the combining of ingredients was simple and there weren’t a lot of different steps where you added one thing at a time.
Ingredients:
1/2 cup warm milk
1/2 cup warm water
1 package active dry yeast (~7 grams, I did like 4 grams for my half batch)
2 large eggs
3 Tbsp white sugar
1 1/2 tsp salt
3/4 cup butter, melted
4 1/2 cup AP flour
Combine warm milk, water, yeast (~110-120F) – let sit for 10 minutes
Add eggs, sugar, salt, 1/2 cup melted butter
Whisk together
Add AP flour and knead until comes together (hand kneaded about 5-6 minutes)
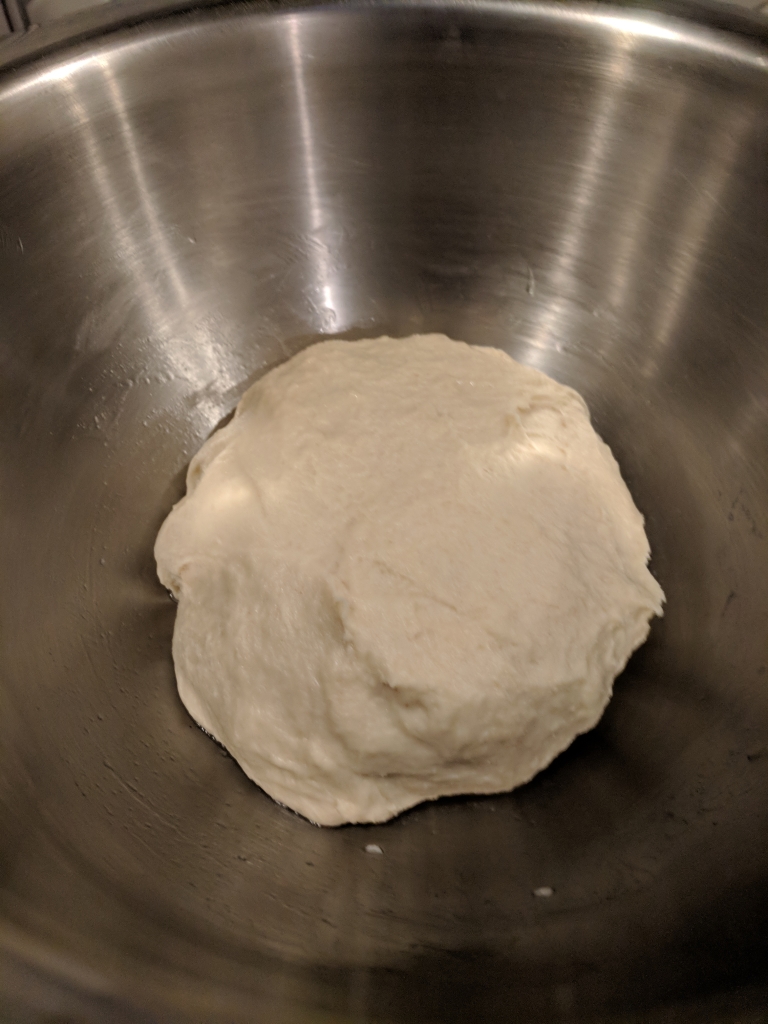
Form into ball and place in lightly buttered bowl until double (~2 hours)
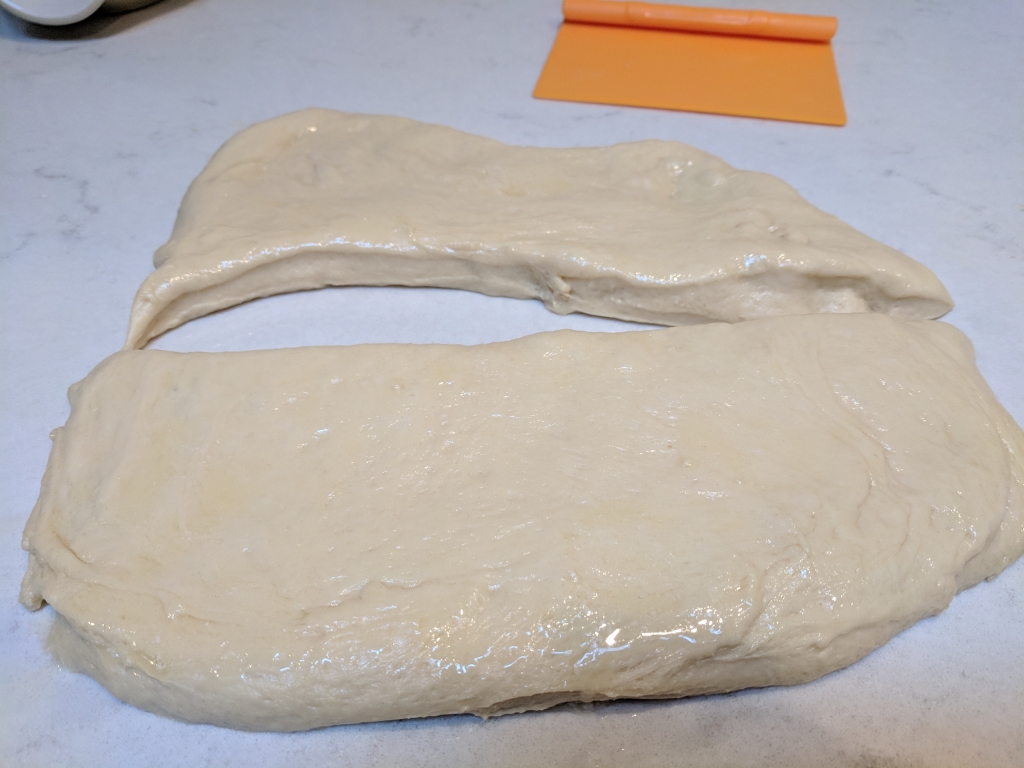
Press flat, divide into 24 portions and roll into ball (I weighed the whole thing and then portioned by weight).
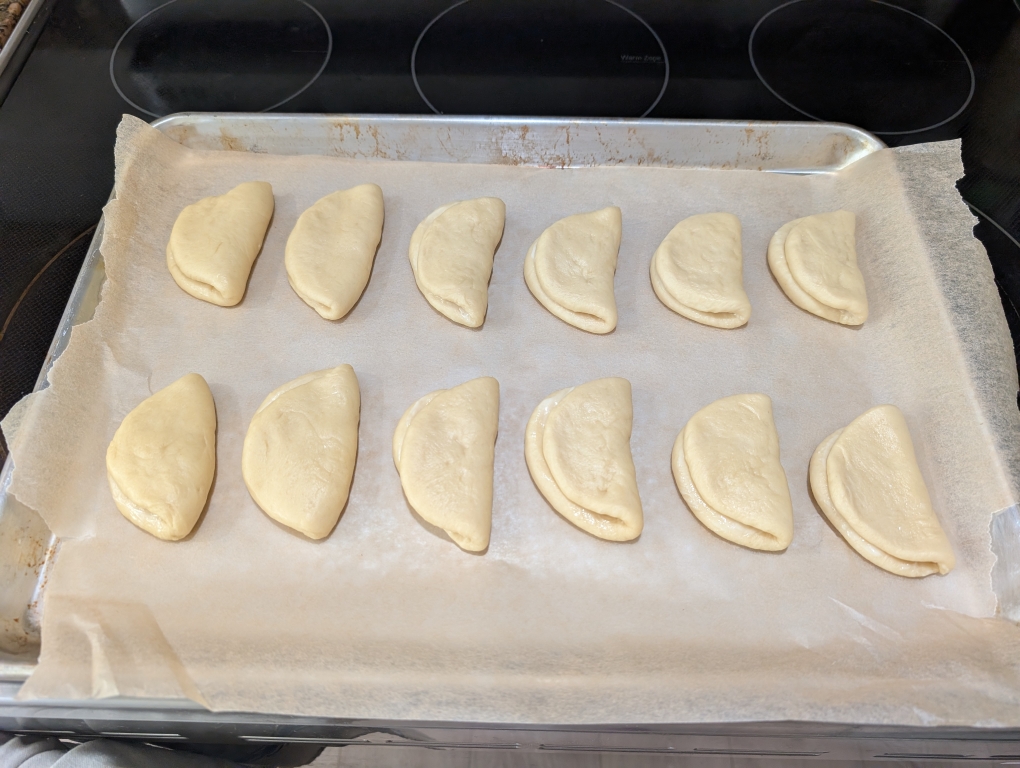
Roll out into a 4-5 inch long oval and brush with melted butter, then fold in half
Place on lined baking sheet
Cover with towel (I did saran wrap) and let rise until almost doubled (~1 hour, mine rose in about 40 min)
Bake at 350 F (20-25 minutes) until golden brown
Brush with melted butter while still warm.
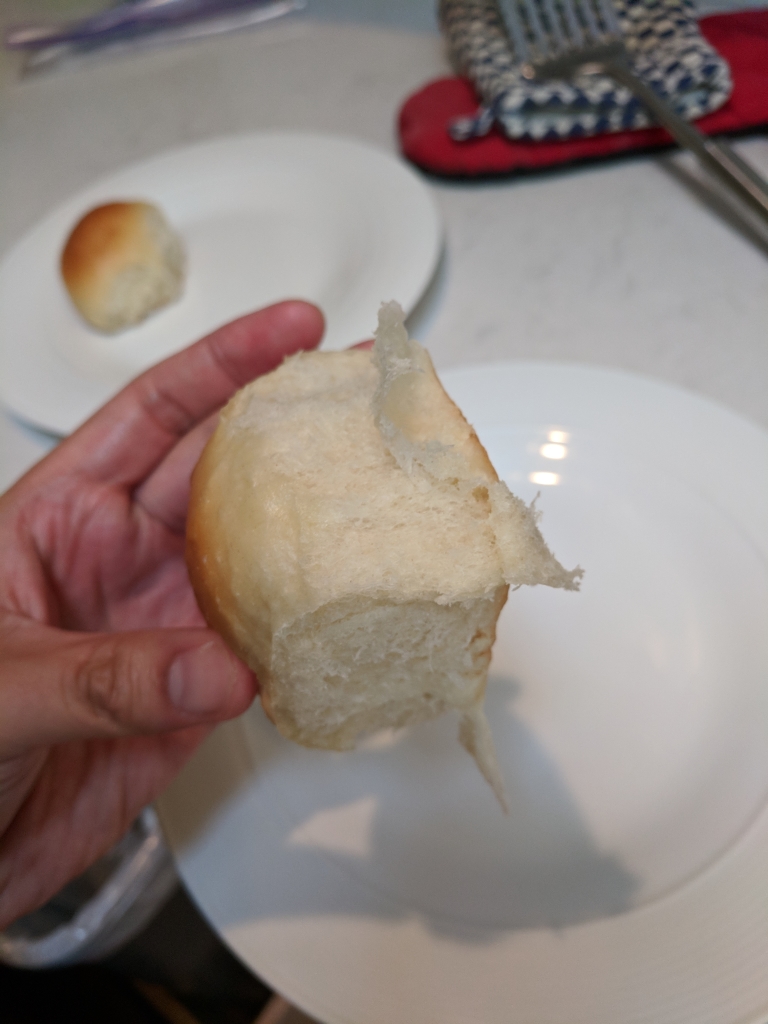
I would make this recipe again. These rolls were delicious and were gobbled up quickly at the family Thanksgiving dinner. The dough was easy to work with and not super sticky/wet.
I learned about the famous Parker House rolls sometime ago while watching one of the many food shows that I use to waste my time. This morning since I was up at 4 AM due to jet lag, I decided to try my hand at them (also because I didn’t think we had anything in the house for breakfast except for eggs and I figured that some bread would go well with eggs).
I ended up loosely following a recipe from King Arthur Flour, but made some changes based on what I had in my pantry.
Ingredients:
3 cups flour (I used a mixture of bread and AP)
2 1/2 tsp active dry yeast
3 Tbsp sugar
1 1/4 tsp salt
3 Tbsp butter
1 cup milk (I used rice drink as that is all we have in the house)
1 large egg (mine was more of a medium sized egg)
3 Tbsp melted butter
The overall recipe was fairly easy. Mix all of the above ingredients save for the last 3 Tbsp of melted butter – that was for later. I did slightly warm up the rice drink with the egg whisked in to get it closer to room temperature. Initially (maybe due to lack of sleep), I only used 2 cups of flour and couldn’t figure out why the dough was so wet and seemed to be more consistent with a cake mixture. I eventually realized my mistake and added the extra cup of flour and it still came together okay though was a very wet dough (I suspect from the all the butter).
Forgot to add the 3rd cup of flour so it was a mushy mess.
Much better with the 3rd cup of flour
I popped the dough into a lightly greased bowl and placed it in my oven’s proof setting for 80 minutes (originally it was set at 90 minutes but I took it out a little early). The dough rose quite nicely.
The King Arthur recipe calls to shape the dough into the orginial recipe shape (as seen here). I decided to do my own thing.
I spread the dough out into a roughly 8″ x 12″ rectangle. I took some of the melted butter and generously brushed it over the entire dough rectangle.
I then divided the dough into 16 pieces. Each piece was then individually rolled into more or less a ball like shape and placed in some cast iron pans.
I then let it rise for abour 40 minutes (the recipe says to let them puff up and not double at about 45-60 minutes).
In a 350 F pre-heated oven I popped both the cast iron pans into the center of the oven. The original recipe called to bake for 20-25 minutes until brown but mine ended up taking closer to 30 minutes (maybe like 29 minutes). I then brushed the top of the bread with the remaining melted butter.
Overall I was impressed with how they came out. The inside dough structure was soft and pillowy and there was a bit of crunch from the outside of the bread. This is definitely something I can do again in the future.
I thought I’d give another shot at Brioche since it is too yummy and the wife likes it. Last time I made small cupcake size brioche rolls and this time I figured I’d try my hand at a regular size loaf. In the end I had enough dough to do both a loaf and the mini cupcake size ones.
The following is double the recipe of the minis I made previously.
500 g AP flour
200 g butter, melted
140 g water, room temperature
4 eggs (235 g)
100 g honey (recipe said runny honey, I just used the honey I squeezed outta my container)
10 g salt
6 g yeast
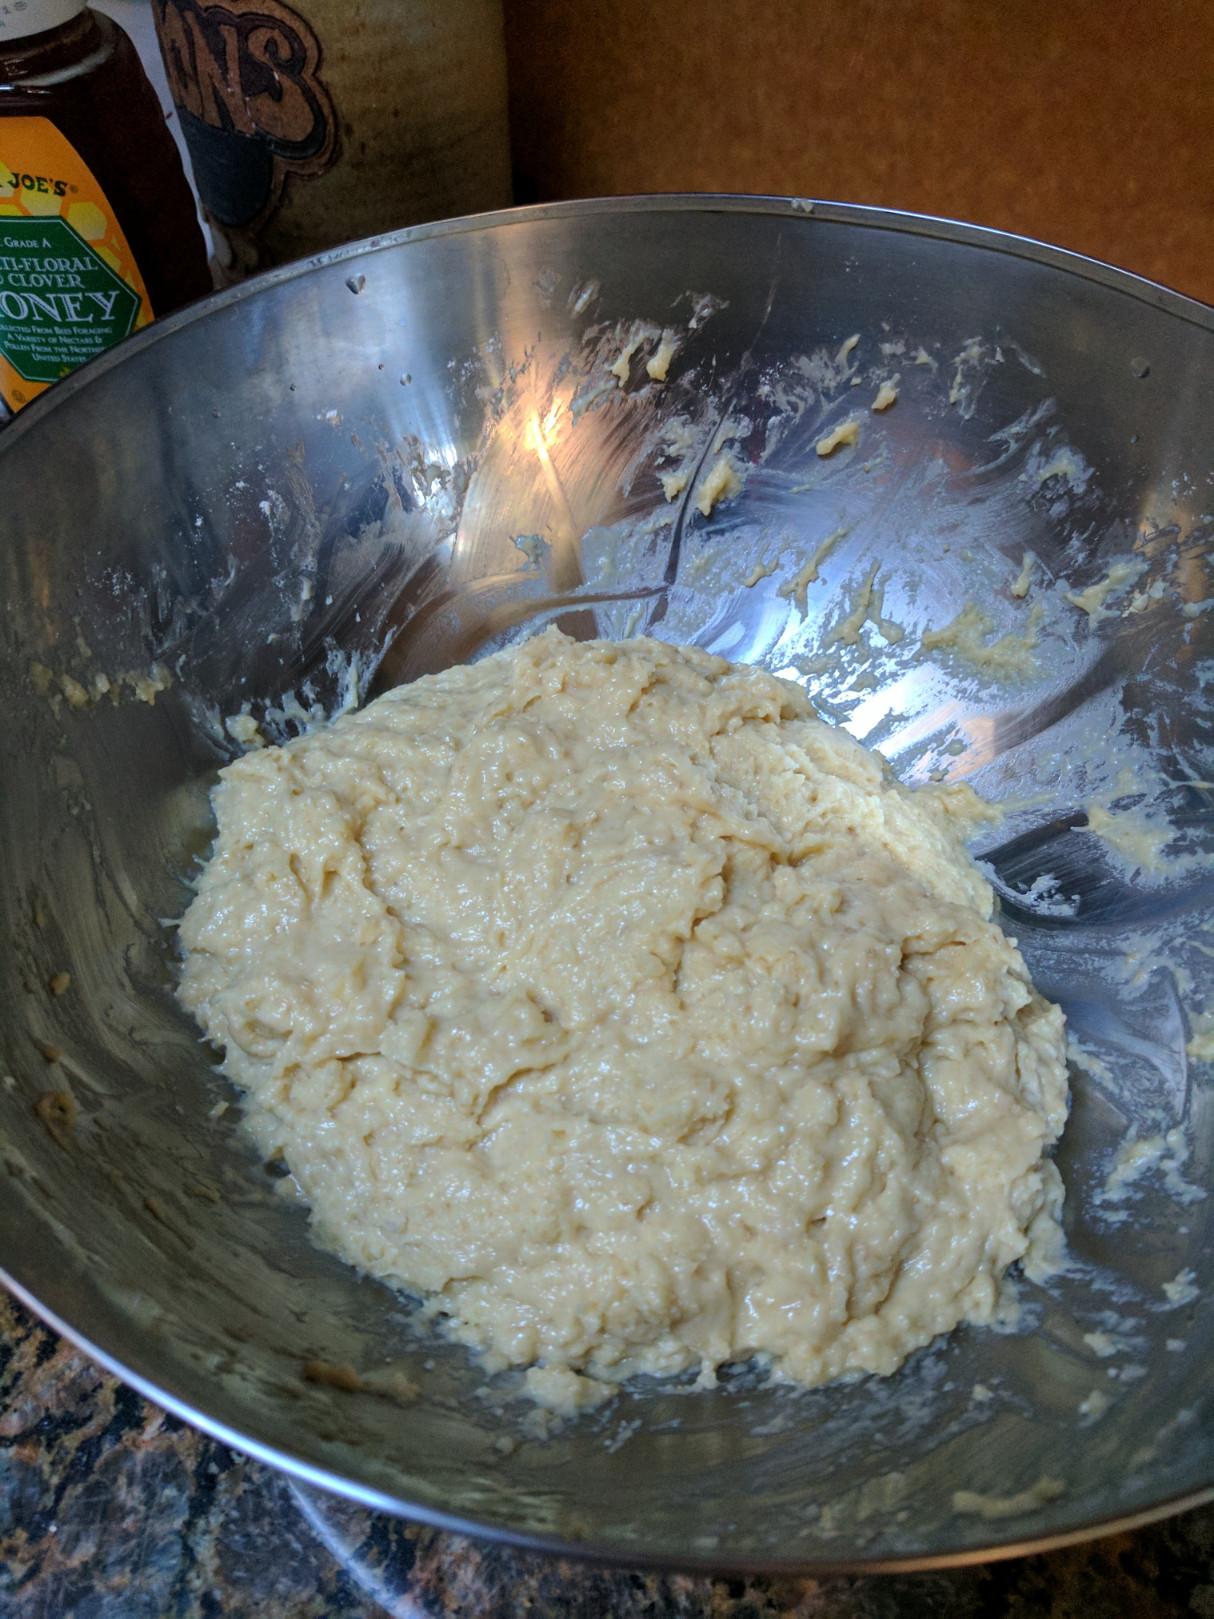
As before, I first whisked the wet ingredients together (butter, water, eggs, honey) for about 60 seconds. Then I added in the dry ingredients (flour, salt, yeast).
Since this was a no-knead version, after mixing the dry and wet into a homogenized mixture I let it sit for about 2 hours.
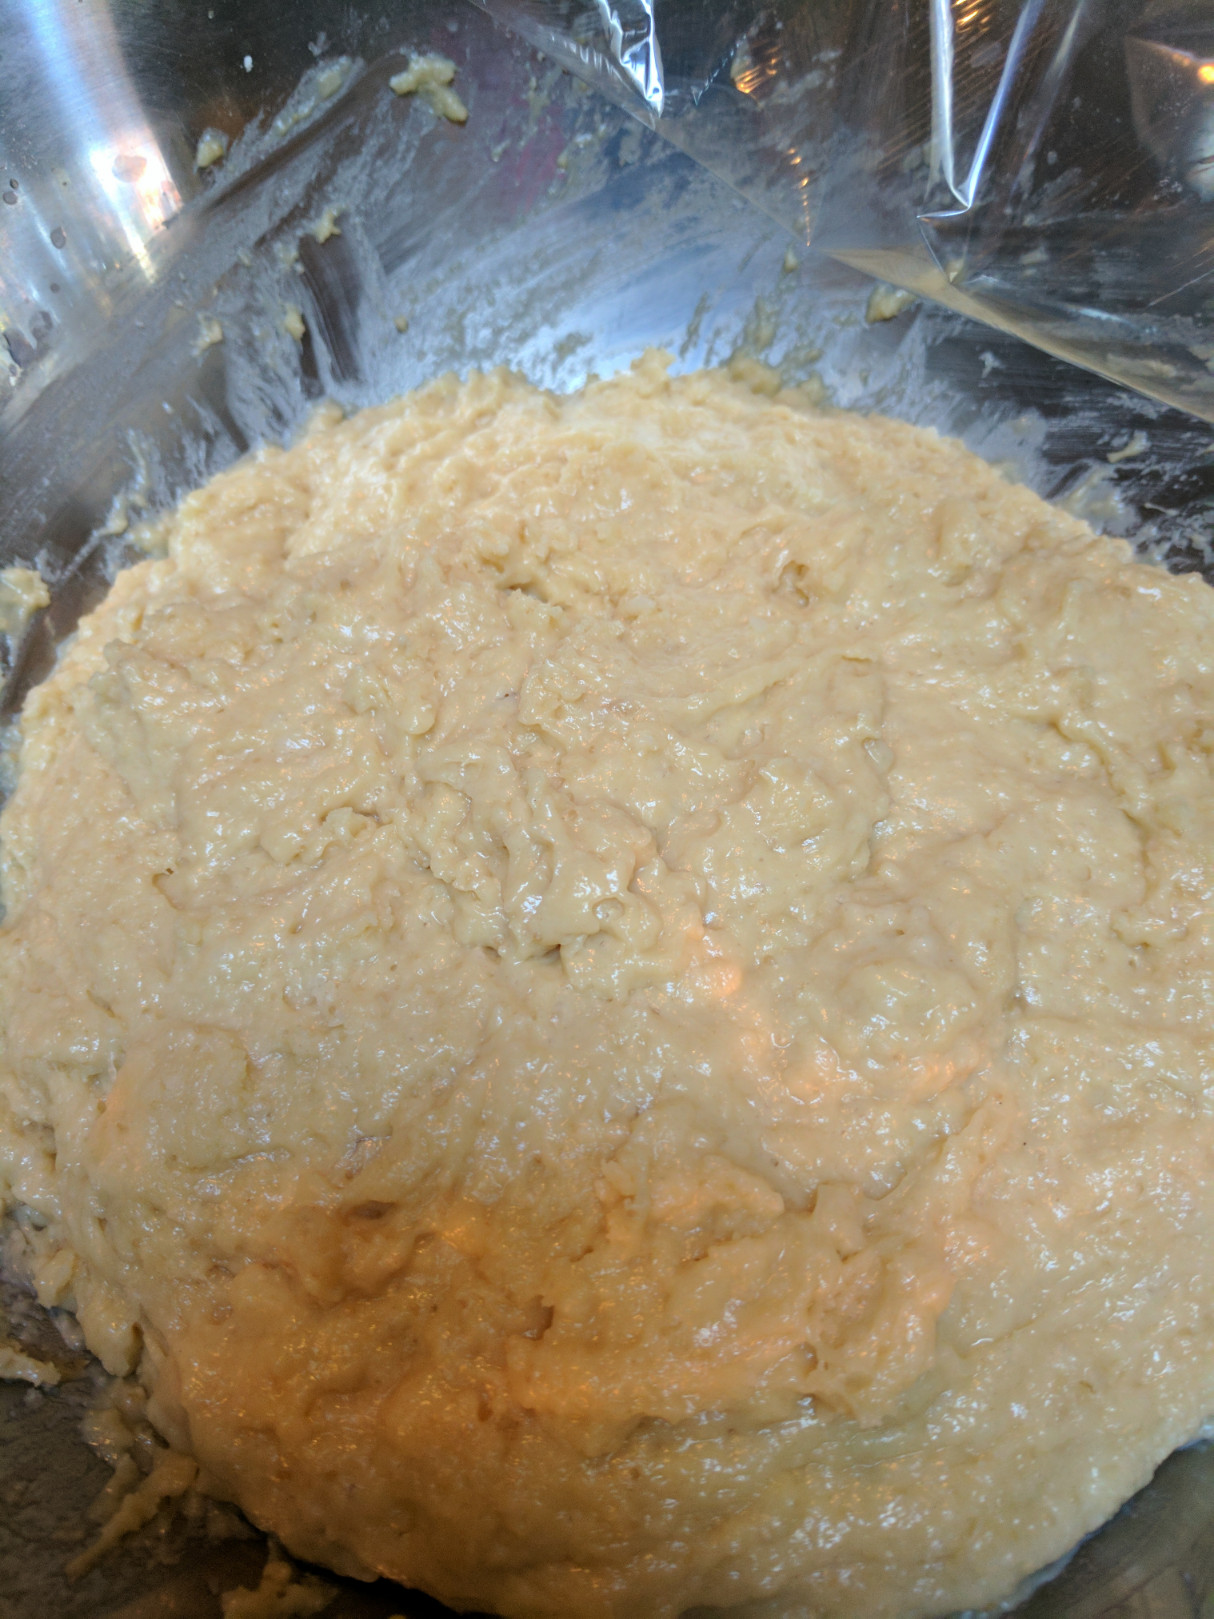
This created a fairly wet dough mixture that I then proceeded to do about 3-4 stretch and folds.
After stretch and fold
And that’s really the extent of manipulation of the dough until it is ready to form. I placed the mixture into the fridge to sit for anywhere from 24-48 hours. I started the process later in the weekend so I ended up only letting it sit for 24 hours covered in the fridge.
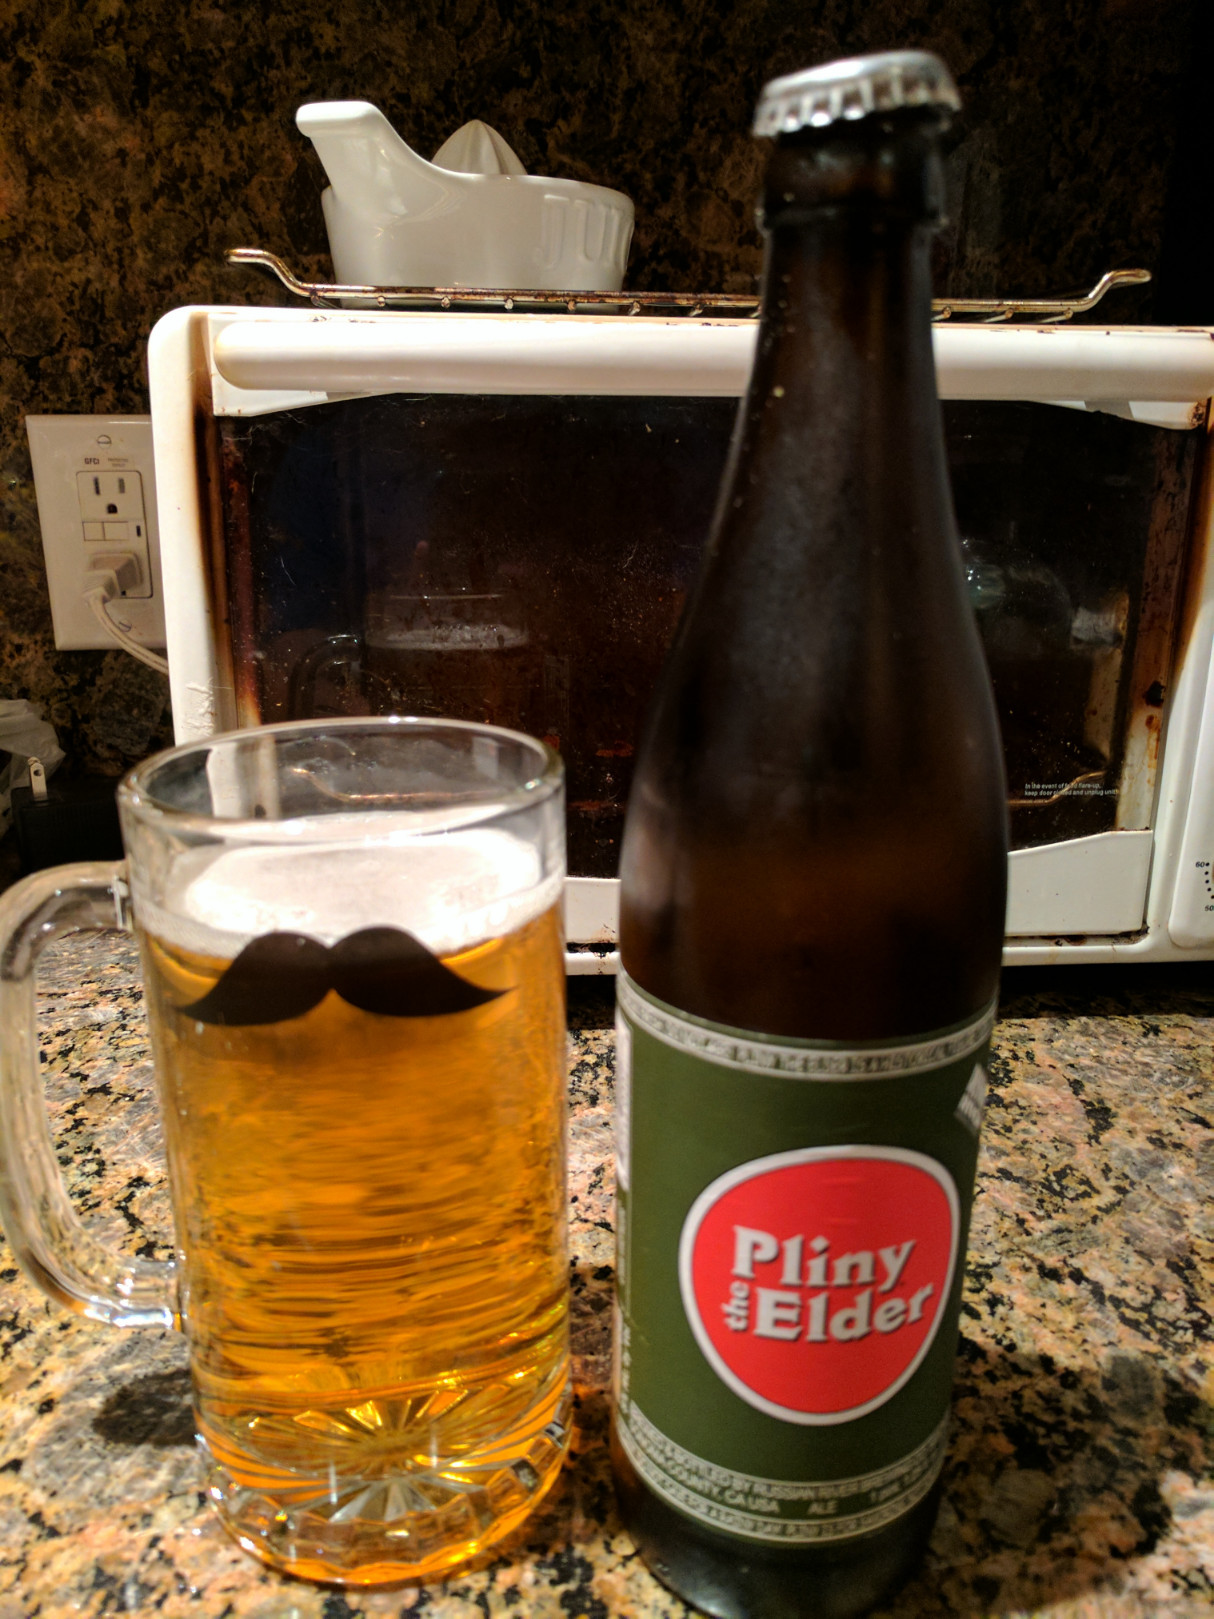
This gave me a chance to have a beer.
For those not familiar, Pliny the Elder and its much more rare sibling Pliny the Younger is a well-known craft brew out of the Russian River Brewing company. Being in NorCal, we are lucky enough to have it on tap at a few establishments and bottled in local stores as well. I was out with some colleagues the other night at Capitol Tap Room and happened to get the above. Good stuff.
Back to bread. After 24 hours in the fridge, the dough came out looking like this:
After 24 hours in fridge
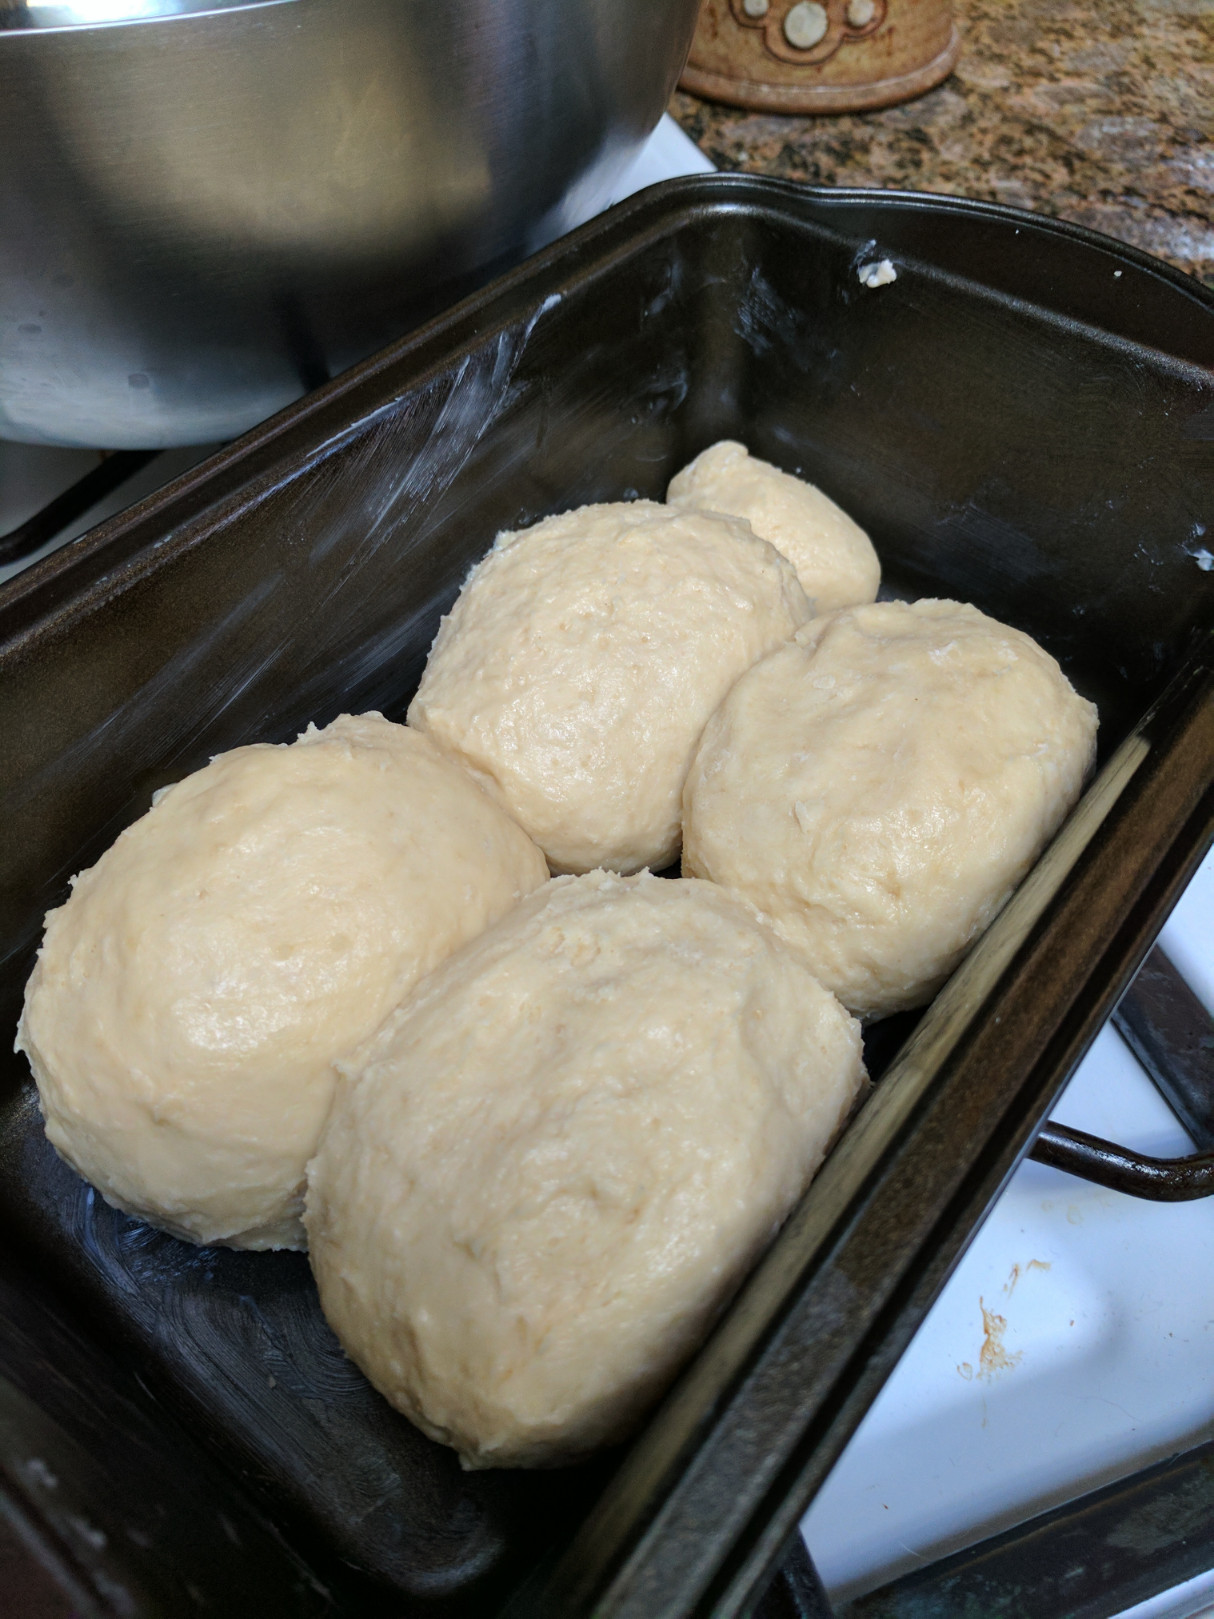
The key here is to work and shape the dough quickly while it is still cold, otherwise it gets sticky and messy. I created a loaf with 4 round to pill-ish shapes and then had a little extra so threw that into the loaf pan as well.
Then I formed 6 small balls and placed them in the cupcake pan. As I was forming the last of the balls, the dough definitely started to become more tacky and difficult to work with.
I allowed the cupcake sized doughballs to rise for about an hour. The loaf I let rise for about 2 hours and 15 minutes. For both, I used an egg wash (scrambled egg with water to allow for easier spreading).
I set the oven for 375 F initially. I baked the mini brioches for 8 minutes at 375 F and then turned the temperature down to 320 F for an additional 19 minutes. This created a nice golden crust and the internal temperature was around 190 F.
The insides of these smaller brioches came out perfect.
The loaf brioche rose quite nicely after the 2 hours and 15 minutes.
I baked this one at 375 F for 10 minutes initially, then at 320 F for an additional ~20 minutes or so. I was pleasantly surprised by how it all came together.
It came out nice and buttery and not dry. Overall a nice bread loaf and mini brioches.
Thought I’d try another recipe from the Weekend Bakery. This time it is their no knead brioche.
Ingredients:
250 g AP flour
100 g butter, melted
70 g water, room temperature
2 eggs (~110 g) – surprisingly I weighed my eggs and they were each 55 g (makes me wonder if they weigh eggs to separate em out into the various sizes they sell in the supermarket)
50 g honey (recipe said runny honey, I just used the honey I squeezed outta my container)
5 g salt
3 g yeast (my scale is a bit finicky so I may have somewhere between 3-4 g in my recipe)
I started by mixing together the eggs, honey, water, salt, and melted butter. Whisked it for about 30-60 seconds. Then I added the yeast+flour mixture and mixed it until it was homogenous.
Mixture prior to resting
Then I let it sit for 2 hours.
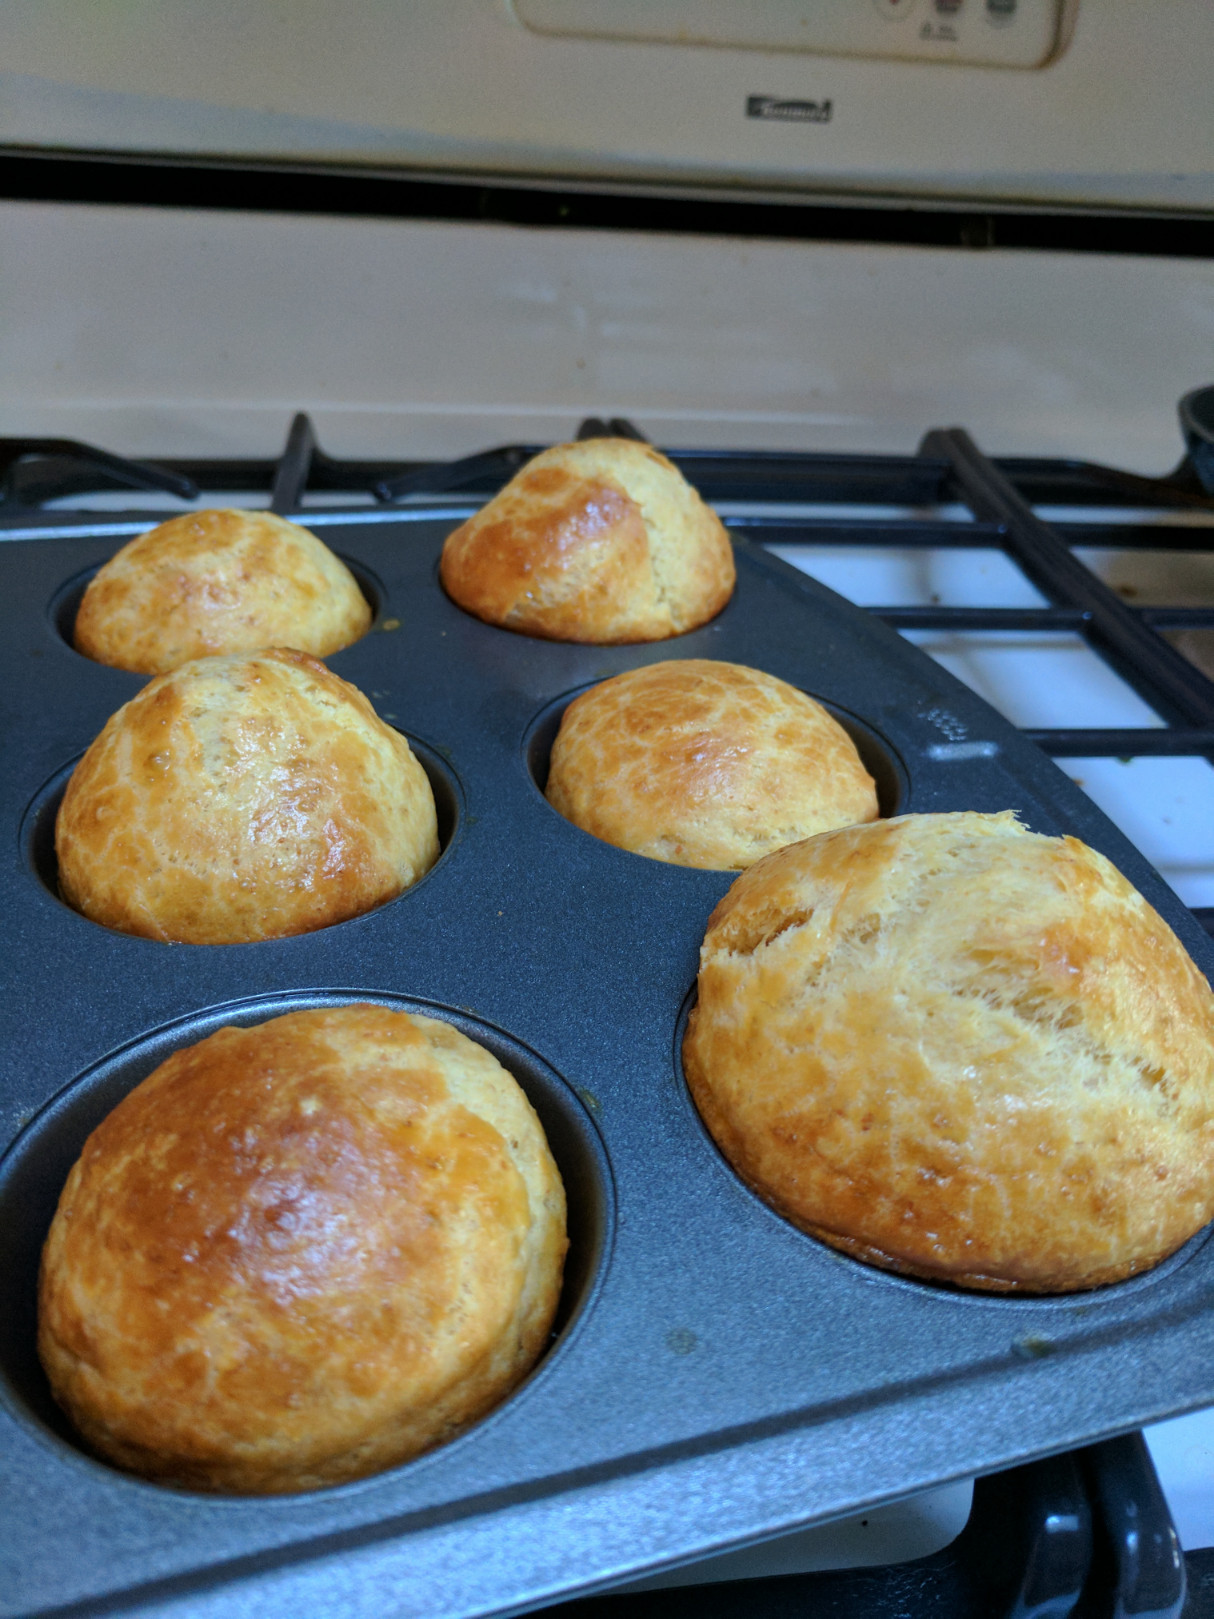
I did a stretch and fold 3-4 times. The dough was fairly well together so I placed the entire thing in a bowl, covered it with plastic wrap, and put it in the fridge for about 48 hours. Now you have the option of dividing the dough into 6 balls to create 1 loaf, or you can do petite brioches. Since I didn’t have time to let a full loaf proof for 2-3 hours, I decided to make 6 small petite brioches. So I divided the dough into 6 pieces and formed them into balls. These were placed in my muffin tin that I greased with butter.
Prior to proofing
To let it proof, I just tossed the whole tray into my microwave (so I wouldn’t have to fuss with putting something to cover them and possibly getting them to stick). The site I was basing the recipe off of said to let them proof for 30 minutes. I found that it took about 50 minutes to proof to my liking.
After proofing
I had pre-heated my oven to 375F. I baked it for 7 minutes at this temperature
Great oven spring!
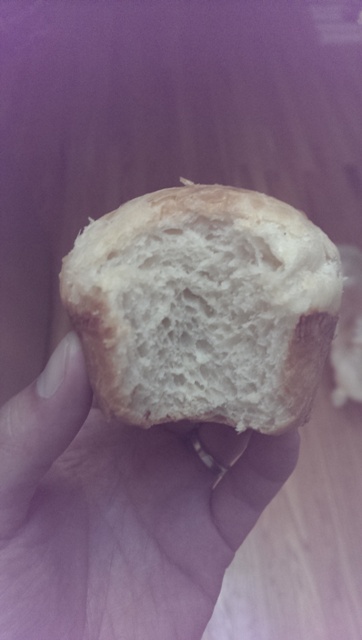
Then I dropped the temperature to 320F and kept on going (the site said 8 minutes but they weren’t golden brown at that time so I kept them in). I probably baked it for a total of about 30-45 minutes.
Lightly golden brown
I glazed the top with some melted butter and set them on a cooling rack.
They came out delicious. Good structure on inside, very buttery. Wife approved.