Decided to make a tri-tip. I had previously done this once or twice but forgot to actually document it and therefore each time I’ve had to make it, I have to google various recipes and try to figure out what I had done previously. I think one time I wrapped it in aluminum foil and another time I put it on a raised platform in a pan. This time I remembered to write down how I made it so I had it for future reference. I guess tri tip is more of a west coast cut of beef that isn’t typically made it other parts of the US (though with the passage of time I’m sure it is more common now all over the US). It was Labor Day and so we were trying to come up with something to make – I didn’t want to use the grill because it has been insanely hot here all the time. I purchased an untrimmed Tri Tip from the store that was about 2.7 lbs or so.
For the 4th of July, we decided to do the ultra-traditional hamburgers and hot dogs. I decided I’d like to try my hand at making hot dog buns. I had previously made some burger buns from a random recipe I found online. I didn’t realize that you can use the same formula for both hot dog and hamburger buns. This time I found another recipe on a random blog. For the most part I followed the recipe that was laid out (since this was my first time making it). I amended it due to the fact that I don’t have a stand mixer and therefore have to do all my mixing/kneading by hand. The recipe called for letting the dough rest in the fridge for up to 24 hours so I made up the dough the night before July 4th.
I want to make sure I have this recipe saved somewhere for future use.
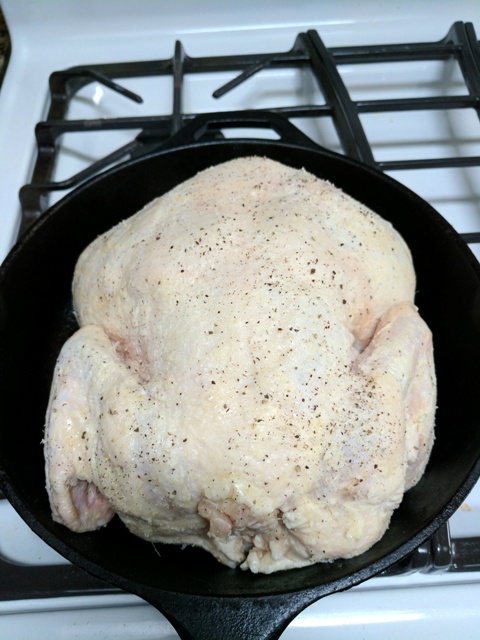
After getting a Costco rotisserie chickens for awhile (I read somewhere that the Costco bird is actually the only one that is most cost effective in terms of purchasing a cooked bird vs roasting your own), I decided to attempt my own roasted chicken. I had come across a simple roasted chicken in a cast iron pan. I like the versatility of roasted chicken because they can be used for various applications and in multiple recipes and last for more than one meal.
~5 lb chicken from TJ’s
Olive Oil
Butter
Salt
Pepper
Garlic
Seasoning (thyme, rosemary)
I basically rubbed the chicken with the seasonings (salt, butter, thyme, etc). The center of the bird was stuffed with some garlic cloves and whole sticks of rosemary. I rubbed the outside of the bird with olive oil (another time I used butter). I also did one where I would separate the skin from the meat and put seasoned butter in there.
Initially the oven at 450 F and dropped to 400 F when the chicken was placed in the oven.
Cooked for 90 minutes at 400 F.
And done. Surprisingly you don’t have to cover it at all or turn it or anything. The meat also comes out very juicy.
Very simple and easy recipe and you control what is in the bird. I had read that one reason the Costco rotisserie chickens are so tasty is because the seasoning that goes into the skin contains MSG. While I know MSG inherently isn’t necessarily super bad for you, the fewer ingredients in a dish I think is probably overall better for you. I’m glad that I have this recipe in my arsenal now.
So I’ve definitely struggled with what I can make to help us get through the week for lunches while at work. In the past I’ve done tortillas, loaf bread, and sandwich bread rolls. D suggested I could make pitas. So I looked up some recipes and in true me fashion tweaked it to create my own version of things.
Ingredients:
1 cup warm water
2 tsp yeast
1 Tbsp extra virgin olive oil
1 Tbsp sugar
1 cup whole wheat flour
1.5 cup all-purpose flour
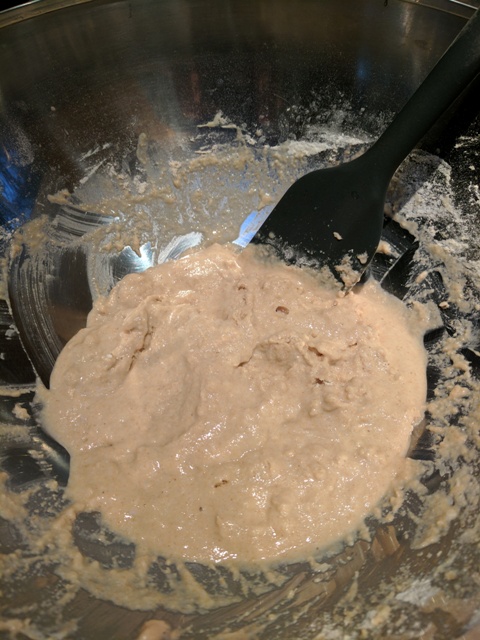
I started by adding the yeast and sugar into the water and letting it sit for about 5 minutes. Then I proceeded to make a poolish with the water/yeast/sugar and whole wheat flour. I mixed this up thoroughly and let it sit for about 10-15 minutes.
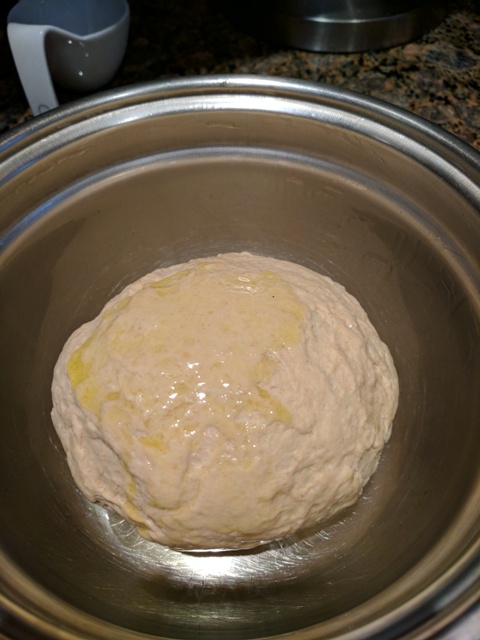
You can see that it is a pretty wet mixture. To the poolish I added the olive oil and the AP flour. This dough is less water % than many of my breads so came together fairly easily and I hand kneaded for about 5-8 minutes. I formed the dough into a ball and coated it with olive oil and let it rest for about 1.5 hours.
Before rising
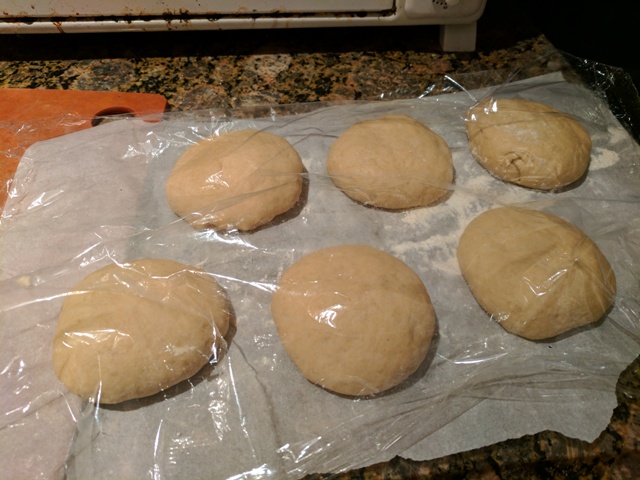
After the dough doubled in size, I punched down the dough and deflated it. The dough was then divided into 8 balls.
Each ball was then placed on a floured surface and a rolling-pin was used to roll out the dough into about a 6-8″ disc shape. I had read that there are two different ways to cook pitas. The oven method creates a great “puff” but the downside is that you don’t get the nice brown spots from the stove top method. I elected to try both to see which one I felt was better. I didn’t get the nice separation of the pita as I expected with the stove top method. I used a cast iron pan for stovetop. The oven I had at 450 F and a baking sheet (pre-heated).
Rolled out dough
For the pita in the oven, I palmed the dough disc and flipped it onto the baking sheet. These I cooked for about 3 minutes (sometimes a little more).
The stove top pita stayed flat but I cooked them for about 45 seconds on the first side and 1-2 minutes on the second side.
Here’s a side-by-side comparison of stove top vs oven-baked.
Stove top on the left, oven on the right
Overall they came out decent, though a little dry. Not too bad and something that may go into the rotation for lunches.
I tried a new pizza dough recipe this past weekend – mostly due to my lack of planning. I oftentimes start putting the dough together the night before to allow the yeast to essentially knead the dough with a long fermentation. However I forgot to do this so woke up on Sunday realizing I needed a quicker recipe. I have done my usual same-day bread recipe for pizza dough but was wondering if there was another option. After some google searching, I settled on a recipe that sounded fairly simple yet good. This recipe is adapted from Roberta’s (a well-known pizzeria in Brooklyn, NY). I didn’t have any 00 flour so just used AP flour for the entire recipe.
Ingredients:
306 g AP flour
8 g fine sea salt
2 g active dry yeast
4 g olive oil
200 g warm tap water
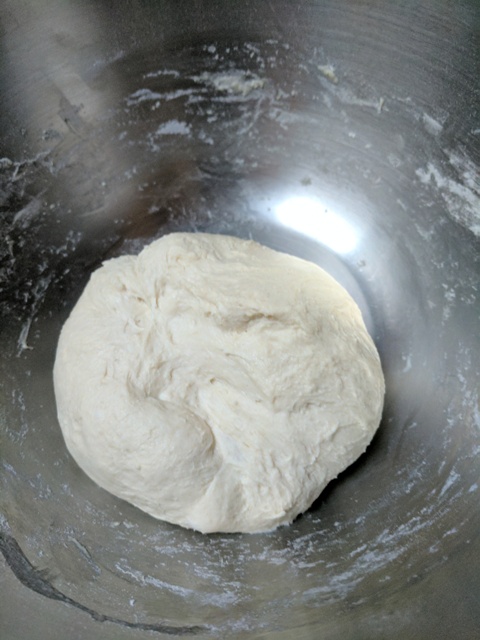
I combined the flour and salt in a mixing bowl. In my measuring cup, I combined the warm water, olive oil and dry yeast. I allowed the yeast to bloom for a few minutes before mixing it with the flour/salt mixture. I kneaded/mixed the dough in the bowl for 3 minutes.
I then covered the bowl with a towel and let it sit for 15 minutes.
I proceeded to knead the dough again for 3 minutes within the bowl. I was a bit surprised how much the dough had formed up into a cohesive ball.
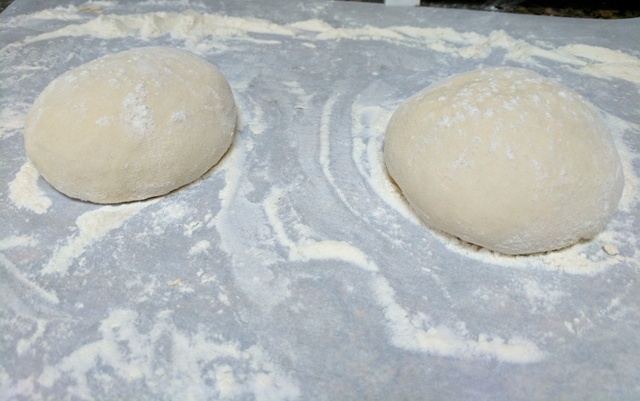
Earlier in the day I had made some pasta so had a large sheet of parchment paper on the counter that was floured.
So I just took the dough and placed it on the parchment paper, divided the dough in half, and formed two balls.
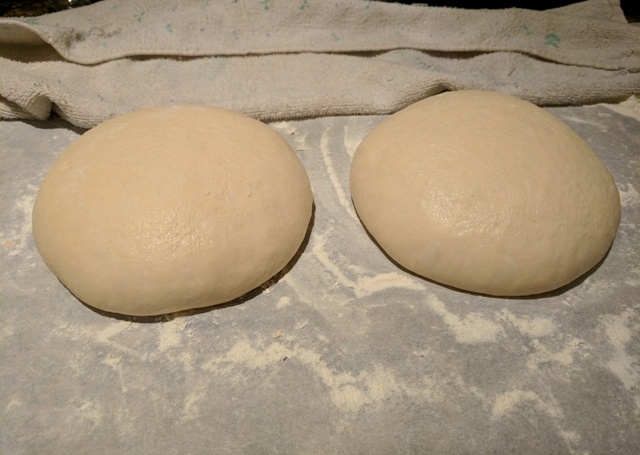
I let the dough rest under a towel (I used my water bottle sprayer to mist the top to maintain moisture) for about 3 hours. The dough continued to rise.
After 3 hours of rest
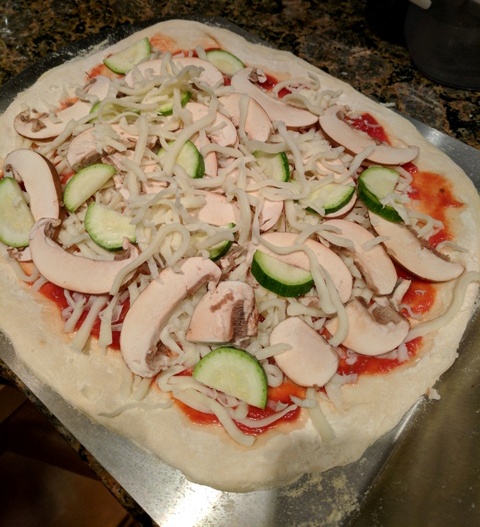
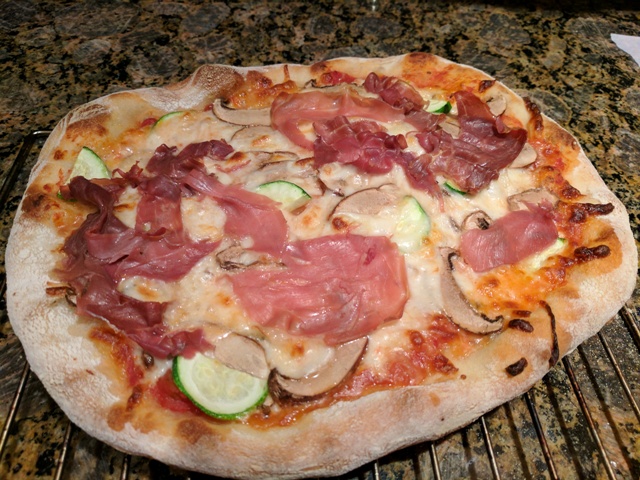
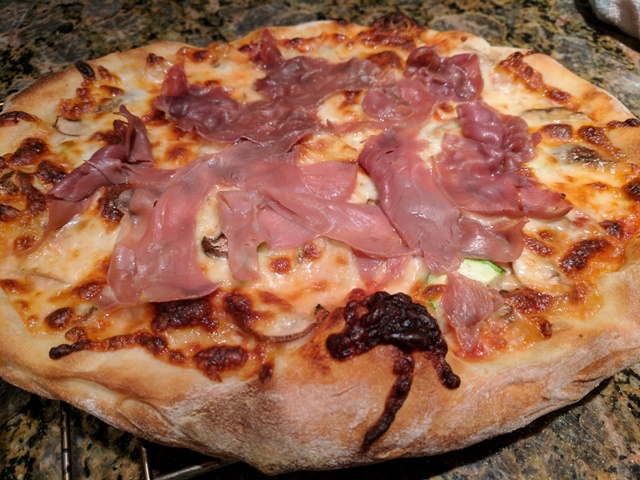
I preheated my oven to 545F. I took one ball of dough and on a well-floured countertop flattened the dough out into a pizza shape. I then topped it with marinara, mozzarella, mushrooms, zucchini.
About 1-2 minutes before the pizza was done, I removed it and topped it with some prosciutto.
Et voilà
The above recipe makes 2 good-sized pizzas. I did like this recipe because the dough seemed sturdier than ones I’ve made in the past. It was easy to create the pizza shape and didn’t rip/tear like some of the ones I’ve created. Overall I thought the taste was decent.